


MAINTENANCE AND REPAIR INSTRUCTIONS
14
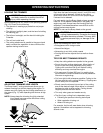
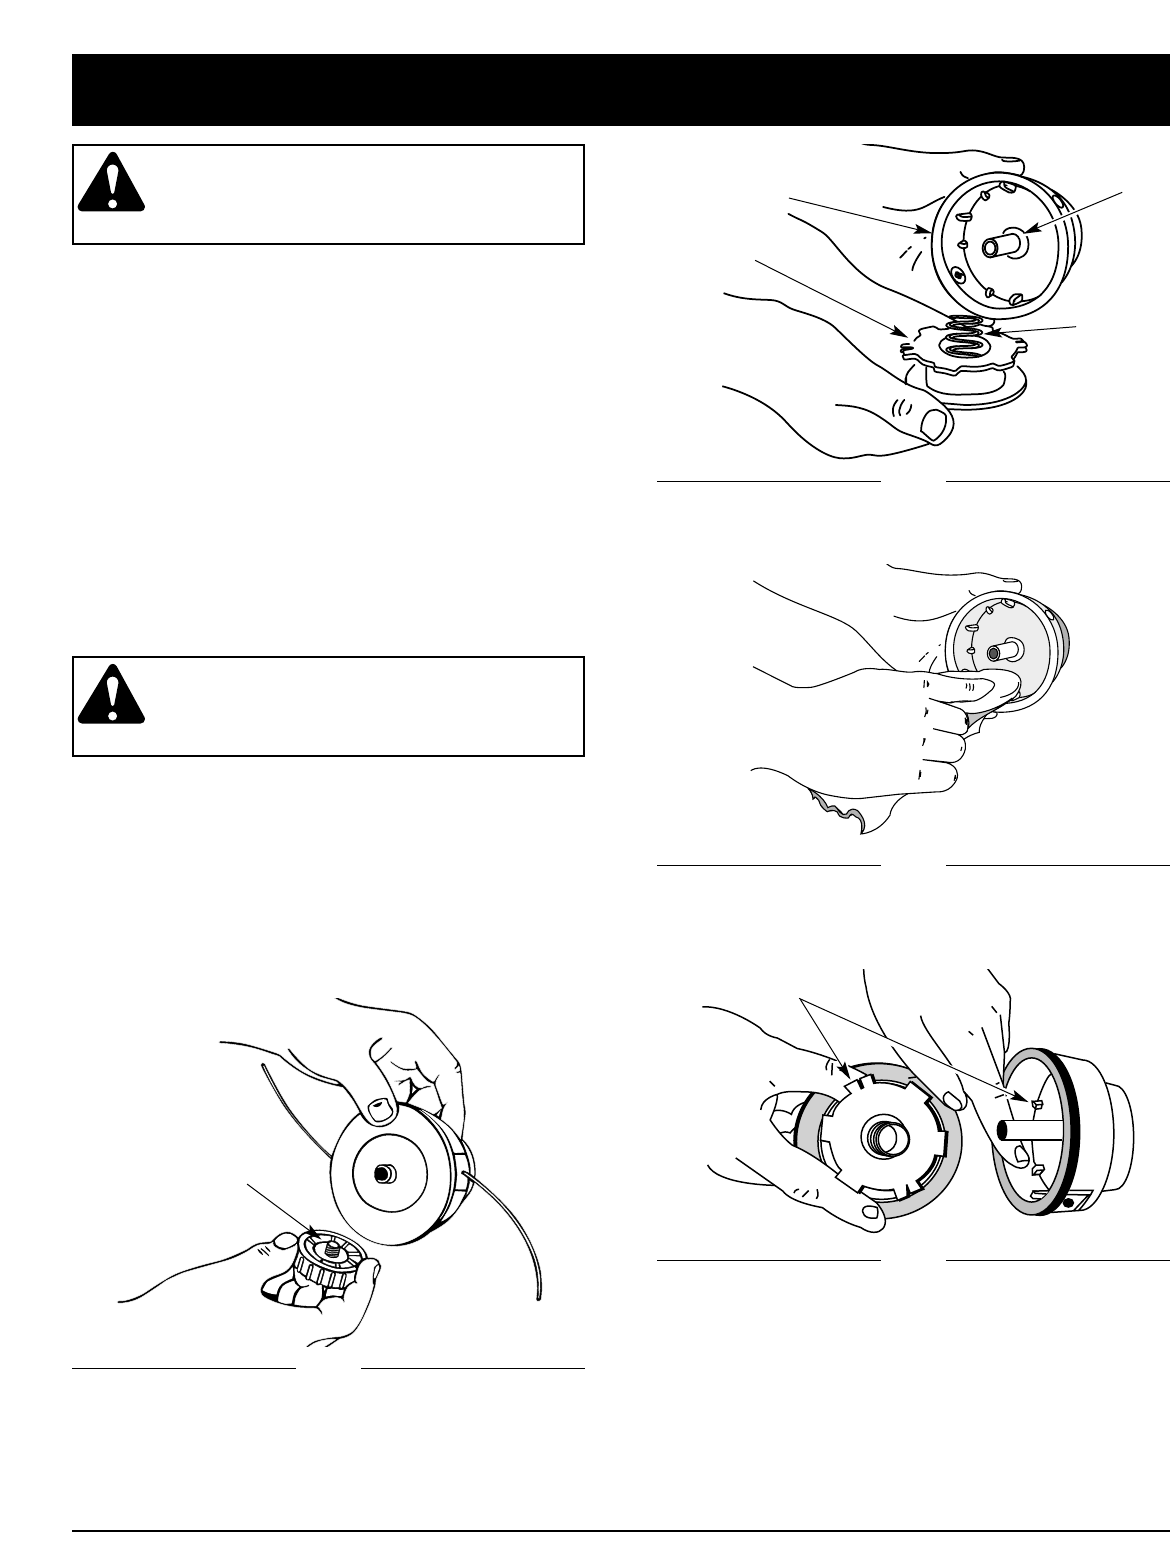
Fig. 21
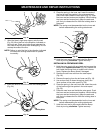
5. Check the indexing teeth on the inner reel and outer
spool for wear (Fig. 21). If necessary, remove burrs
or replace the reel and spool.
Indexing Teeth
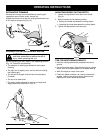
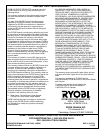
6. Take approximately 25 feet (7.6 m) of new 0.080 inch
diameter trimming line, loop it into two equal lengths.
Insert each end of the line through one of the two
holes in the inner reel (Fig. 22). Pull the line through
the inner reel so that the loop is as small as possible.
NOTE: Always use the correct line length when installing
trimming line on the unit. The line may not
release properly if the line is too long.
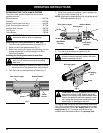
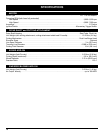
Fig. 18
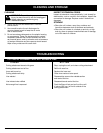
Fig. 20
Fig. 19
WARNING: To avoid serious personal
injury, be sure the unit is off and unplugged
before cleaning or performing any
maintenance on it.
SERVICING OF DOUBLE INSULATED UNITS
This unit is double-insulated. In a double-insulated unit,
two systems of insulation are provided instead of
grounding. No means of grounding are provided on a
double-insulated unit, nor should a means for grounding
be added to this unit.
Servicing a double-insulated unit requires extreme care
and knowledge of the system, and should be done only
by qualified service personnel. Replacement parts for a
double-insulated unit must be identical to the parts they
replace. Refer any repair to an authorized service dealer.
A double-insulated unit is marked with the words
“DOUBLE INSULATION” or “DOUBLE INSULATED.”
LINE INSTALLATION
Always use genuine Ryobi 0.080 inch (2.03 mm.)
replacement line. Line other than specified may make
the motor overheat or fail.
WARNING: To prevent serious personal
injury, never use metal-reinforced line, wire,
or rope, etc.. These can break off and
become a dangerous projectile.
There are two methods to replace the trimming line.
• Wind the inner reel with new line
• Install a prewound inner reel
Winding the Existing Inner Reel
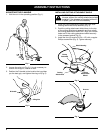
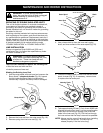
1. Hold the outer spool with one hand and unscrew the
Bump Knob™ counterclockwise (Fig. 18). Inspect
the bolt inside the Bump Knob to make sure it
moves freely. Replace the Bump Knob if damaged.
4. Use a clean cloth to clean the inner reel, spring,
shaft, and inner surface of the outer spool (Fig. 20).
2. Remove the inner reel from the outer spool (Fig. 19).
3. Remove spring from the inner reel (Fig. 19).
Inner Reel
Outer Spool
Spring
Bump Knob™
Shaft