


14
www.remingtonpowertools.com
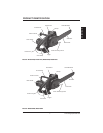
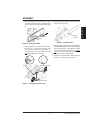
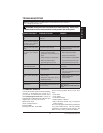
Power Cord
Extension Cord
Cord Hitch
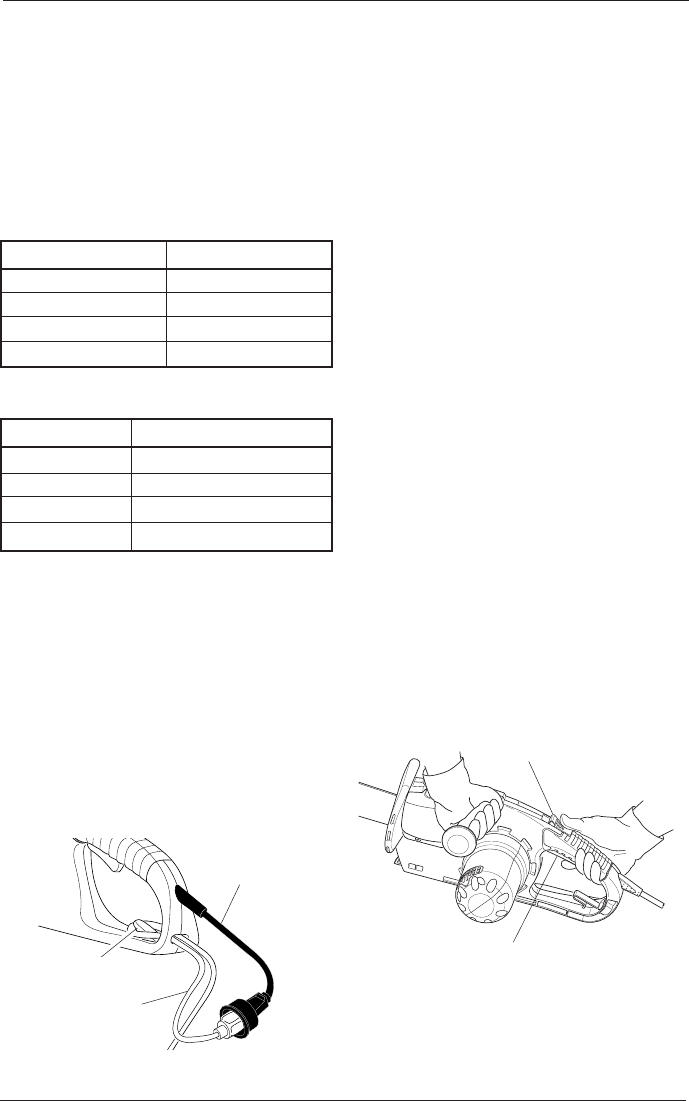
Trigger
Switch Lockout Button
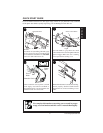
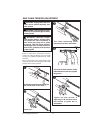
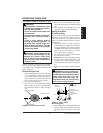
Figure 11 - Looping Extension Cord over
Cord Hitch
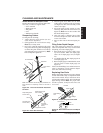
Cord Length AWG Cord Size
25 feet 16 AWG
50 feet 16 AWG
100 feet 16 AWG
150 feet 14 AWG
Models: M15012US, M15014AS
Keep cord away from cutting area. Make sure cord
does not catch on branches or logs during cutting.
Inspect cords often. Replace damaged cords.
This chain saw is designed with an extension cord
hitch that prevents the extension cord from being
pulled loose during use. To use, form a loop with
the end of the extension cord, insert loop into slot in
rear of handle, and place loop over cord hitch (see
Figure 11. Gently pull loop against cord hitch
until slack is removed. Plug extension cord into
chain saw cord.
EXTENSION CORDS
Use proper extension cords with this saw. Use only
extension cords marked for outdoor use. The cord
must be marked with suffix W or W-A following
the cord type designation. Example: SJTW-A
or SJTW.
Use proper sized cord with this saw. Cord must be
heavy enough to carry current needed. An undersized
cord will cause voltage drop at saw. Saw will lose
power and overheat. Follow cord size requirements
listed below.
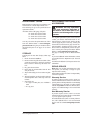
Cord Length AWG Cord Size
25 feet 16 AWG
50 feet 16 AWG
100 feet 14 AWG
150 feet 12 AWG
Models: M30016US, M30016AS, M30016AW,
M35016AW
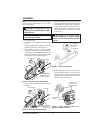
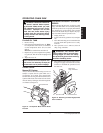
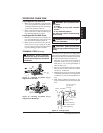
Figure 12 - Lockout Button and Trigger
Location
CUTTING WITH THE CHAIN SAW
1. Connect saw to extension cord. Connect exten-
sion cord to power supply.
2. Make sure section of log to be cut is not laying
on ground. This will keep chain from touch-
ing ground as it cuts through log. Touching
ground with moving chain will dull chain.
3. Use both hands to grip saw. Always use left
hand to grip front handle and right hand to
grip rear handle. Use firm grip. Thumbs and
fingers must wrap around saw handles (see
Figure 12).
4. Make sure your footing is firm. Keep feet
apart. Divide your weight evenly on both
feet.
5. When ready to make a cut, push the lockout
button completely forward with the right
thumb and squeeze the trigger (see Figure 12).
This will turn saw on. Releasing trigger will
turn saw off. Make sure saw is running at full
speed before starting a cut.
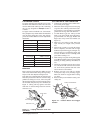
6. When starting a cut, place moving chain against
wood. Hold saw firmly in place to avoid possible
bouncing or skating (sideways movement) of
saw.
7. Guide saw using light pressure. Do not force
saw. The motor will overload and can burn
out. It will do the job better and safer at the
rate for which it was intended.
8. Remove saw from a cut with saw running
at full speed. Stop saw by releasing trigger.
Make sure chain has stopped before setting
saw down.
9. Practice until you can maintain a steady, even
cutting rate.