6 |
120134
Chapter 3: Trimmer Operation
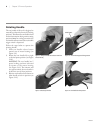
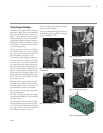
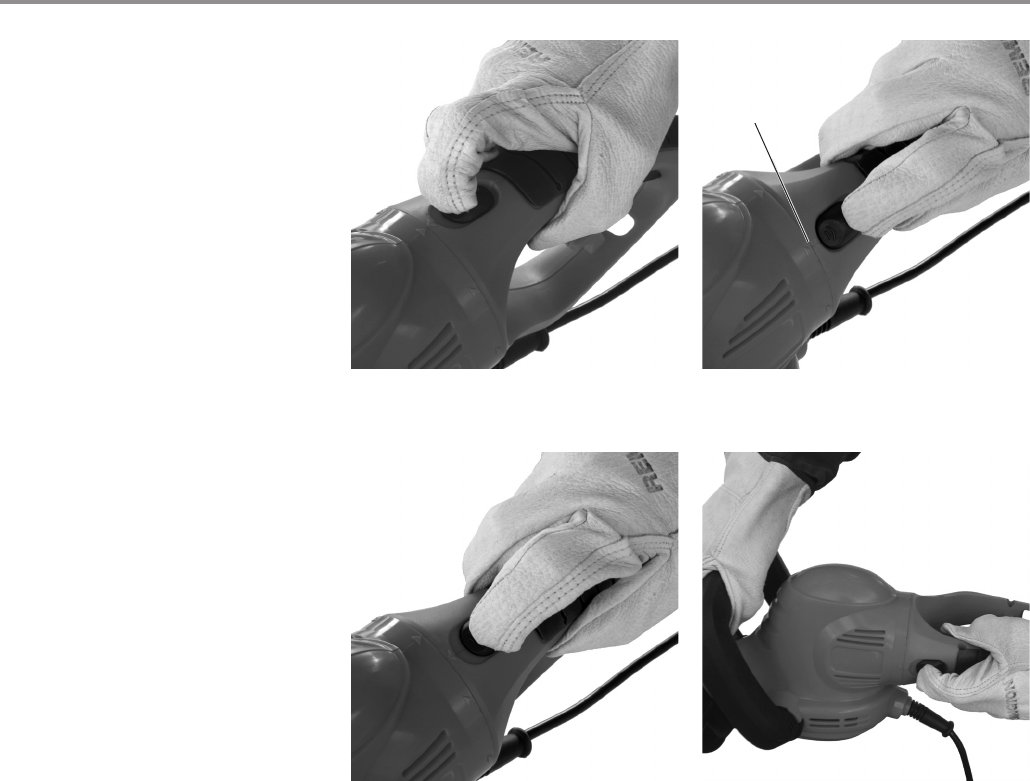
Figure 3-9: Sliding rear handle release button toward rear
of motor housing
Figure 3-10: Rotating rear handle
Figure 3-11: Arrows indicating preset locking positions
Figure 3-12: Rear handle locked into position
Rotating Handle
e rear handle of this tool is designed to
rotate 90° to either side of vertical (5 locking
postions). is allows for comfortable hand
and wrist orientation during various cutting
positions. Note: As a safety precaution, the
rear handle will not rotate if the rear handle
trigger switch is depressed.
Follow the steps below to operate the
pivoting handle.
1. Slide rear handle release button
toward rear of motor housing (see
Figure 3-9).
2. Rotate the rear handle left or right
to desired preset position (see Figure
3-10).
IMPORTANT: e rear handle has 5
preset locking positions indicated
by arrows on the motor housing
(see Figure 3-11). e trimmer will
not operate unless the rear handle is
locked into one of these positions.
3. Release rear handle release button to
allow handle to lock in position (see
Figure 3-12).
Locked Position


