


Page 11
REMOVING & REPLACING SENSOR - MODELS
185, 265, 335 & 405, A & B SERIES:
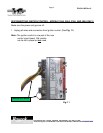
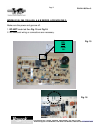
Make sure the power and gas are off.
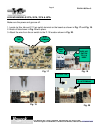
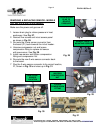
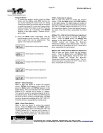
1. Loosen drain plug to relieve pressure in heat
exchanger. See Fig. 27.
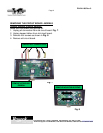
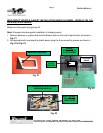
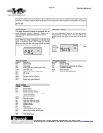
2. Remove five screws and in/out access panel
as shown in Fig. 28.
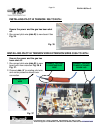
3. Re-route the 2-wire sensor connector from
the board (P1) back towards the in/out header.
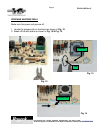
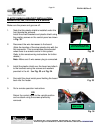
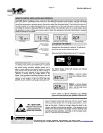
4. Unscrew compression nut and loosen
compression fitting to replace old sensor
with new sensor. See Fig. 29.
5. Install new sensor and tighten compression
fitting and compression nut.
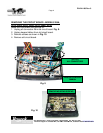
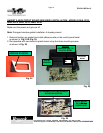
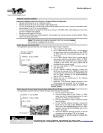
6. Re-route the new 3-wire sensor connector back
to the board.
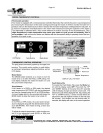
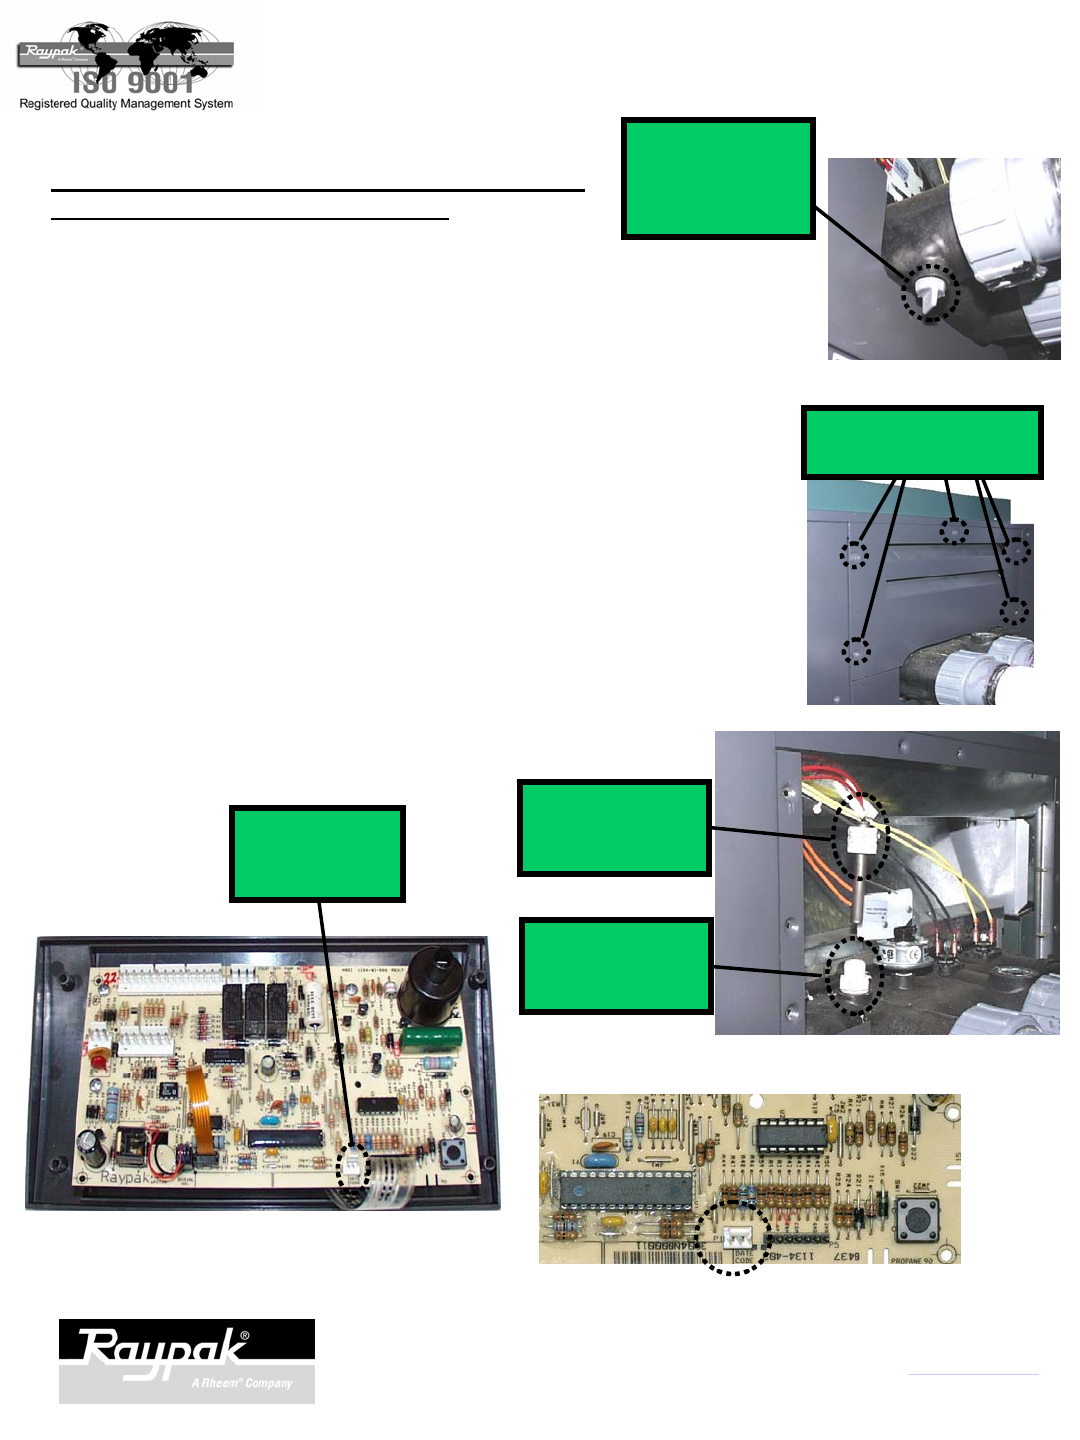
7. Plug the 3-wire sensor connector to its correct location,
P1, shown in Fig. 30 and close up in Fig. 31.
REMOVE THESE 5
MOUNTING SCREWS
Fig. 27
LOOSEN DRAIN
PLUG TO
RELIEVE
PRESSURE
Fig. 29
UNSCREW
COMPRESSION
NUT
Fig. 30
NEW 3-WIRE
SENSOR
LOCATION
LOOSEN
COMPRESSION
FITTING
2151 Eastman Ave., Oxnard, CA 93030 805-278-5300 Fax 800-777-7026 www.raypak.com
Technical support is available M-F, 5:30 AM to 5:00 PM PST, at 800-947-2975 or 800-627-2975
Fig. 28
Fig. 31
P/N 241169 Rev.-3