


13
LUBRICATION
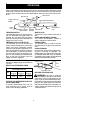
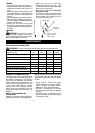
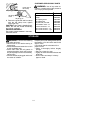
Bar Oil Fill Cap
S Check bar and chain oil before use
and every 15 minutes while operating
the saw. See
GUIDE BAR AND CHAIN
OIL
under the OPERATION section.
INSPECT AND CLEAN UNIT AND
LABELS
S After each use, inspect complete unit
forloose ordamaged parts. Clean the
unitand labelsusing adamp clothwith
a mild detergent.
S Wipe off the unit and labels with a
clean dry cloth.
SERVICE AND ADJUSTMENTS
CHAIN SHARPENING
Chai n sharpeni n g re quir e s special tools.
Yo u can purchase sharpening tool s at an
authori zed service dealer or go t o a pro-
fessional chain sharpener.
WARNING: Avoid acc identalstart-
ing. Always unplug saw from power
source before installing a bar and/or
chain.
CHAIN REPLACEMENT
WARNING: Wear protective
gloves when handling chain. The chain
is sharp and ca n cut you even when it is
not moving.
Itis normalfora newchainto stretchdur-
ing the first 15minutes of operation. You
should recheck your chain tension fre-
quently and adjust the chain tension as
required. See
CHECK CHAIN TENSION
section.
Replace the old chain when it be comes
worn or damaged. Use only the Low
Kickback replacement chain specified
in the list of available replacementparts.
Thechain mustcomplywithkickbackre-
quirementsofANSIB175.1 whentested
with this saw. See your authorized ser-
vice dealer to replace and sharpen indi-
vidual cutters on your chain.
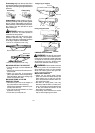
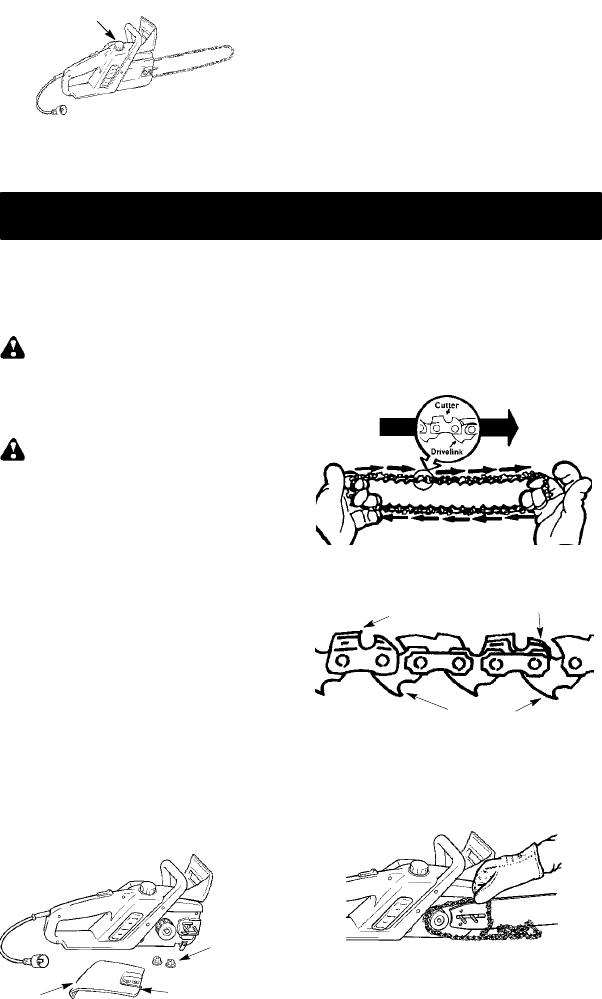
TO REPLACE CHAIN:
1. Disconnect the chain saw from the
power source.
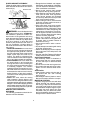
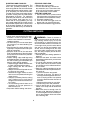
2. Remove bar c lamp nuts.
3. Remove bar c lamp and old chain.
Bar Clamp
Nuts
Adjusting Screw
Bar
Clamp
4. Turn the adjusting screw c ounter-
clockwise to move the adjusting pin
almost as far as it will go to the rear.
Do not remove the adjusting s crew
from the bar clamp.
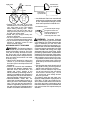
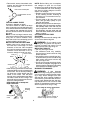
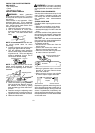
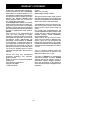
5. Carefully remove the new chain from
the package. Hold chain withc utters
facing as sh own.
CUTTERS MUST FACE IN
DIRECTION OF ROTATION
Tip of
Bar
Cutters
Depth Gauge
Drive Links
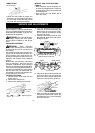
6. Place chain around the sprocketand
fit the drive links into the guide bar
groove and then into the teeth of the
sprocket in the tip of the guide bar.
7. Hold the guide bar against the saw
frame and install the bar clamp. Be
sure adjusting pin is in the adjusting
pin hole in the bar.