13
S
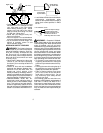
Check bar and chain oil before use
and every 15 minutes while operating
the saw. See
GUIDE BAR AND CHAIN
OIL
under the
OPERATION
section.
S
Lubricate bar sprocket hole after each
use.
INSPECT AND CLEAN UNIT AND
LABELS
S
After each use, inspect complete unit
for loose or damaged parts. Clean the
unit andlabels using a damp cloth with
a mild detergent.
S
Wipe off the unit and labels with a
clean dry cloth.
SERVICE AND ADJUSTMENTS
CHAIN SHARPENING
Chain sharpening requires special tools.
You can purchase sharpening tools at an
authorized service dealer or go to a pro-
fessional chain sharpener .
WARNING:
A void accidental start-
ing. Always unplug saw from power
source be fore insta lling a bar and/or
chain.
CHAIN REPLACEMENT
WARNING:
Wear protective
gloves when handling chain. The chain
is sharp and can cut you even when it is
not moving.
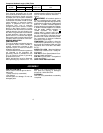
It is normal for anewchain to stretchdur -
ing the first 30 minutes of operation. You
should recheck your chain tension fre-
quently and adjust the chain tension as
required. See
CHECK CHAIN TENSION
section.
Replace the old chain when it becomes
worn or damaged. Use only the Low
Kickback replacement chain s pecified
in the list of available replacement parts.
The chain must complywith kickbackre-
quirements of ANSI B175.1 whentested
with this saw. See your authorized ser -
vice dealer to replace and sharpen indi-
vidual cutters on your chain.
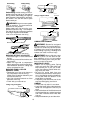
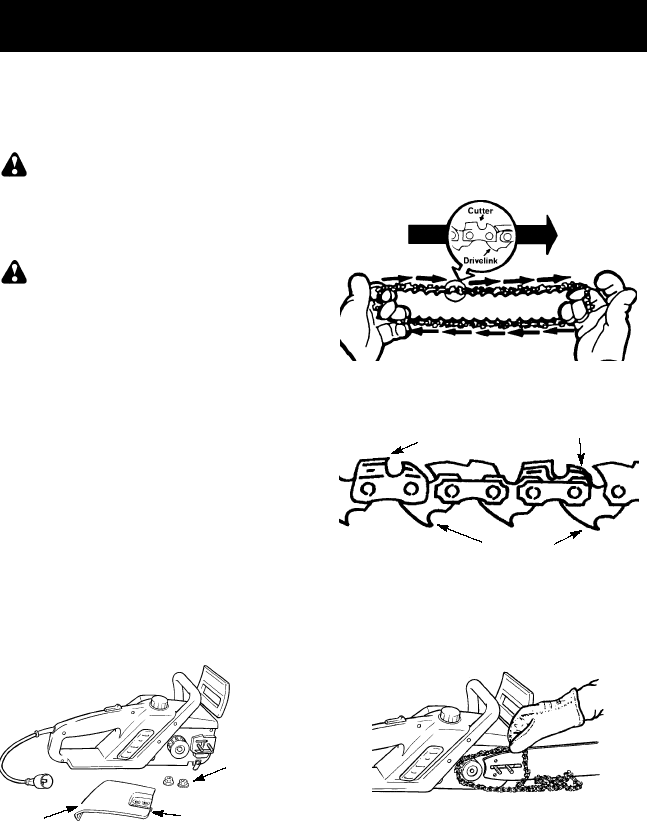
TO REPLACE CHAIN:
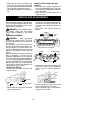
D
Disconnect the chain saw from the
power source.
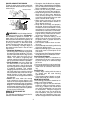
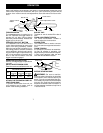
Bar Nuts
Adjusting Screw
Bar
Clamp
S
Removebar mounting nuts, bar clamp
plate, and old chain.
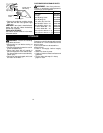
S
Turn the adjusting screw counter-
clockwise tomove the adjusting pin al-
most as far as it will go to the rear. Do
not remove the adjusting screw from
the unit.
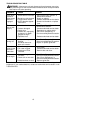
S
Hold chain with cutters facing as
shown.
CUTTERS MUST FACE IN
DIRECTION OF ROTATION
Tip of
Bar
Cutters
Depth Gauge
Drive Links
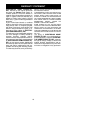
S
Place chain around the sprocket and
fit the drive links into the guide bar
groove and then around guide bar
nose.
S
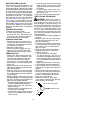
Hold the guide bar against the saw
frame and install the bar clamp.
Be sure adjusting pin is in the adjust-
ingpinholeinthebar.


