9
POWER CORD
The
POWER CORD
is used to connect
the chain s aw to an approved extension
cord.
CHAIN TENSION
It is normal for a new chain to stretch dur-
ing first 30 minutes of operation. You
should check your chain t ension frequent-
ly. See
CHAIN TENSION
under the
SER-
VICE AND ADJUSTMENTS
section.
OPERATING INSTRUCTIONS
Use only a voltage supply a s s pecified o n
your unit.
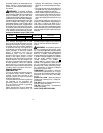
SELECT AN EXTENSION CORD
Extension cords are available for this unit .
MINIMUM WIRE GAUGE
RECOMMENDATIONS
Volts
120
16
A.W.G.*
*American Wire Gauge
25 ft.
(7.67 M)
16
A.W.G.*
50 ft.
(15.24 M)
100 ft.
(30.48 M)
14
A.W.G.*
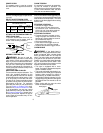
ATTACH THE EXTENSION CORD T O
YOUR CHAIN SAW
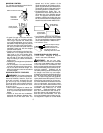
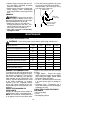
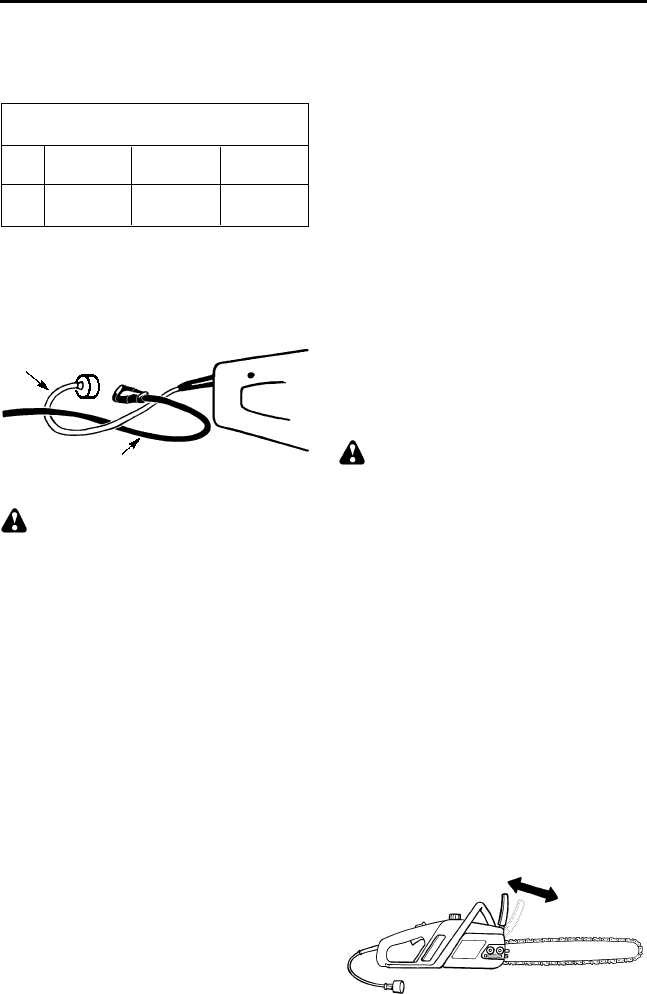
To prevent disconnection from unit, se-
cure extension cord to power cord as
sho wn in the follo wing illustration.
Power Cord
Extension Cord
BEFORE STARTING SAW
WARNING:
Be sure to read the
electrical safety information in the safety
rules section of this manual before you
begin. If youdo not understand the elec-
trical safety information donot attemptto
use your unit. Seek help from someone
that does understand the information or
call the customer assistance help line at
1-800-554-6723.
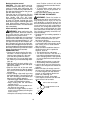
GUIDE BAR AND CHAIN OIL
The bar and chain require lubrication. The
chain oiler provides lubrication to the
chain and guide bar. B e sure to fill the bar
oil tank before each cutting session. Lack
of oil will quickly ruin the bar and chain.
Too little oil will cause overheating shown
by smoke coming from the chain and/or
discoloration of the bar . For m aximum
guide bar and chain life, we recommend
you use Poulan or Poulan Pro
R
chain
saw bar oil. If Poulanor Poulan Pro
R
bar
oil is not available, you may use a good
grade SAE 30 oil until you are able to ob-
tainPoulan or Poulan Pro
R
brand. U se a
funnel to fill the tank. R eplace oil cap se-
cure ly. Che c k oil level after every 15 min-
utes of operation.
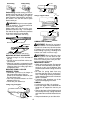
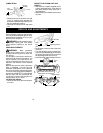
CHAIN BRAKE
Ensure chain brake is disengaged bypull-
ing the front hand guard back toward the
front handle as far as possible. The c hain
brake must be disengaged before cutting
with the saw.
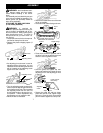
STOPPING YOUR SAW
S
Release the trigger switch.
S
If motor does not stop, disconnect
the extension cord. Discontinue use
of the unit until it has been repaired
by an authorized service dealer.
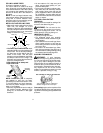
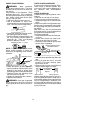
STARTING YOUR SAW
S
Connect the saw to a power source
using the proper size extension cord
;
see
SELECT AN EXTENSION CORD
in
the
OPERATION
section).
S
Grip both handles firmly.
S
Push and hold the trigger lock--out
button with your right hand thumb.
S
Squeeze and hold the trigger switch.
CHAIN BRAKE
WARNING:
If the brake band is
worn too thin it may break when the chain
brake is triggered. With a broken brake
band, the chain brake will not stop the
chain. The chain brake must be replaced
if any part is w orn to less than 1/32
"
thick.
Repairs on a chain brake should b e m ade
by your authorized service dealer. Take
your unit to the place of purchase or tothe
nearest authorized service dealer .
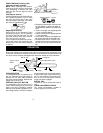
S
This saw is equipped with a chain
brake. The brake is designed to st op the
chain if kickback occurs.
S
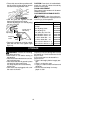
The inertia--activated chain brake is ac-
tivated if the front hand guard is pushed
forward, either manually (by hand) or
automatically (by sudden movement).
S
If the brake is already activated, it is dis-
engaged by pu lling th efront hand guard
back tow ard the front handle as far as
possible.
S
When cutting with the saw , the chain
brake must be disengaged.
Disengaged
Engaged


