Rev. G 1-22-04 P/N 471048
29
A-3
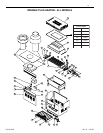
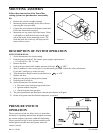
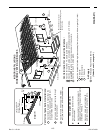
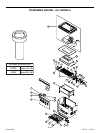
MOUNTING ASSEMBLY
Follow these instructions if the PowerMax
venting system was purchased as an assembly
kit.
1. Remove the vent kit assembly (indoor).
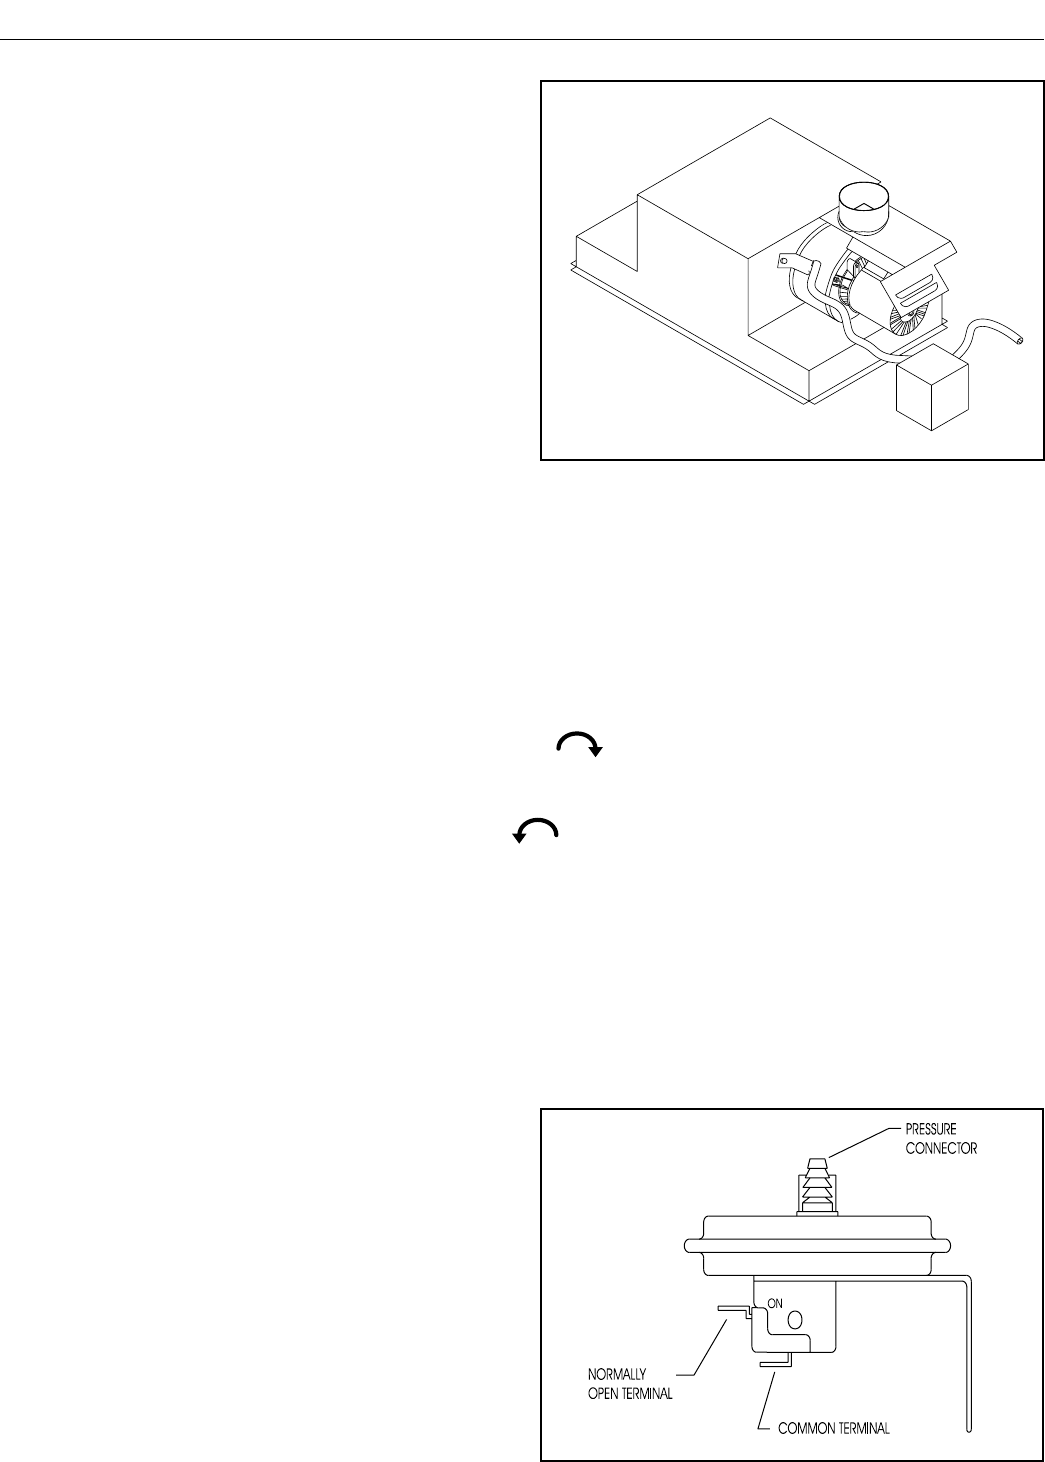
2. Mount the plenum assembly on the flue collector
top using the screw provided.
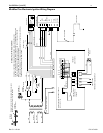
3. Connect the wire harness to the heater control box.
Follow the instructions on page 5.
4. Mount the new top on the top of the heater. Using
a #28 drill bit to drill the four holes on the right
side of the heater for the mounting screws. The
front and back side of the top will snap into the
heater with no screws.
Figure 1.
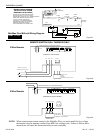
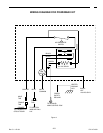
PRESSURE SWITCH
OPERATION
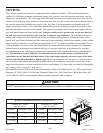
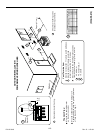
The air pressure switch is a safety device to insure that
the blower is operating and has been designed to monitor
the vacuum (negative) pressure within the fan housing.
The air pressure switch is in the ignition module circuit
and the ignition module does not operate unless the
switch is closed.
Figure 2.
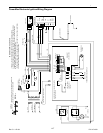
DESCRIPTION OF SYSTEM OPERATION
SYSTEM OPERATION:
1. Set the thermostat to the lowest setting.
2. Push the power switch off. The electric power supply requirement is:
• 115 volts 60 Hz, 1 Ph, 1.5 Amp
3. Remove the door.
4. Push in the gas control knob slightly and turn clockwise to “OFF”.
5. Wait (5) minutes to clear out any gas. If you then smell gas STOP. Follow the safety information.
If you don’t smell gas, go to the next step.
6. Turn the knob on the gas control counterclockwise to “ON”.
7. Replace the door.
8. Make sure the pump is running and is primed.
9. Push the power switch on.
10. Set the thermostat to the desired setting.
• a. Fan motor starts, draft proving switch closes.
• b. Ignition module energized.
• c. Check for spark at the gas pilot.
11. The pilot should spark and then ignite, then the main burners will ignite.
12. Heater will operate until the desired temperature is reached.
AIR PRESSURE SWITCH


