Pelco Manual C496M (12/90) 3
3.4 POWER REQUIREMENTS
The blower and heater require a 24 VAC/120 VAC/230
VAC, 50/60 Hz single phase power source. They use
the following wattage when in operation.
Blower: 4.5 watts
Heater: 80 watts
4.0 INSTALLATION
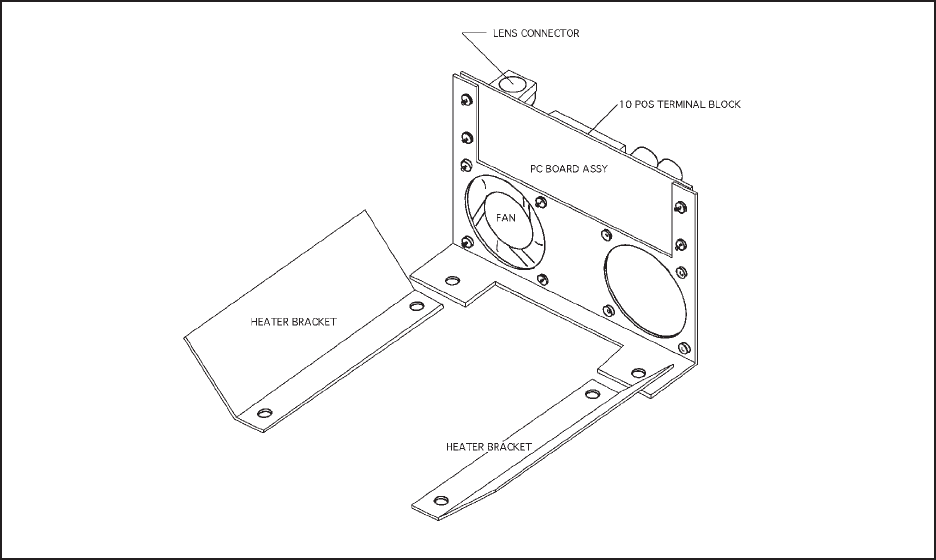
To install the HB6000, HB6000/220, and HB6024 per-
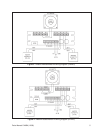
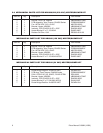
form the following steps. Refer to Figure 1.
4.1 HEATER ASSEMBLY
1. Open the cover or access door.
2. The heater brackets are designed to attach to two
(2) adjacent studs retaining the window.
3. Remove any two (2) adjacent nuts and washers
(preferably at the bottom of the window) on both
sides of the window.
4. Place the heater brackets on the studs, heaters
angled away from the window, and replace and
tighten the hardware.
4.2 BLOWER/PCB ASSEMBLY
1. Open the cover or access door(s).
2. On the HS1000, the blower/PCB bracket is de-
signed to attach to any two (2) adjacent studs re-
taining the bottom plate. On the HS6000, the
blower/PCB bracket is designed to attach to the
two (2) studs at the bottom of the window.
3. On the HS1000, remove any two (2) adjacent nuts
and washers retaining the bottom plate to the
mounting frame. On the HS6000, remove the nuts
and washers retaining the bottom of the window.
4. Place the blower/PCB bracket over the studs and
replace and tighten the hardware
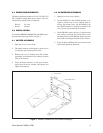
Figure 1. HB6000, HB6000/220, and HB6024 Assembly


