9
F041303L
UNPACK TILLER
1. Open top of carton and remove handlebar assembly.
2. Cut open end of carton and remove machine:
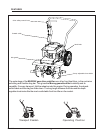
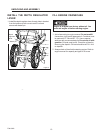
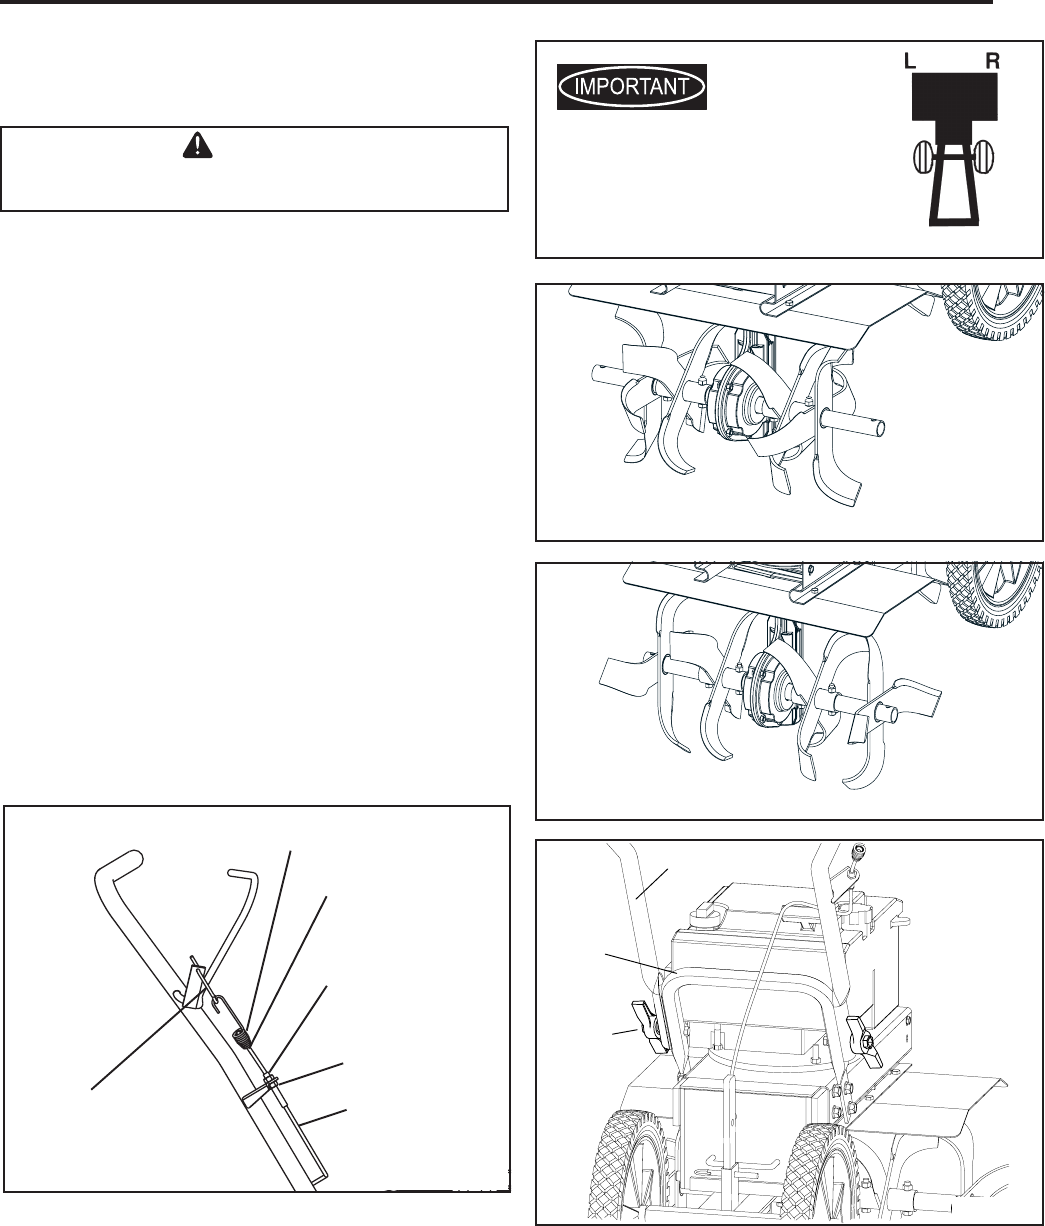
a. Tines are pre-assembled at 21 width. Sharp edge
of tine will be away from operator at top or face down
at front of machine.(Figure 2)
b. Outside tines have two positions- wide 21 & narrow
16. For narrow width - assemble with short side of
tine holder pipe towards center of machine. For 11
width, remove outside tine sets. (Figure 1)
c. For wide width - move left tine to right side and right
to left side. Assemble with long half of tine pipe
towards machine. (Figure 2)
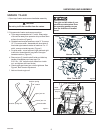
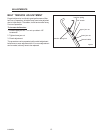
d. Remove two (2) hand knobs & bolts and slide top
handle of handlebar over lower loop. Put
5/16-18 x 1-3/4 bolts thru both holes from inside
out, and tighten with hand knobs.
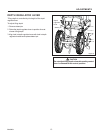
e. Check upper and lower jam nuts for tightness. See
Figure 4, Belt Tension Adjustment.
f. Add and check engine oil.
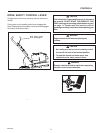
The right and left sides of your
rototiller are determined from
the operating position as you
face the direction of forward
travel.
Narrow Tine Width
Wide Tine Width
hand knob
lower
handlebar
loop
upper handlebar
Do not try to lift the rototiller from the carton.
CAUTION
UNPACKING AND ASSEMBLY
Figure 1
Figure 2
Figure 3
forward cable
upper jam nut
lower jam nut
1/4 stretch
beehive spring
tension spring link
Figure 4


