19
•RemovethedeckbeltfromtheelectricPTOclutchandfromaroundthePTOidlerpulley.
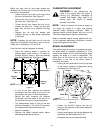
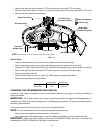
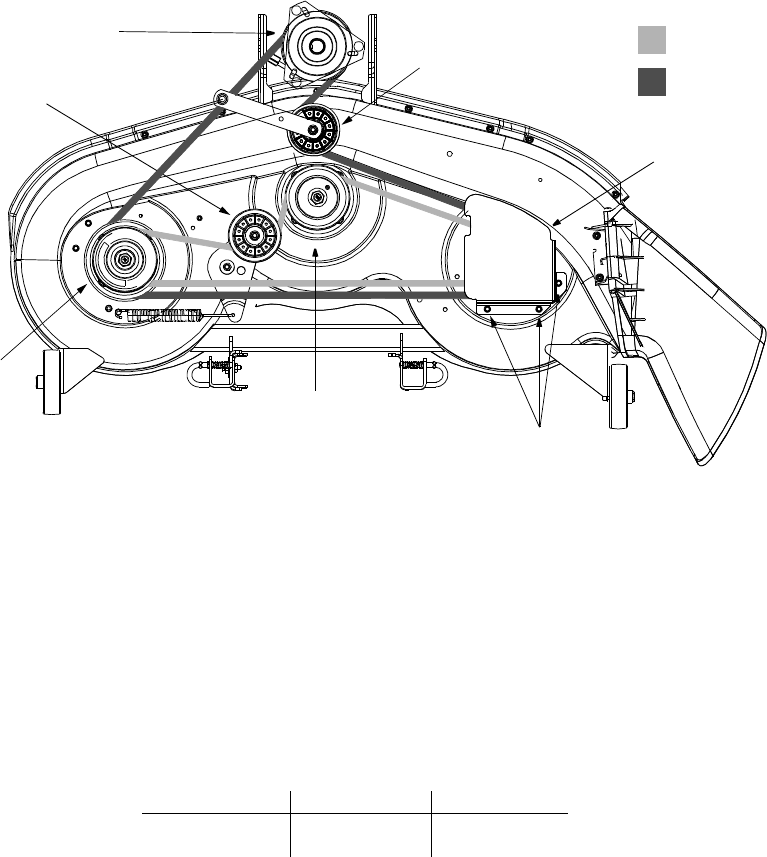
•RoutethenewbeltasshowninFigure14,aroundthedeckpulleys,idlerpulleyandelectricPTOclutch.
•Remountthebeltguardsremovedearlier.
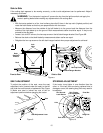
Figure15
46-inchdecks
•Lowerthedeckbymovingtheliftleverintothebottomnotchontherightfender.
•Removethebeltguardsbyremovingtheself-tappingscrewsthatfastenthemtothedeck.
•GraspthePTOidlerpulleybracketandpivotittowardthedischargechutetorelievetensiononthebelt.
•RemovethedeckbeltfromtheelectricPTOclutchandfromaroundthePTOidlerpulley.
•Removeanddiscardoldbelt.
•Routethenewbelt(s)asshowninFigure15.OEMbeltpartnumbersshownbelow.
•Remountthebeltguardsremovedearlier.
CHANGINGTHETRANSMISSIONDRIVEBELT(S)
Allbeltsonyourtractoraresubjecttowearandshouldbereplacedifanysignsofcracking,shreddingor
rottingarepresent.
IMPORTANT:
The V-belts found on your tractor are specially designed to engage and disengage safely. A
substitute (non-OEM) V-belt can be dangerous by not disengaging completely. For a proper working machine,
use factory approved belts.
Tochangeorreplacethedrivebelt(s)onyourtractor,proceedasfollows:
NOTE:
It’s recommended that both drive belts be replaced at the same time.
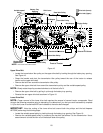
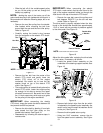
•Removethecuttingdeckasinstructedearlierinthissection.
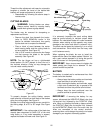
•Afterdisconnectingthebatterycables,removethebatteryandbatterytrayfrombeneaththeseat.
IMPORTANT:
When removing the battery, disconnect the NEGATIVE (Black) wire from it’s terminal first,
followed by the POSITIVE (Red) wire. Re-install in reverse order.
42-InchDeck 46-InchDeck
PTO(Top)Belt 754-0472 754-0474
BottomBelt N/A 754-0349
ElectricPTOClutch
PTOIdlerPulley
LeftHand
DoublePulley
RightHand
DoublePulley
CenterPulley
DeckIdlerPulley
Deckbelt(Bottom)
PTObelt(Top)
NOTE:Lefthandbeltcovernotshownforclarity.46-inchdeckshown.
Self-TappingScrews
(beneathbeltguard)
(mountedontractor)


