


8
PREPARING FOR OPERATION
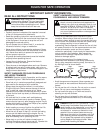
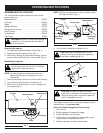
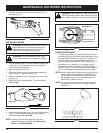
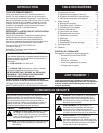
For ease of operation, your hedge trimmer has a loop
handle. For ease of operation and best balance of the
unit. we recommend that you use the loop handle on the
hedge trimmer attachment rather than the assist handle
on the powerhead (Fig. 4).
Loop
Handle
CAUTION: Do not use any part of the housing
as a gripping surface.
CAUTION: Do not operate if blade guard
breaks or gets damaged.
WARNING: Check loop handle before each
use. Make sure it is securely fastened to your
hedge trimmer attachment before using.
WARNING: If any parts are missing, damaged,
or broken, do not operate your hedge trimmer
until they have been replaced. Failure to do so
could result in possible serious personal injury.
WARNING: Keep hands and fingers away from
moving parts. Any part of body coming in
contact with moving parts could result in
serious injury.
DANGER: If blade jams on any electrical cord
or line, DO NOT TOUCH THE BLADE! IT CAN
BECOME ELECTRICALLY LIVE AND VERY
DANGEROUS. Release the unit in the safest
manner possible, and turn off power source.
OPERATING TIPS
NOTE: Do not operate unit with the hedge trimmer
attachment at full engine speed. Best
performance occurs at 1/2 to 3/4 speed.
1. Wear gloves when trimming thorny or prickly growth.
When trimming new growth, use a wide sweeping
action, so that the stems are fed directly into the
cutting blade. Older growth will have thicker stems
and will be trimmed easiest by using a sawing
movement. Do not try to cut stems that are larger
than 3/8 inch thick, or those obviously too large to
feed into the cutting blade. Use a non-powered hand
saw or pruning saw to trim large stems.
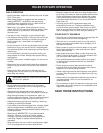
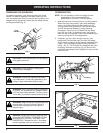
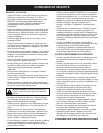
2. If desired, you can use a string to help cut your
hedge level. Decide how high you want the hedge.
Then, stretch a piece of string along the hedge at this
height. Trim the hedge just above this guide line of
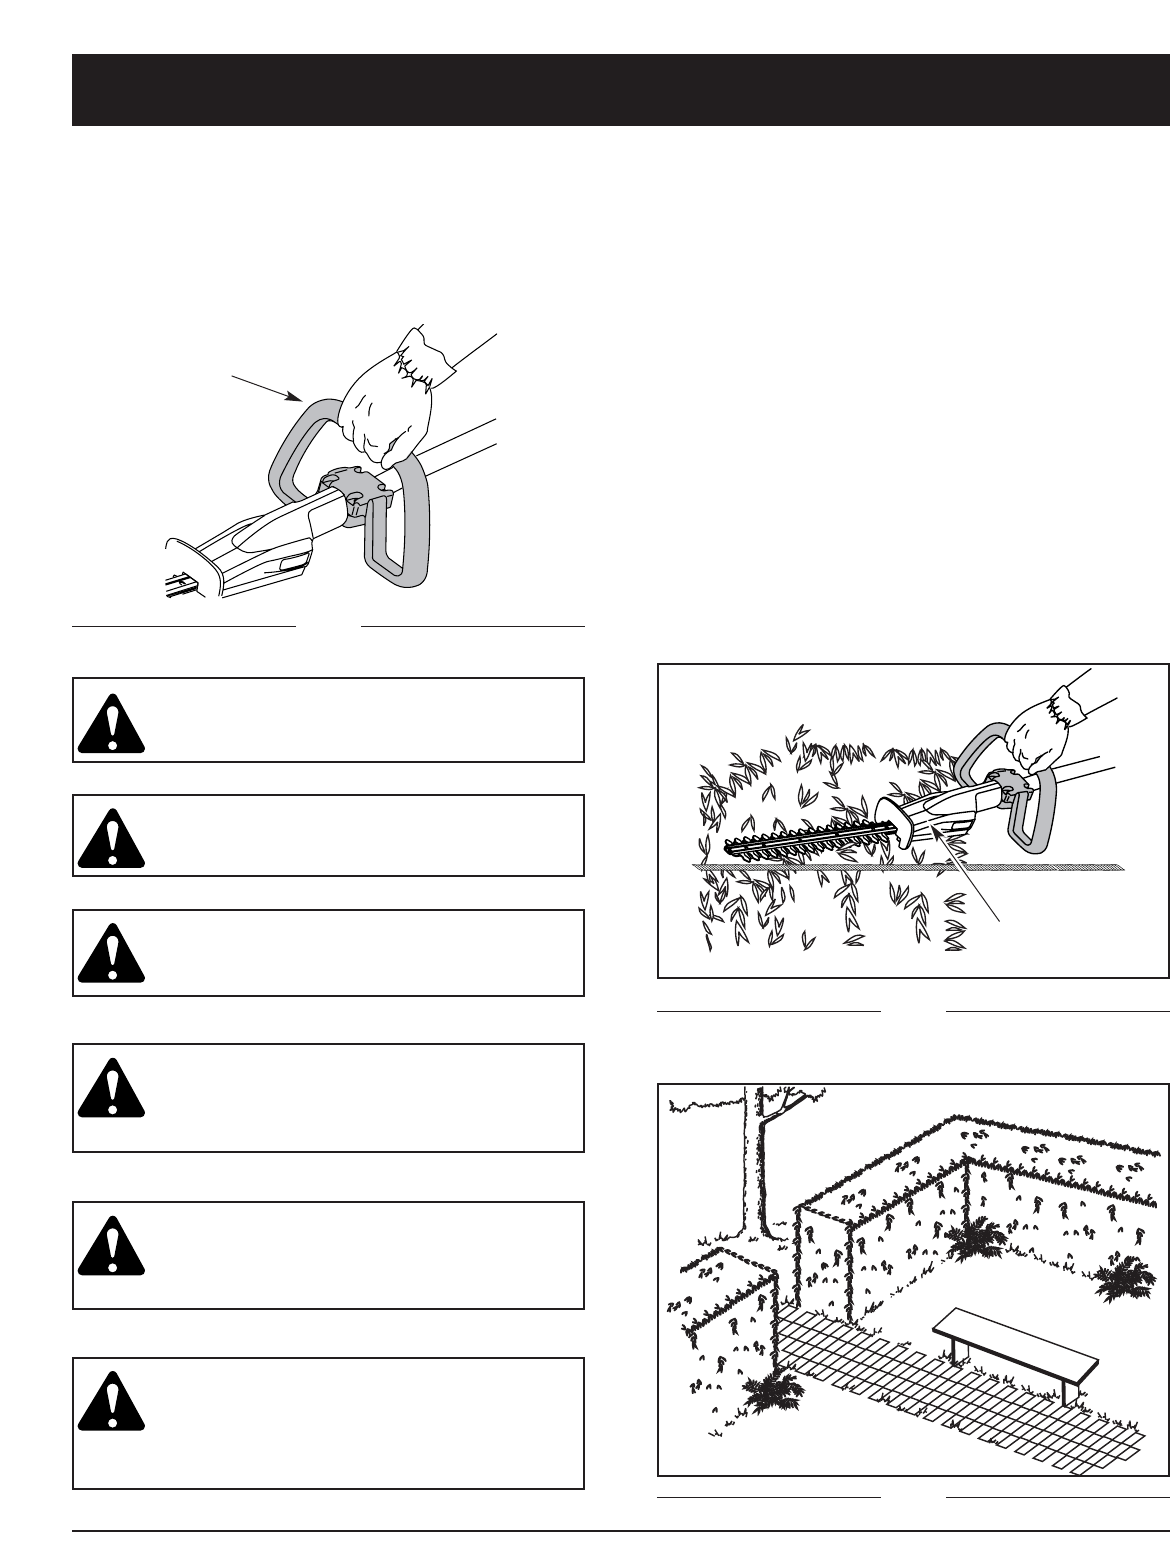
string (Fig. 5). Trim the side of a hedge so that it will
be slightly narrower at the top (Fig. 6). More of the
hedge will be exposed when shaped this way, and be
more uniform.
Housing
Fig. 4
Fig. 5
Fig. 6
OPERATING INSTRUCTIONS