7
3
Setting Up
Your Snow
Thrower
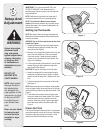
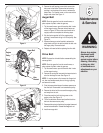
Figure 5
Figure 4
WARNING
Do not over-tighten
the cable. Over-
tightening may
prevent the auger
from disengaging
and compromise the
safety of the snow
thrower.
If auger continues
to rotate with the
control disengaged,
shut off engine and
readjust.
Never attempt to
clean chute or make
any adjustment while
engine is running.
Over-inflating the
tire with excessive
pressure (well above
20 psi) may cause
the tire/rim to burst
with sufficient force
to cause serious
pressure.
4WOKNOBSAVAILABLE
Drive Cable
Auger Cable
Cable Ties
Tire Pressure
The proper inflation pressure is 20 psi. Check the tire
pressure periodically and maintain equal pressure in both
tires at all times. Excessive pressure (well above 20 psi)
may cause the wheel (tire/rim) assembly to burst with
sufficient force to cause serious injury. Do not over-inflate
the tire. Use a manual pump or portable electric tire
inflator to prevent over-inflation. NEVER USE AN AIR
COMPRESSOR.
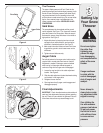
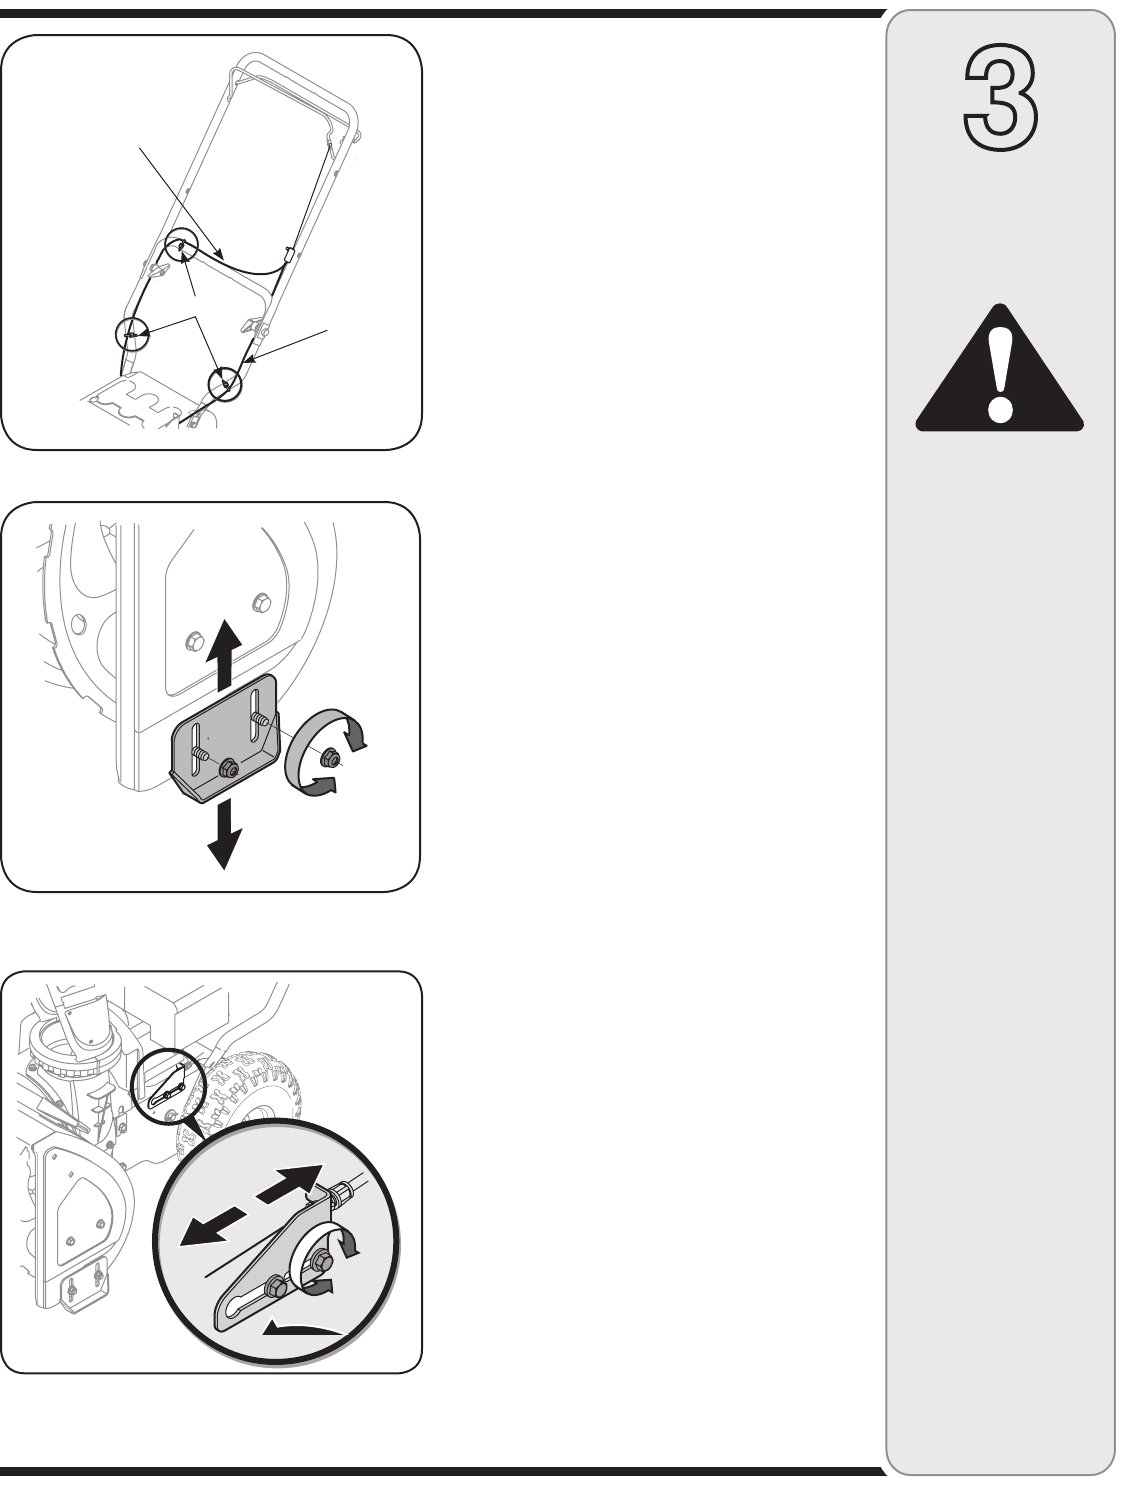
Skid Shoe
The space between the shave plate and the ground
can be adjusted. See Figure 7. For close snow removal,
place skid shoes in the low position. When the area to
be cleared is uneven, place skid shoes in the middle or
high position. See Figure 5.
1. Adjust skid shoes by loosening two hex nuts and
carriage bolts on each skid shoe, and moving the
skid shoe to the desired position. See Figure 5.
2. Make certain the entire bottom surface of skid shoe
is against the ground to avoid uneven wear on the
skid shoes.
3. Tighten nuts and bolts securely.
Auger Cable
Periodic adjustment to the auger control cable may be
required due to normal stretch and wear on the belt.
Adjustment is needed if the augers seem to hesitate
while turning, but the engine maintains speed, or
continue turning with the auger control disengaged.
1. Loosen the rear hex bolt on the cable adjustment
bracket. See Figure 6.
2. Slide the cable adjustment bracket backwards taking
out the slack in the auger cable.
3. Retighten the rear hex bolt
4. Start engine and verify auger control engages and
disengages properly.
Final Adjustments
IMPORTANT: Check the adjustments as instructed and
make any final adjustments necessary before operating
the unit. Check all nuts and bolts for tightness.Failure to
follow these instructions may cause damage to unit.
Figure 6


