


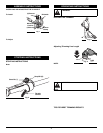

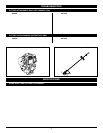
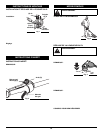

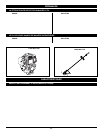
9. Wind the line in tight even layers in the direction indicated
on the inner reel. (Fig. 10)
NOTE: Failure to wind the line in the direction indicated will
cause the cutting attachment to operate incorrectly.
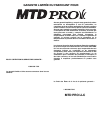
10. Insert the ends of the line into the two holding slots (Fig. 11).
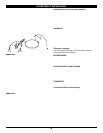
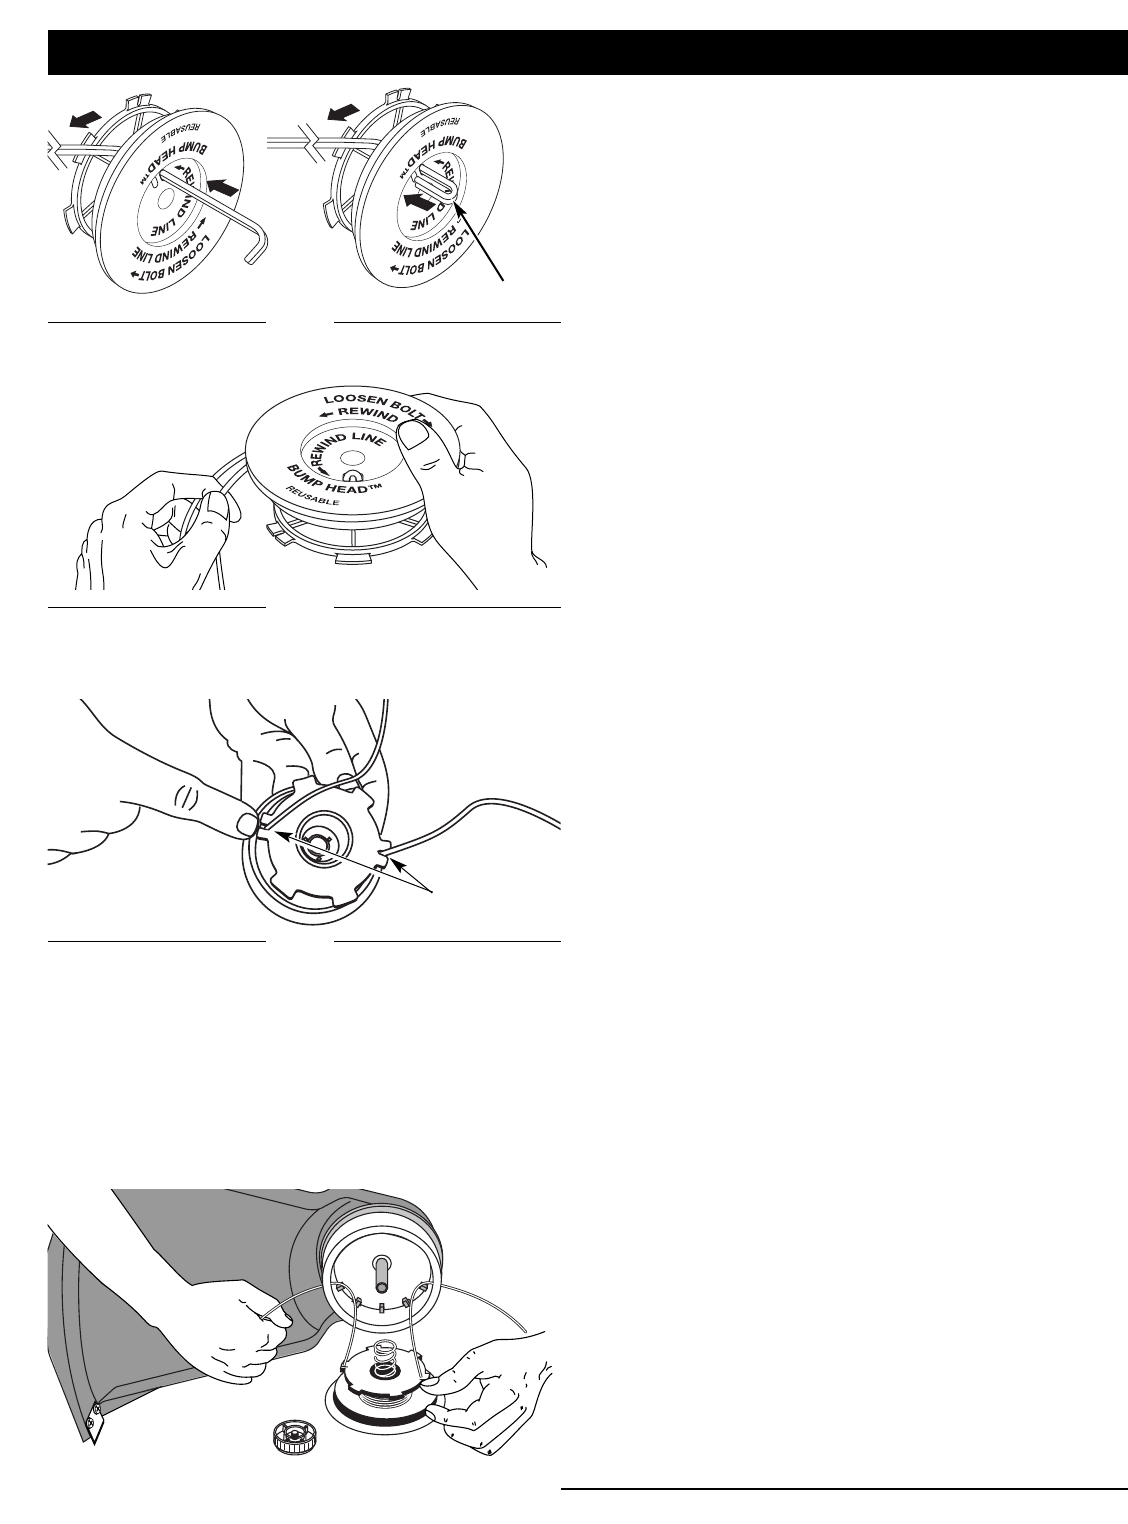
11. Insert the ends of the line through the eyelets in the outer
spool and place inner reel with spring inside the outer spool
(Fig. 12). Push the inner reel and outer spool together.
While holding the inner reel and outer spool, grasp the ends
and pull firmly to release the line from the holding slots in
the reel.
NOTE: The spring must be assembled on the inner reel before
reassembling the cutting attachment.
12. Hold the inner reel in place and install the Bump Knob by
turning counterclockwise. Tighten securely.
MAINTENANCE AND REPAIR INSTRUCTIONS
6
Installing a Pre Wound Reel
1. Hold the outer spool with one hand and unscrew the Bump
Knob clockwise (Fig. 6). Inspect the bolt inside the Bump
Knob to make sure it moves freely. Replace the Bump
Knob if damaged.
2. Remove the old inner reel from the outer spool
(Fig. 6).
3. Remove the spring from the old inner reel
(Fig. 6).
4. Place the spring in the new inner reel.
NOTE: The spring must be assembled on the inner reel before
reassembling the cutting attachment.
5. Insert the ends of the line through the eyelets in the outer
spool (Fig. 12).
6. Place the new inner reel inside the outer spool. Push the
inner reel and outer spool together. While holding the inner
reel and outer spool, grasp the ends and pull firmly to
release the line from the holding slots in the spool.
7. Hold the inner reel in place and install the Bump Knob by
turning counterclockwise. Tighten securely.
Replacement Parts
For replacement parts, refer to the Accessories / Replacement
Parts section.
Storage
• Store the unit locked up to prevent unauthorized use or
damage.
• Store the unit in a dry, well-ventilated area.
• Store the unit out of the reach of children.
Long Term Storage
If the unit will be stored for an extended time, use the following
storage procedure:
1. Thoroughly clean the unit and inspect it for any loose or
damaged parts. Repair or replace damaged parts and
tighten loose screws, nuts or bolts. The unit is ready for
storage.
Transporting
• Secure the unit while transporting.
Accessories / Replacement Parts
Replacement Line Cartridge 753-1160
Inner Reel Spring 610636
Bump Head Knob Assembly 180814
Shoulder Strap 682075
Fig. 10
Loop
Fig. 9
Holding Slots
Fig. 11