


5
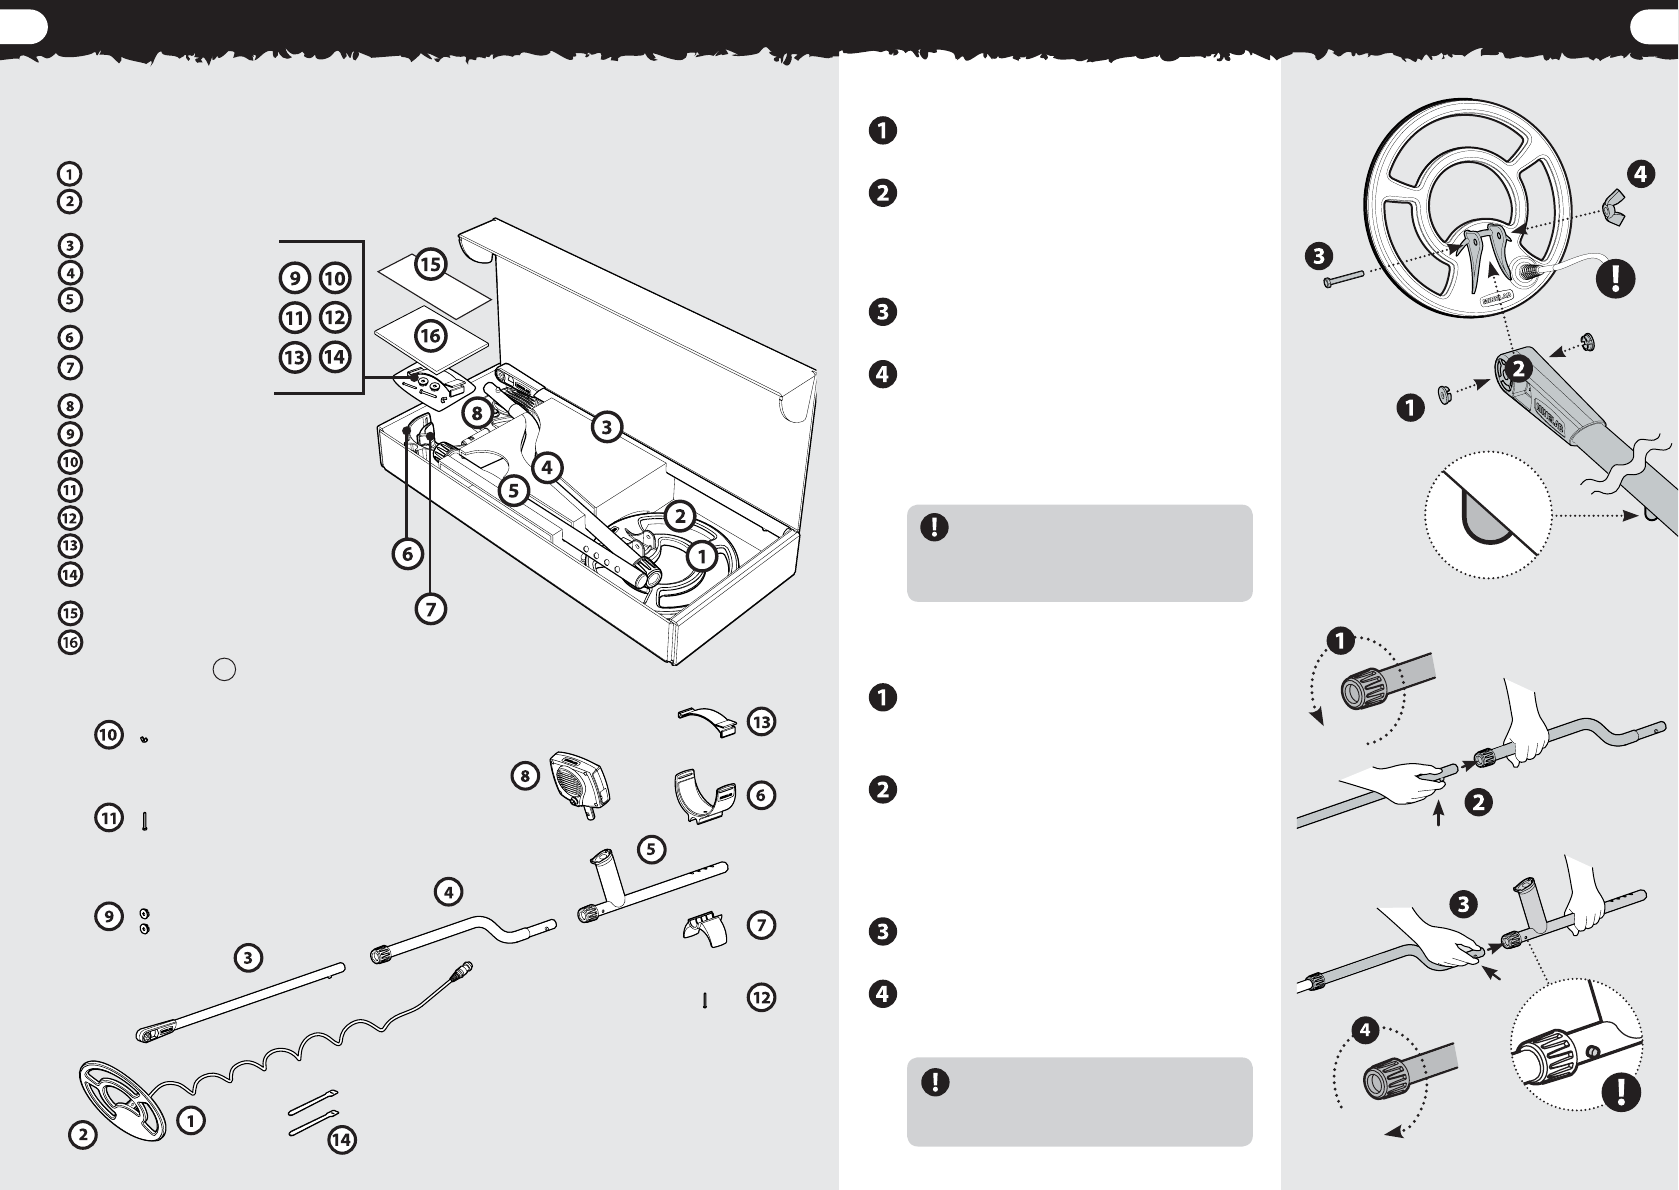
ASSEMBLING YOUR X-TERRA 70
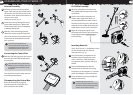
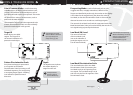
Connecting the Coil
Plug the two rubber washers into the holes
on either side of the lower shaft yoke.
Slide the yoke into the yoke bracket on top
of the coil. Ensure that the spring loaded
pin in the lower shaft is underneath the coil
shaft, pointing downwards.
Insert the plastic bolt through the yoke
and the yoke bracket.
Fasten with the plastic wing nut provided,
being careful not to damage the thread
of the bolt by over-tightening. This may
need to be loosened to adjust the coil to a
comfortable detecting angle.
The coil cable is directly wired into
the coil and is not removable. Any
attempt to disconnect this cable will
void your warranty.
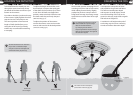
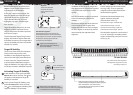
Shaft Assembly
Ensure that the twistlocks of the shafts
are loosened by rotating them counter-
clockwise.
Compress the spring loaded pin in the
lower shaft and slide it into the middle
shaft until the pin reaches the adjust-
ment holes. The pin will spring out and
click into place.
Attach the middle shaft to the upper
shaft in the same way.
Once shafts are assembled, lock them in
position by rotating twistlocks clockwise.
The upper shaft assembly location uses
two spring loaded pins to strengthen
the joint, one on either side of the shaft.
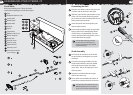
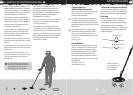
List of Parts
Before assembling your X-Terra 70, please
check that the package includes these parts:
Coil
Skidplate (fitted to coil)
Lower shaft
Middle shaft
Upper shaft
Armrest
Stand
Control box
Rubber washers (2)
Plastic wing nut
Plastic bolt
Armrest screw
Armrest strap
Velcro tabs (2)
Warranty card
Instruction manual
you’re holding it
:-)
4