


51
Using setting circles requires a developed technique. When using the circles for the
first time, try hopping from one bright star (the calibration star) to another bright star
of known coordinates. Practice moving the telescope from one easy-to-find object to
another. In this way, the precision required for accurate object location becomes evi-
dent.
Note You may also enter an object's R.A. and Dec. coordinates using the
"User: Objects" option of Autostar II's Object menu. Autostar II then auto-
matically slews the telescope to the entered coordinates.
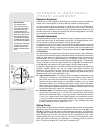
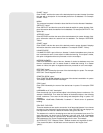
Note that the R.A. circle is double-indexed (i.e., there are two series of numbers run-
ning in opposite directions around the circumference of the R.A. circle). The upper
series of numbers (increasing counterclockwise) applies to observers located in the
Earth’s Northern Hemisphere; the lower series of numbers (increasing clockwise)
applies to observers located in the Earth’s Southern Hemisphere.
To use the setting circles to locate an object not easily found by direct visual
observation:
With the telescope aligned to the Celestial Pole, first look up the celestial coordinates
(R.A. and Dec.) of the object in a star atlas. Then loosen the R.A. lock and move the
telescope to read the correct R.A. of the desired object; lock the R.A. lock onto the
coordinate. Next, move the telescope in Declination to read the correct Declination of
the object. If the procedure has been followed carefully, and if the telescope was well-
aligned with the pole, the desired object should now be in the telescopic field of a low-
power eyepiece.
If you do not immediately see the object you are seeking, try searching the adjacent
sky area. Keep in mind that, with the 26mm eyepiece, the field of view of the
LX200GPS is about 0.5°. Because of its much wider field, the viewfinder may be of sig-
nificant assistance in locating and centering objects, after the setting circles have
been used to locate the approximate position of the object.
Pinpoint application of the setting circles requires that the telescope be precisely
aligned with the pole. See
PRECISE POLAR ALIGNMENTS, page 53.
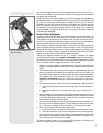
Equatorial Wedge
An optional equatorial wedge is required for equatorial (polar) alignment.
Note: The Meade Superwedge is available for models using the giant tripod.
Contact the factory for more information.
Caution (14" model users only): An adapter plate is required to mount the
Superwedge with 14" models. It is recommended that you only mount the
Superwedge using the adapter plate; failure to use the adapter plate may
result in damage to the telescope or injury to the user.Contact the factory for
more information.
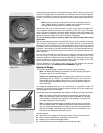
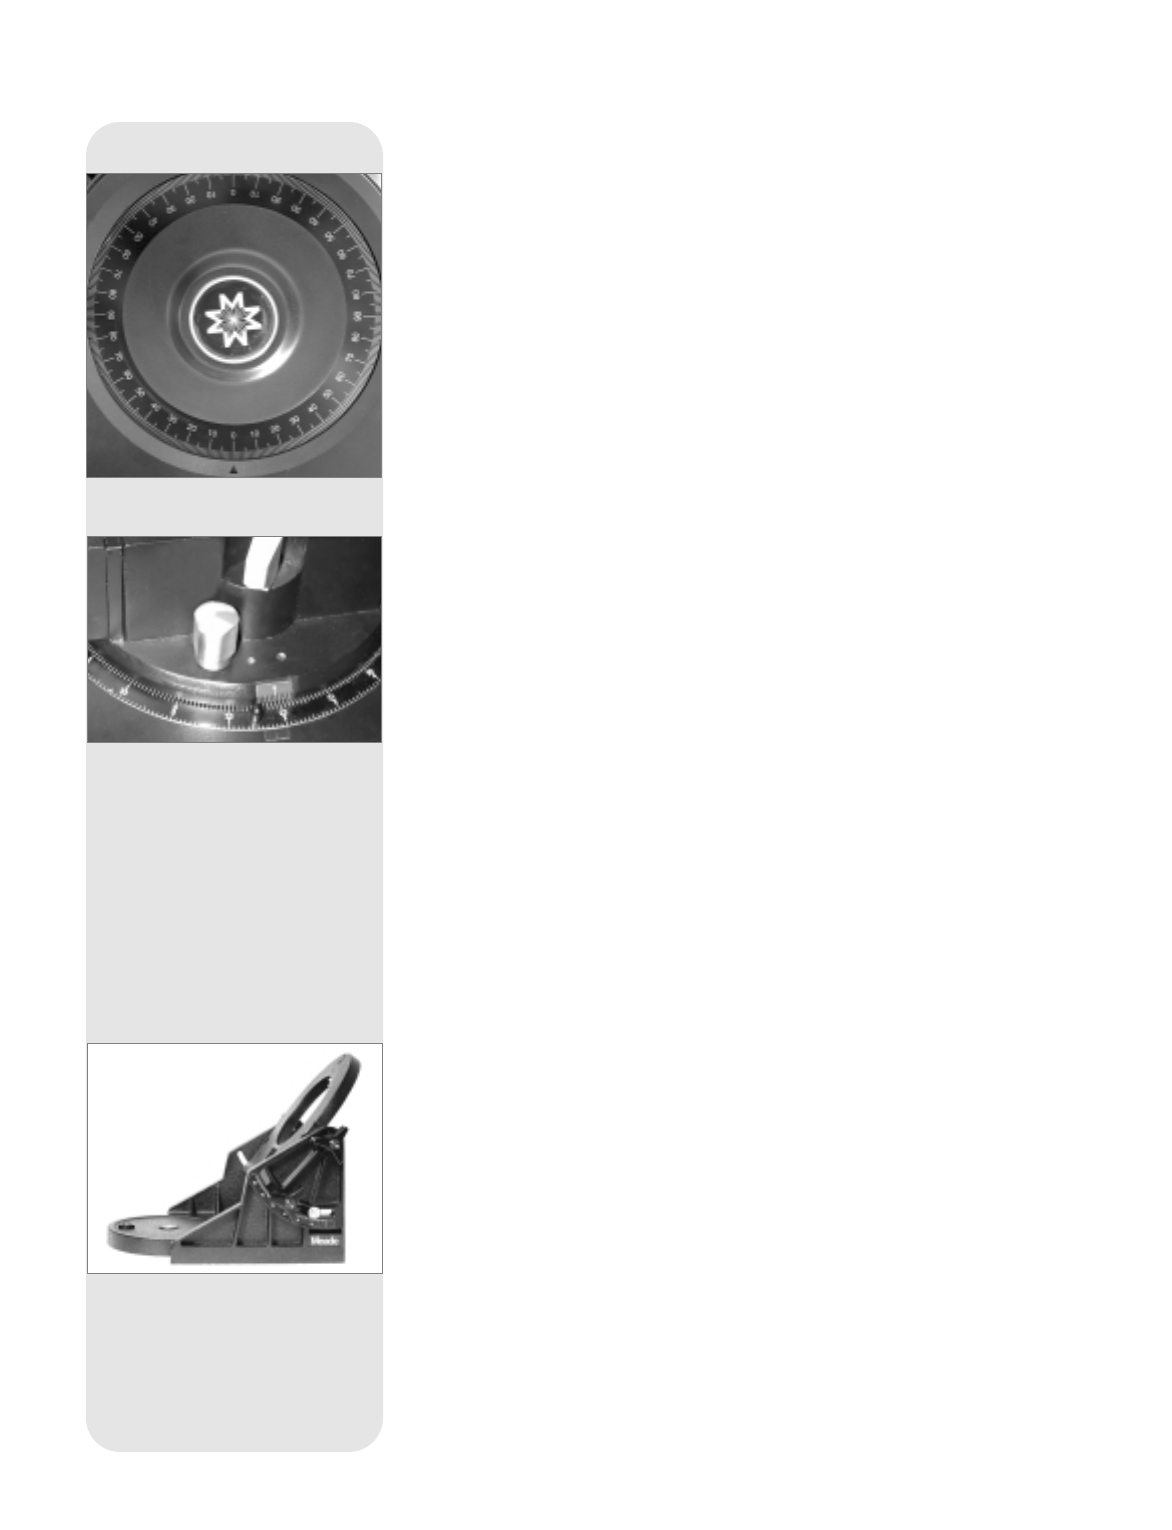
The equatorial wedge permits use in an astronomical, or “equatorial,” mode. The
wedge fits onto the field tripod. Equatorial alignment allows you to take longer expo-
sure photographs with your
LX200GPS.
See the instruction sheet supplied with the wedge for installation and setup information.
Note: For almost all astronomical observing requirements, approximate set-
tings of the telescope’s latitude and polar axis are acceptable. Do not allow
undue attention to precise polar alignment of the telescope to interfere with
your basic enjoyment of the instrument.
Note: The Meade equatorial wedge is designed solely for use in conjunction
with your Meade tripod. The wedge should never be used without the tripod
(e.g., by placing the wedge alone on a table top and then mounting the tele-
scope on the wedge—the wedge may become seriously unbalanced, to the
point where the telescope may actually tip over.
Included features:
■ Attachment of the wedge to the tripod by means of only one manual knob.
■ Quick azimuth adjustment by loosening the manual knob.
■ Bubble level for rapid tripod/wedge leveling.
■ Etched latitude scale for fast adjustment of the latitude angle.
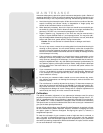
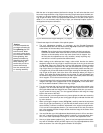
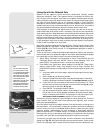
Fig. 36: Section of Right Ascension
Setting Circle.
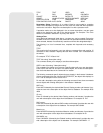
Fig. 35: Declination Setting Circle.
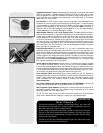
Fig. 37: Equatorial Wedge.