


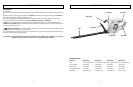


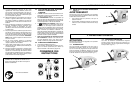
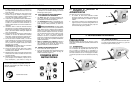
3-1. INSTALLING SAFETY GUARD (FIG. 3-1)
WARNING
Do not use without guard in place.
1. Your Hedge Trimmer comes fully assembled except
for the safety guard.
2. To assemble safety guard, align holes in safety guard
(A) to holes in hedge trimmer and fix with screws (B)
provided.
2-3. EXPLANATION OF NOTE, WARNING,
and WARRANTY SYMBOL
1.
A
NO
TE
is used to con
vey additional information, or
highlight a particular explanation, or to expand a
instruction.
2. A
WARNING identifies a procedure which, if not
undertaken or if improperly done, can result in a seri-
ous personal injury or damage to the unit and/or both.
3. (WARRANTY SYMBOL) serves notice that
unless instructions or procedures are followed,
any damage will void the warranty and repairs will be
at owner’s expense. Service other than user mainte-
nance should be performed by a McCulloch
Authorized Service Center. Damage or conditions
caused by improper maintenance practices which ren-
der this product inoperable will void the manufactur-
er’s warranty.
4.
FOR WARRANTY OR SERVICE contact the nearest
McCulloch Authorized Service Center.
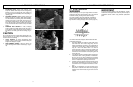
2-4. INTERNATIONAL SYMBOLS
1. Read the User Manual (Figure 2-1).
2. Use of these personal safety items is highly recom-
mended to reduce the risk of accidental injury (Figure
2-2).
SAVE THESE
INSTRUCTIONS
6 7
Use of these personal safety items is
highly recommended to reduce the risk
of accidental injury.
2 - SAFETY PRECAUTIONS 3 - ASSEMBLY INSTRUCTIONS
3-1
A
Read the User Manual.
2-1
2-2
B
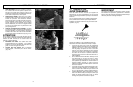
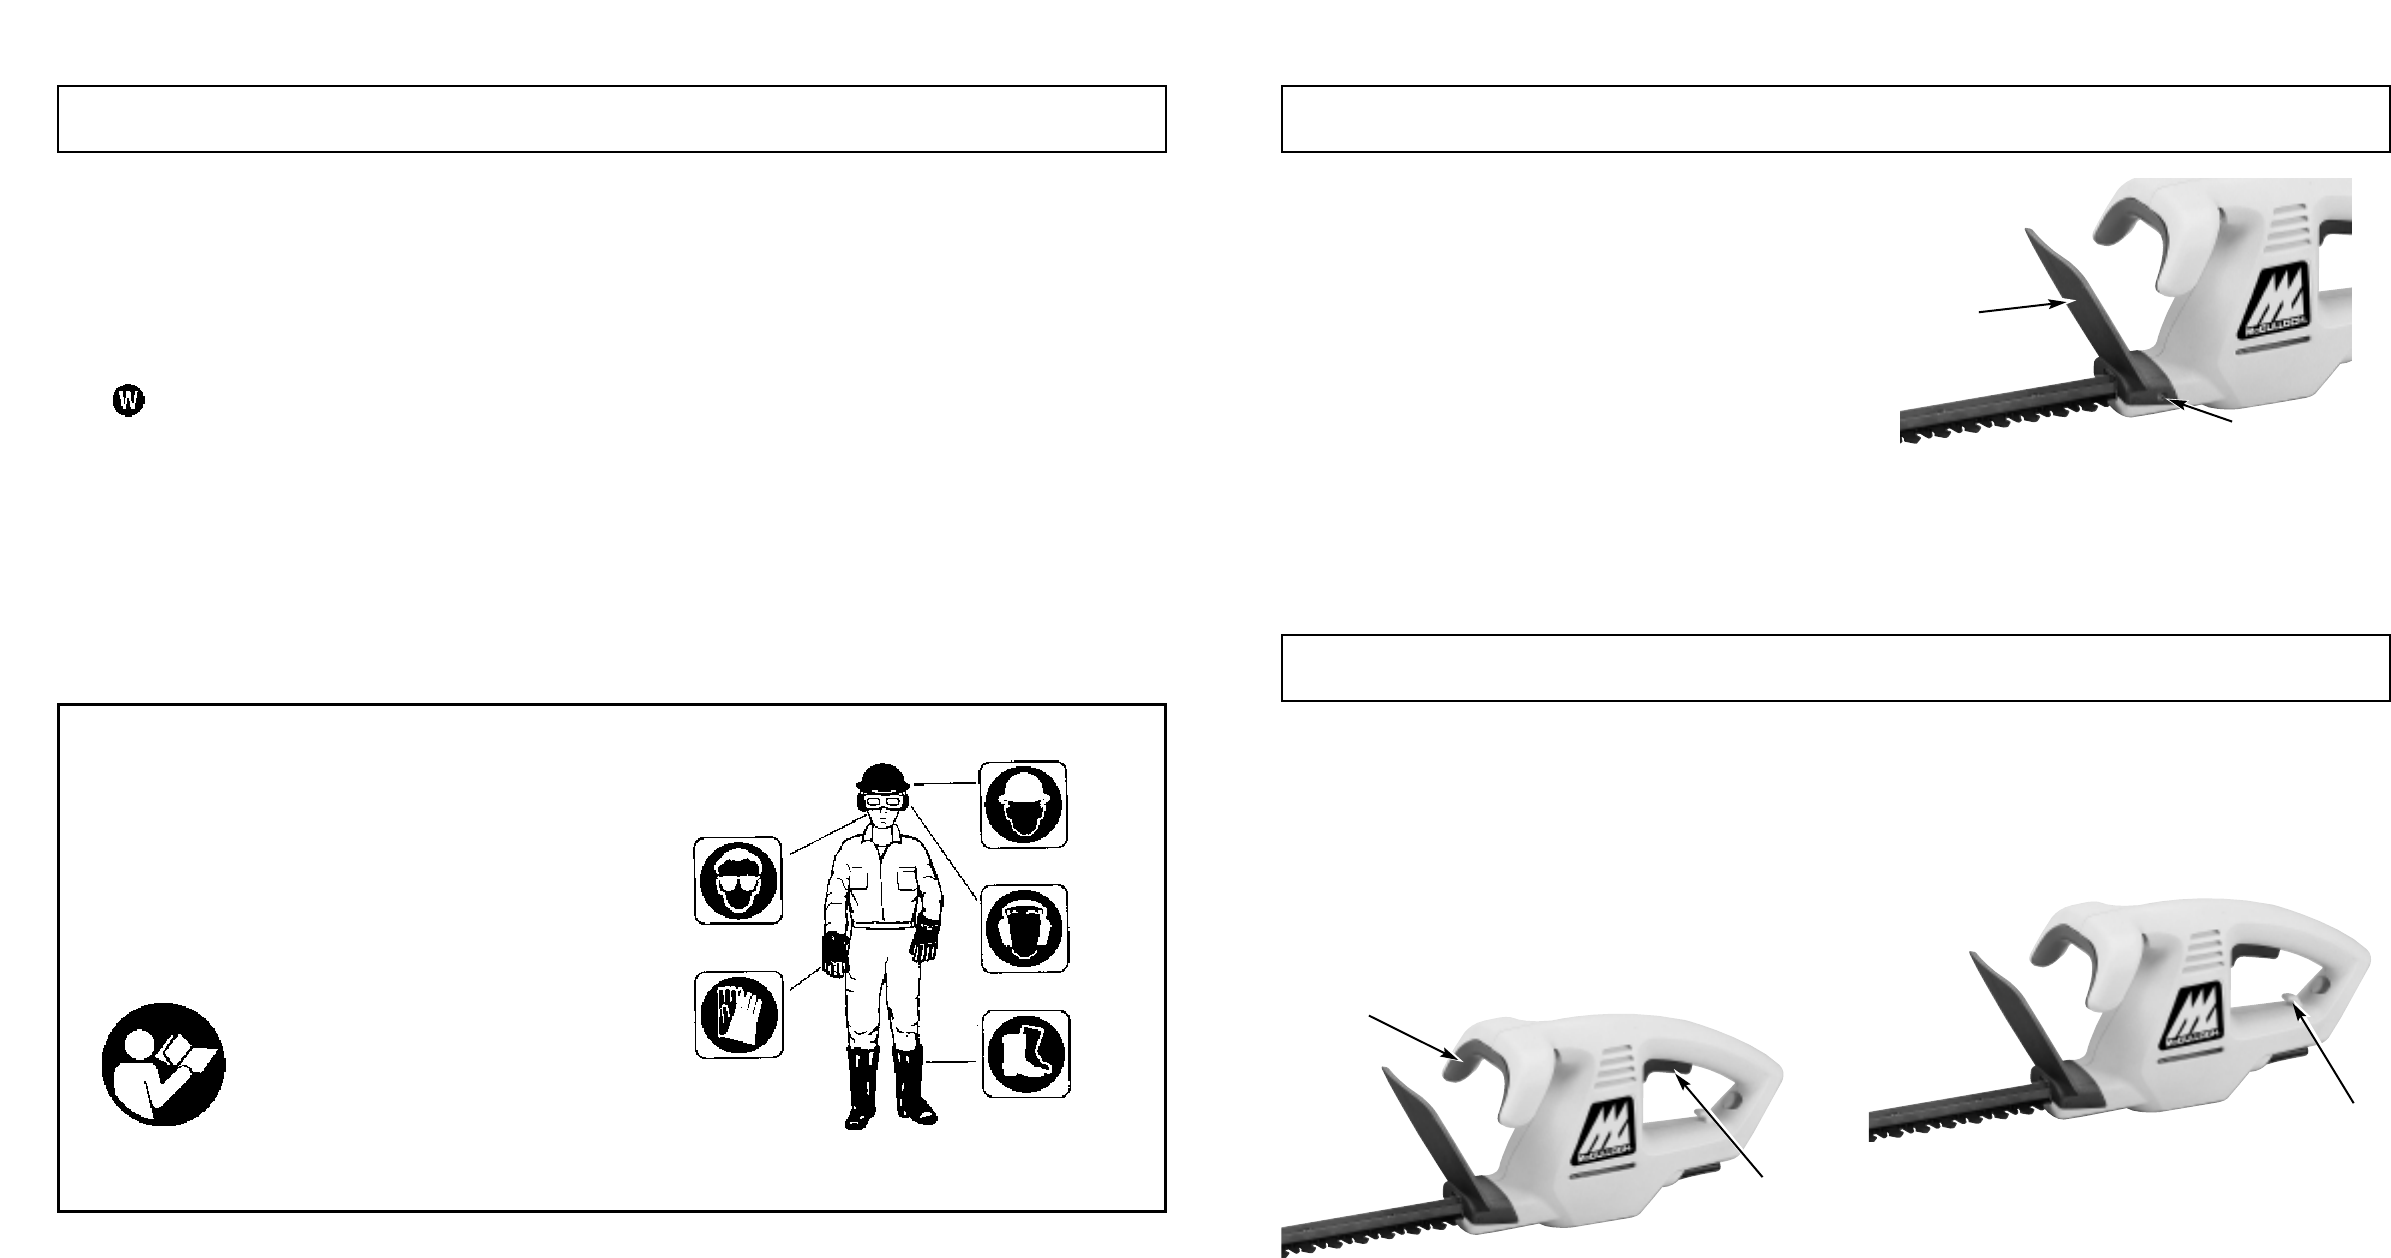
4 - OPERATING INSTRUCTIONS
CAUTION
Always ensure all handles and guards are securely
attached when using the tool.
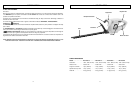
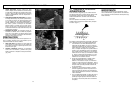
4-1. SWITCH
For your safety, this hedge trimmer is designed with a two
hand safety switch (A ). If you only squeeze one trigger (B),
the trimmer will not be actuated. To turn the trimmer ON,
squeeze both triggers at the same time.To turn the trimmer
OFF, simply release either trigger. (See Fig. 4-1)
4-2. POWER CORD
To prevent the power cord from disconnecting from the
hedge trimmer, loop the cord around the recessed hook (C)
and pull gently to tighten. (See Fig. 4-2)
4-1
A
B
4-2
C