


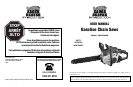

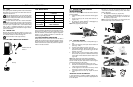
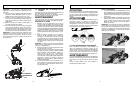
7-2. AIR FILTER
CAUTION
Ne
ver operate saw without the air filter. Dust and dirt will be
drawn into engine and damage it. Keep the air filter clean!
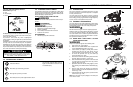
TO CLEAN AIR FILTER:
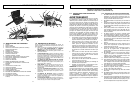
1. Remove knob (A) holding air filter cover in place,
remove the top cover (B) by loosening the cover
retaining screws. Cover will lift off.(Figure 7-2A)
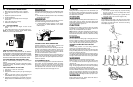
2. Completely remove the air filter box (B) from the unit.
(Figure 7-2B)
3. Clean air filter box by using air cleaner or brush.
NOTE: Never clean air filter with liquid material or it may
cause air filter damaged.
4. Install air filter. Install engine / air filter cover. Make
sure latch (E) latch (F) and cover fit properly. Tighten
the cover retaining knob securely. (Figure 7-2C &
Figure 7-2D)
WARNING
Never perform maintenance when the engine is hot, to
avoid any chance of burning hands or fingers.
7-3.FUEL FILTER
CAUTION
Ne
v
er oper
ate y
our sa
w without a fuel filter
.
The fuel filter
should be replaced after each 20 hours of use. Drain fuel
tank completely bef
ore changing filter
.
1. Completely remove the fuel cap from the gas tank.
2.
Bend a piece of soft wire to f
or
m a hook at the end.
3. Reach into fuel tank opening and hook fuel line.
Carefully pull the fuel line toward the opening until you
can reach it with y
our fingers.
NOTE: Do not pull hose completely out of tank.
4. Lift filter (A) out of tank (Figure 7-3A).
5. Pull filter off with a twisting motion. Discard filter.
6. Install new filter. Insert end of filter into tank opening.
Make sure filter sits in bottom corner of tank. Use a
long handle screwdriver to aid in filter placement if
necessary.
7. Fill tank with fresh fuel / oil mixture. See Section 4,
Fuel and Lubrication. Install fuel cap.
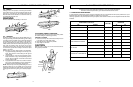
7-4. SPARK ARRESTER SCREEN (Figure 7-
4A)
NOTE: A clogged spark arrester screen will dramatically
reduce engine performance.
1. Remove the 2 nuts (A) and pull muffler out. (Figure7-
4A).
2. Remove the 1 screw (B) that holds the spark arrester
cover (C) . (Figure 7-4B)
3. Discard the used spark arrester screen (D) and
replace it with a new one.
4. Reassemble the muffler components and install the
muffler to the cylinder. Tighten securely.
16 17
7 - MAINTENANCE INSTRUCTIONS
7-4B
A
B
C
D
7-2A
7-2B
B
7-3A
B
A
C
7-2C 7-2D
B
E
F
D
F
7-3A
A
B
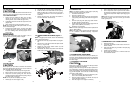
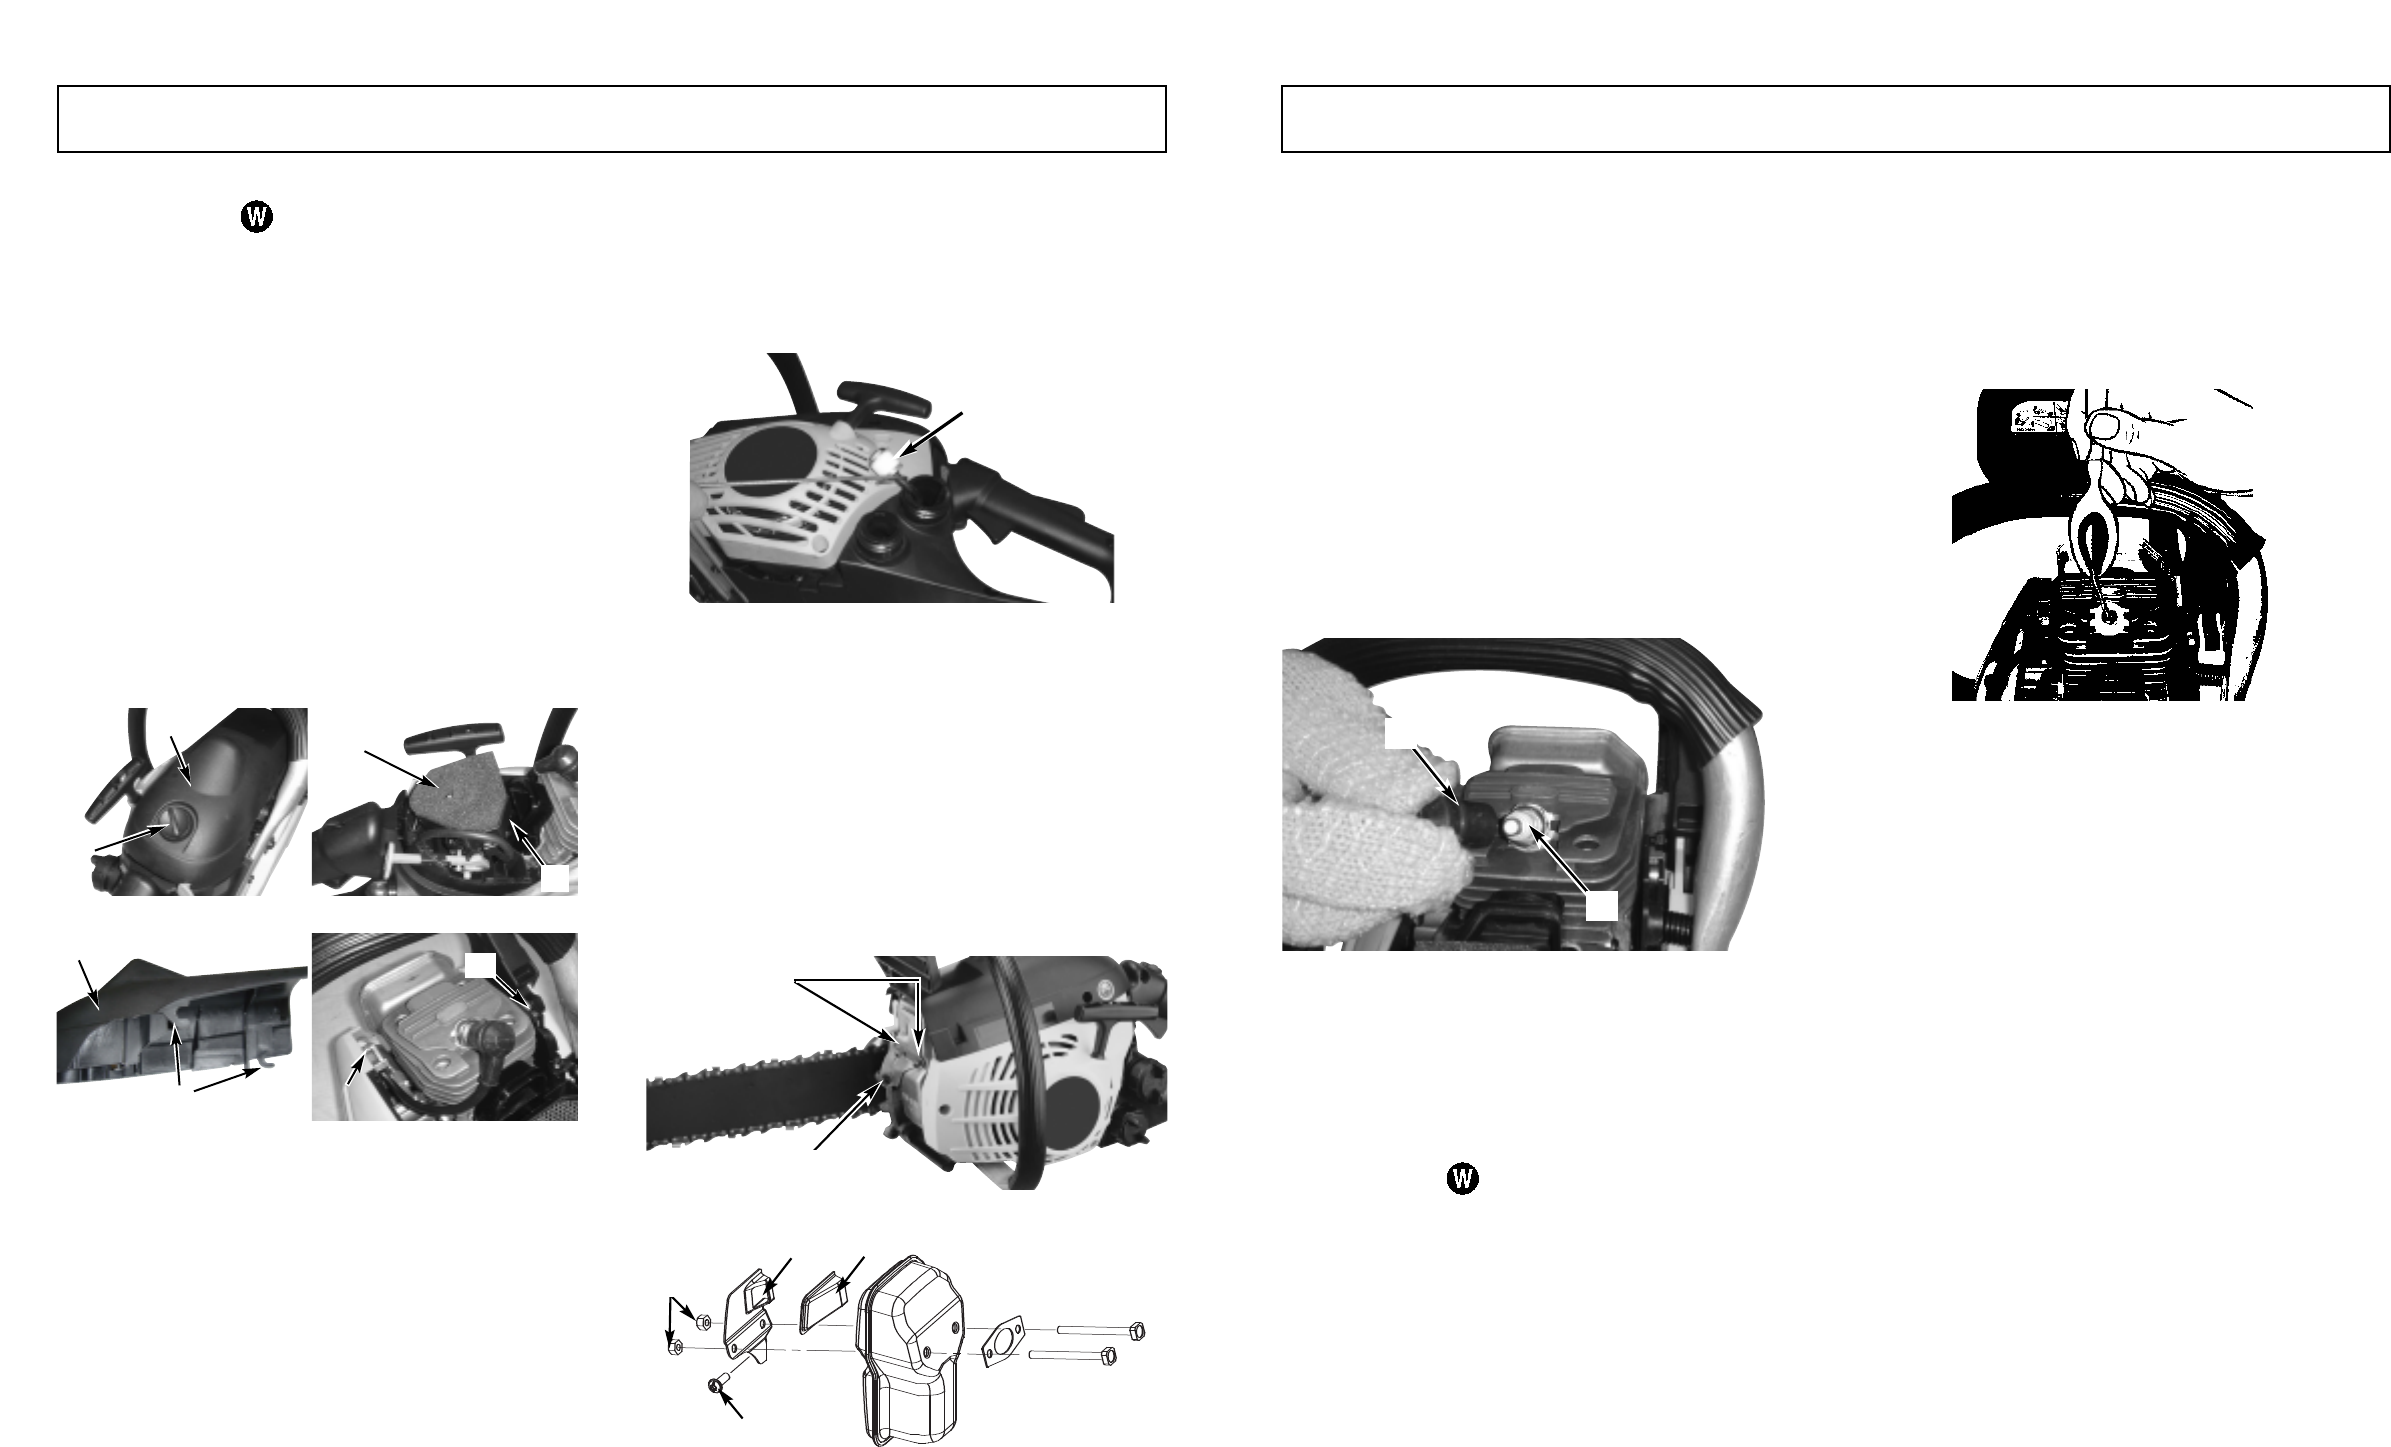
7-5. SPARK PLUG
NOTE: For efficient operation of saw engine, spark plug
must be kept clean and properly gapped.
1. Push STOP switch down.
2. Remove air cleaner cover.
3. Disconnect the wire connector (G) from the spark plug
(H) by pulling and twisting at the same time (Figure 7-
5A).
4. Remove spark plug with spark plug socket wrench.
DO NOT USE ANY OTHER TOOL.
5. Check electrode gaps with wire feeler gauge and set
gaps to .025” (.635mm) if necessary.
6. Reinstall a new spark plug.
NOTE: A resistor spark plug must be used for replacement
(Part no. 9295-310801).
NOTE: This spark ignition system meets all requirements
of the Canadian Interference-Causing Equipment
Regulations.
7-6.CARBURETOR ADJUSTMENT
The carburetor was pre-set at the factory for optimum per-
f
ormance. If further adjustments are necessary, please take
your unit to the nearest Authorized Service Center listed in
the Yellow Pages.
7-7.STORING A CHAIN SAW
CAUTION
Never store a chain saw for longer than 30 days without
performing the following procedures.
Storing a chain saw for longer than 30 days requires stor-
age maintenance. Unless the storage instructions are fol-
lowed, fuel remaining in the carburetor will evaporate, leav-
ing gum-like deposits. This could lead to difficult starting
and result in costly repairs.
1.
Remo
v
e the fuel tank cap slo
wly to release an
y pres
-
sure in tank. Carefully drain the fuel tank.
2. Start the engine and let it run until the unit stops to
remo
ve fuel from carburetor.
3. Allow the engine to cool (approx. 5 minutes).
4. Using a spark plug wrench, remove the spark plug.
5. Pour 1 teaspoon of clean 2-cycle oil into the combus-
tion chamber. Pull starter rope slowly several times to
coat internal components. Replace spark plug (Figure
7-7A).
NOTE: Store the unit in a dry place and away from possi-
ble sources of ignition such as a furnace, gas hot water
heater, gas dryer, etc.
7-8.REMOVING A UNIT FROM STORAGE
1. Remove spark plug.
2. Pull starter rope briskly to clear excess oil from com-
bustion chamber.
3. Clean and gap spark plug or install a new spark plug
with proper gap.
4. Prepare unit for operation.
5. Fill fuel tank with proper fuel / oil mixture. See Fuel
and Lubrication Section.
7 - MAINTENANCE INSTRUCTIONS
7-5A
H
G
7-7A