12
OPERATION
TO ADJUST MOWER CUTTING HEIGHT
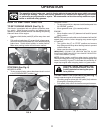
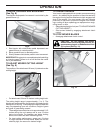
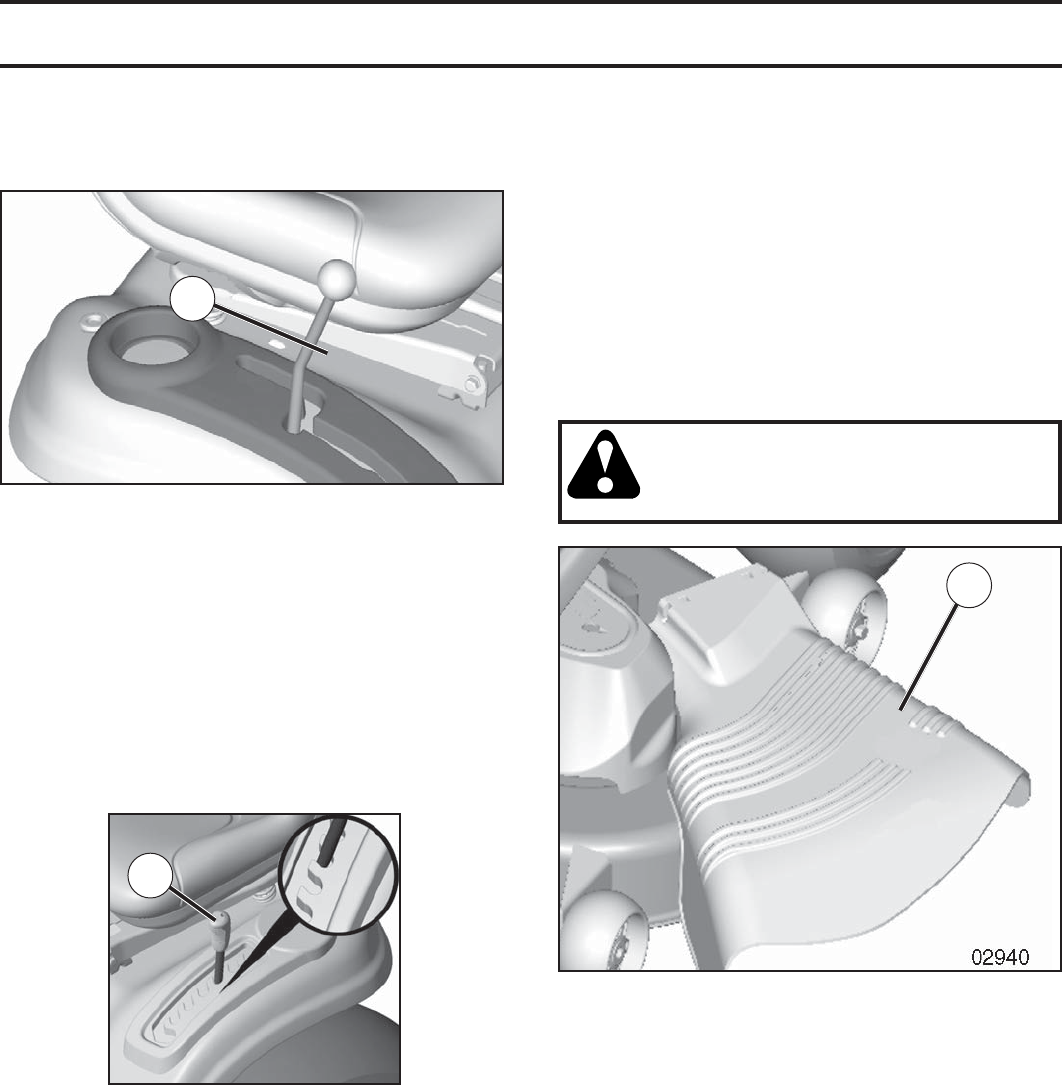
(See Fig. 9)
The position of the attachment lift lever (A) determines the
cutting height.
A
Fig. 9
• Put attachment lift lever in desired cutting height slot.
The cutting height range is ap prox i mate ly 1" to 4". The
heights are measured from the ground to the blade tip with
the engine not running. These heights are approximate and
may vary depending upon soil conditions, height of grass
and types of grass being mowed.
• The average lawn should be cut to approximately 2-1/2
inches during the cool season and to over 3 inches
during hot months. For healthier and better looking
lawns, mow often and after moderate growth.
• For best cutting performance, grass over 6 inches
in height should be mowed twice. Make the first cut
relatively high; the second to de sired height.
TO OPERATE MOWER
Your tractor is equipped with an operator presence sensing
switch. Any attempt by the operator to leave the seat with
the engine running and the attachment clutch engaged will
shut off the engine. You must remain fully and centrally
positioned in the seat to prevent the engine from hesitat-
ing or cutting off when operating your equipment on rough,
rolling terrain or hills.
• Select desired height of cut (see "TO ADJUST MOWER
CUTTING HEIGHT")
• Start mower blades by engaging at tach ment clutch
control.
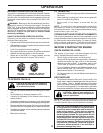
CAUTION: Do not operate the mower
without either the en tire grass catcher, on
mowers so equipped, or the deflector shield
(S) in place (See Fig. 10).
TO STOP MOWER BLADES
• disengage at tach ment clutch con trol.
Fig. 10
S
TO MOVE FORWARD AND BACKWARD
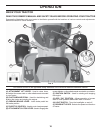
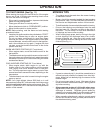
(See Fig. 8)
The direction and speed of movement is controlled by the
gearshift lever (J).
1. Start tractor with clutch/brake pedal depressed and
gearshift lever in neutral position.
2. Move gearshift lever to desired po si tion.
3. Slowly release clutch/brake pedal to start movement.
IMPORTANT: Bring tractor to a complete stop before shifting
or changing gears. Failure to do so will shorten the useful
life of your transaxle.
Fig. 8
J


