


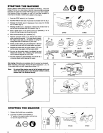

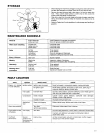
MAINTENANCE
INSTRUCTIONS
-
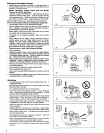
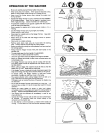
Turn
off
the engine and remove the spark plug connector when replacing or sharpening cutting tools,
also
when cleaning the cutter
or
cutting
device
or
carrying out any maintenance.
-
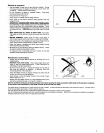
Never straighten
or
weld
a
damaged cutting blade.
-
Inspect the cutting
blades
with the engine switched
off
at short, regular intervals
for
damage.
(Detection
of
hairline
cracks
by means of tapping-noise test.) Beware the teeth
are
sharp.
-
Clean the Hedge Trimmer at regular intervals and check that
all
screw and nuts
are
well tightened.
-
Never service
or
store the Hedge Trimmer in the vicinity
of
naked flames to avoid fires.
-
Always wear leather gloves when handling
or
sharpening
the
blades
as
they
are
sharp.
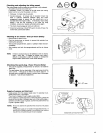
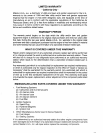
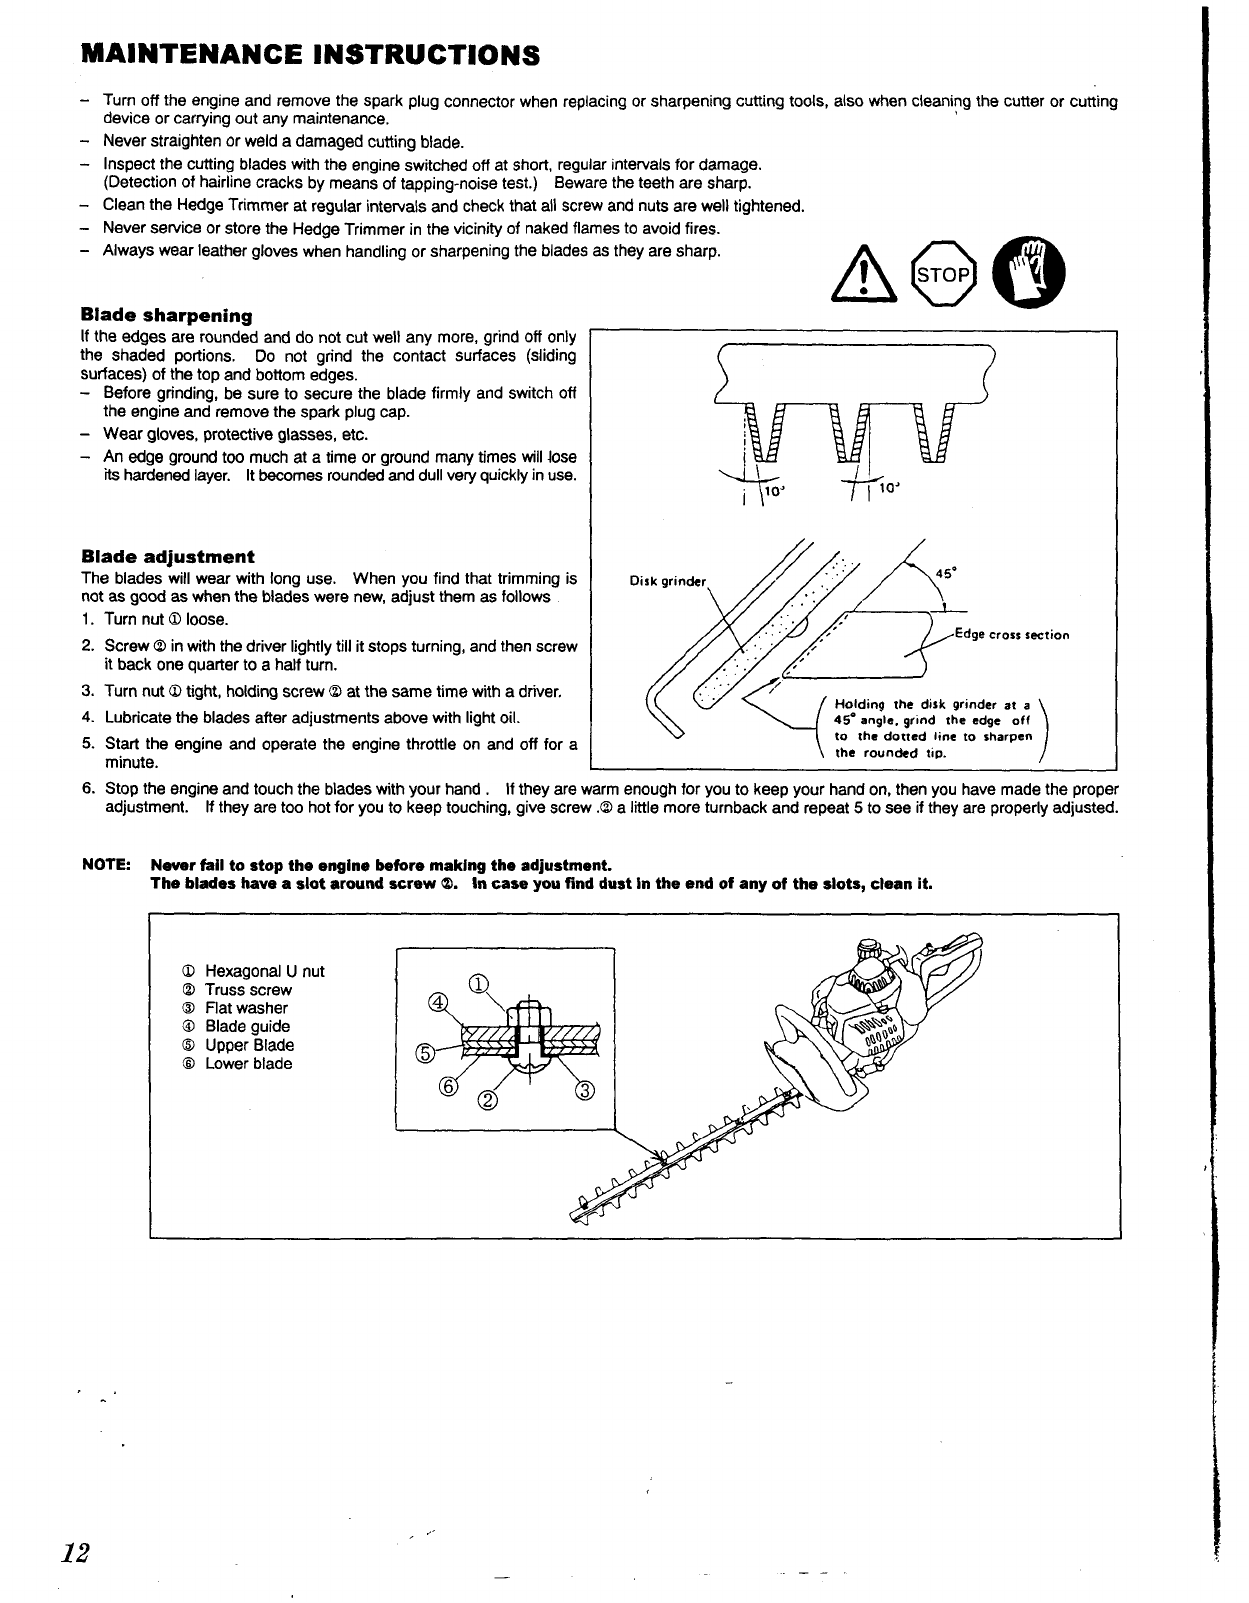
Blade sharpening
If
the edges
are
rounded and do not cut well any more, grind
off
only
the shaded portions.
Do
not grind the contact
surfaces
(sliding
surfaces)
of
the top and bottom edges.
-
Before grinding, be
sure
to secure the blade firmly and switch
off
the engine and remove the
spark
plug cap.
-
Wear gloves, protective glasses, etc.
-
An
edge
ground
too
much at
a
time
or
ground many times
will
lose
its
hardened layer. It becomes rounded and dull very quickly in
use.
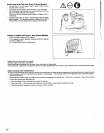
Blade adjustment
The blades will wear with long
use.
When you find that trimming
is
not
as
good
as
when the blades were new, adjust them
as
follows
1.
Turn nut
Q
loose.
2.
Screw
Q
in with the driver lightly till it stops turning, and then screw
it
back
one quarter to
a
half turn.
3.
Turn nut
Q
tight, holding screw
Q
at the same time with
a
driver.
4.
Lubricate the
blades
after
adjustments above with light
oil.
5.
Start the engine and operate the engine throttle on and
off
for
a
minute.
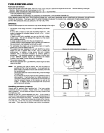
Holding
:he
dirk grinder
at
a
45'
angle. grind :he edge
off
to
rho
dotted line
to
sharpen
the rounded
:ip.
6.
Stop the engine and touch the
blades
with your hand
.
If
they
are
warm enough for you to keep your hand on, then you have made the proper
adjustment.
If
they
are
too hot
for
you
to
keep touching, give screw
.Q
a
little more turnback and repeat
5
to
see
if
they
are
properly adjusted.
NOTE
Never
fail
to stop the engine before maklng the adjustment.
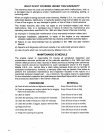
The blades have
a
slot
around
screw
Q.
In
case
you find dust In the end
of
any
of
the slots, clean it.
Q
Hexagonal
U
nut
Q
Trussscrew
0
Flat washer
8
Blade guide
0
Upper Blade
8
Lower
blade
12