


9
Section 1: Assembly & Set-up
6/06/06
PR2572 & PR2596 Powered Rakes 314-132M
Land Pride
Table of Contents
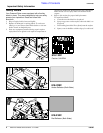
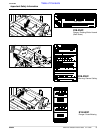
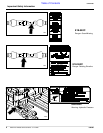
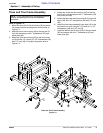
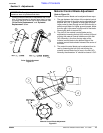
Tines and Tine Frame Assembly
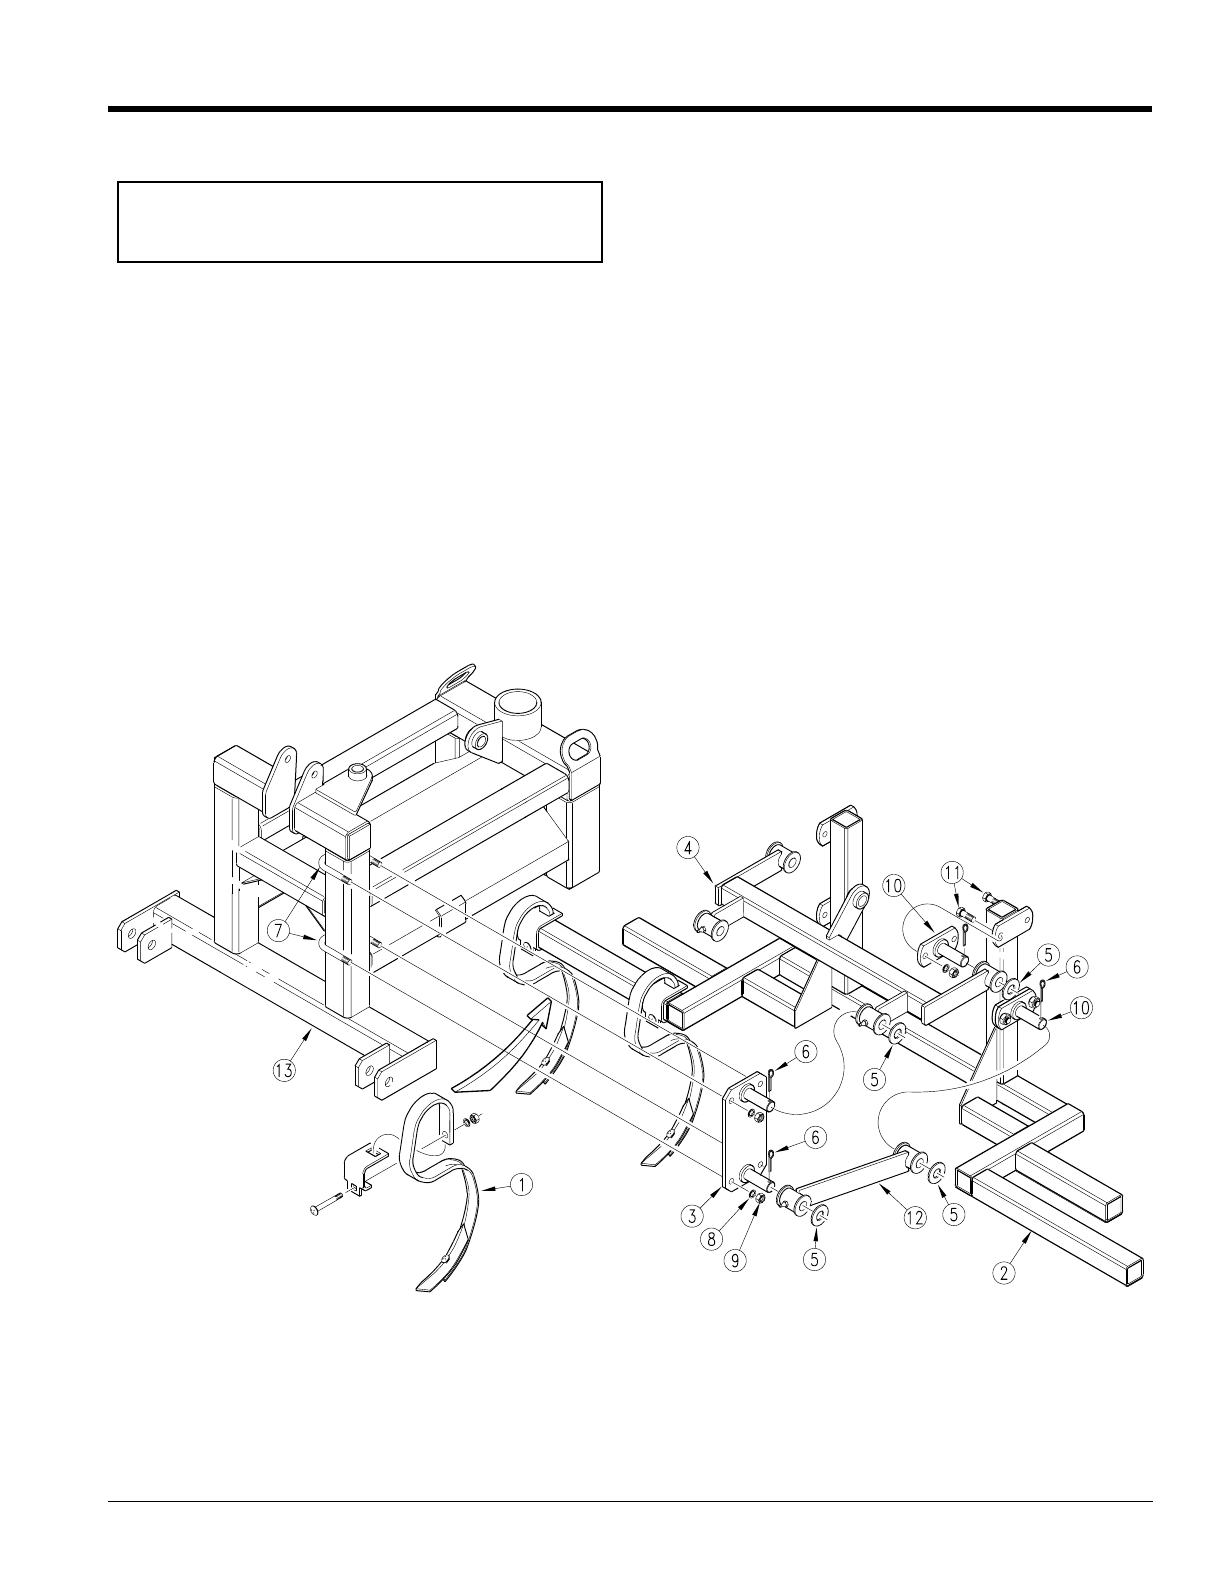
Refer to Figure 1-3:
1. Mount the tines (#1) to the tine frame (#2) as shown.
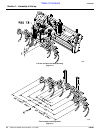
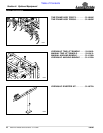
For proper location and alignment of tines refer to
Figure 1-5.
2. Attach the front tine mounts (#3) to the top tine lift
arm (#4) and secure with 1” flatwashers (#5) and
cotter pins (#6).
3. Mount the front tine mounts (#3) to the front frame
(#13) with the 1/2” u-bolts (#7) 1/2” lockwashers (#8)
and 1/2” nuts (#9). For proper alignment refer to
Figure 1-4.
NOTE: If your powered rake is not equipped with the
optional tine package then skip this assembly
procedure.
4. Attach two of the rear tine mounts (#10) to the top
tine lift arm (#4) and secure with 1” flatwashers (#5)
and cotter pins (#6).
5. Attach the other two rear tine mounts (#10) to the tine
frame (#2) with 1/2” lockwashers (#8) and 1/2” nuts
(#9).
6. Install the tine frame assembly from step #10 to the
top tine lift arm (#4) using the 1/2” bolts (#11), 1/2”
lockwashers (#8) and 1/2” nuts (9).
7. Install the bottom tine lift arms (#12) to the tine frame
(#2) and secure with the 1” flatwashers (#5) and
cotter pins (#6).
Tines and Tine Frame Assembly
Figure 1-3