3
1/16/07
Manual No. 356-141M
Land Pride
Instructions For Kit No 356-142A
■
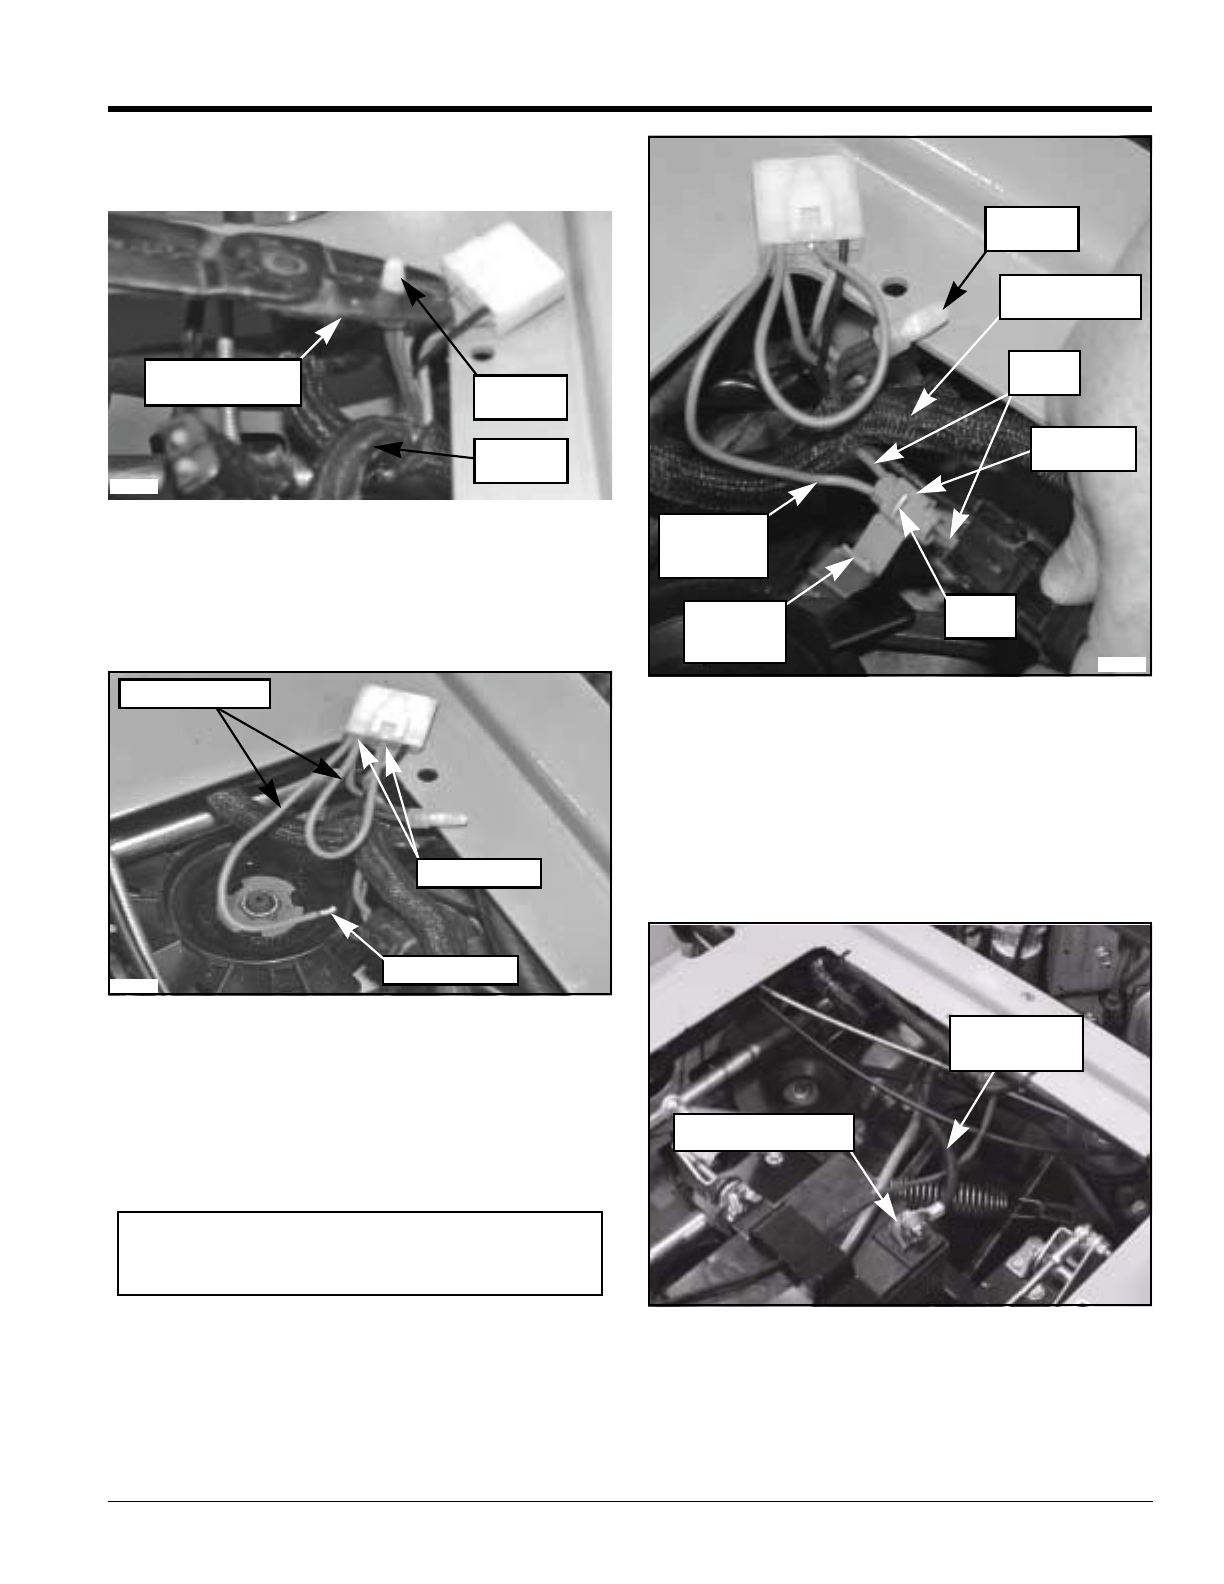
Refer to Figure 8:
14. Crimp Butt Connector with crimping part of wire
strippers to secure connector place.
Crimping Butt connector
Figure 8
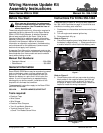
Refer to Figure 9:
15. Plug the new splice wire spade terminals into the
terminal slots where the purple ground wires were
removed.
Plug Splice Wire Into Connector
Figure 9
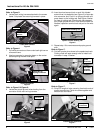
Refer to Figure 10:
16. Insert bare wire end of new splice wire into splice
connector as shown.
17. Locate orange wire leading into main wiring harness
and attach splice connector over orange wire as
shown.
18. Make certain bare wire end is fully inserted into the
splice connector and then force metal prong down
into the connector with pliers.
19. Close splice connector cover. Make certain it snaps
shut.
20. (Optional) Press Butt Connector against main wire
harness and secure in place with electrical tape.
24594
Butt
Connector
Main Wire
harness
Crimp Portion of
the Wire Strippers
23817
New Splice Wire
Bare Wire End
Terminal Ends
IMPORTANT: Force metal prong down with pliers
before closing splice connector cover. Forcing prong
down with cover will damage the splice connector.
Figure Description
Figure 10
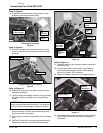
Refer to Figure 11:
21. Reattach main wiring harness to mower frame with
new plastic ties.
22. Check battery drain as outlined in step 5 before
reconnecting battery ground wire. Amp reading
should not exceed .001 milliamps.
23. Reconnect battery ground wire to negative post (-).
Figure Description
Figure 11
24. Lower seat deck and start mower to verify it will start.
Shut mower off and lock seat down to complete
installation.
23818
Metal
Prong
Splice
Connector
cover
Bare Wire
End of New
Splice Wire
Main Wiring
Harness
Orange
Wire
Butt
Connector
Splice
Connector
21127
Negative Post ( - )
Negative
Ground Wire


