


8
RTA10 & RTA15 Series Rotary Tillers 311-252M
10/13/08
Land Pride
Section 1 Assembly and Set-Up
Table of Contents
Section 1 Assembly and Set-Up
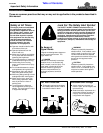
!
CAUTION
To avoid bodily injury caused by accidental falling of tiller,
securely support tiller on safe supporting stands or blocks!
This unit is shipped almost completely assembled.
Carefully follow instructions for final assembly.
Before attempting assembly check the following items.
Having all the needed parts and equipment readily at
hand will speed up your assembly task and will make the
job as safe as possible.
• Check for fasteners and pins that were shipped with
the tiller. All hardware coming from the factory has
been installed in the location where it will be used. If a
part or fastener is temporarily removed for assembly
reasons, remember where it goes. Keep the parts
separated.
• Have a fork lift or loader along with chains and safety
stands that are sized for the job ready for the assembly
task.
• Have a minimum of 2 people at hand during assembly.
• Check to see that all nuts are tightened.
Tractor Requirements
This tiller is designed with a 3-point category l hitch.
Horse power rating of the tractor should not exceed 25
PTO horsepower for the 10 Series Rotary Tiller and not
to exceed 35 PTO horsepower for the 15 Series.
!
CAUTION
Do not over speed PTO or machine damage may result. This
tiller is designed to be used with a tractor using a 540 rpm rear
PTO.
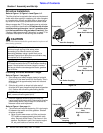
Hitch, Driveline Guard & Rear Chain
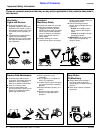
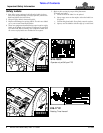
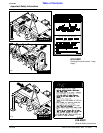
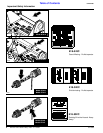
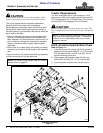
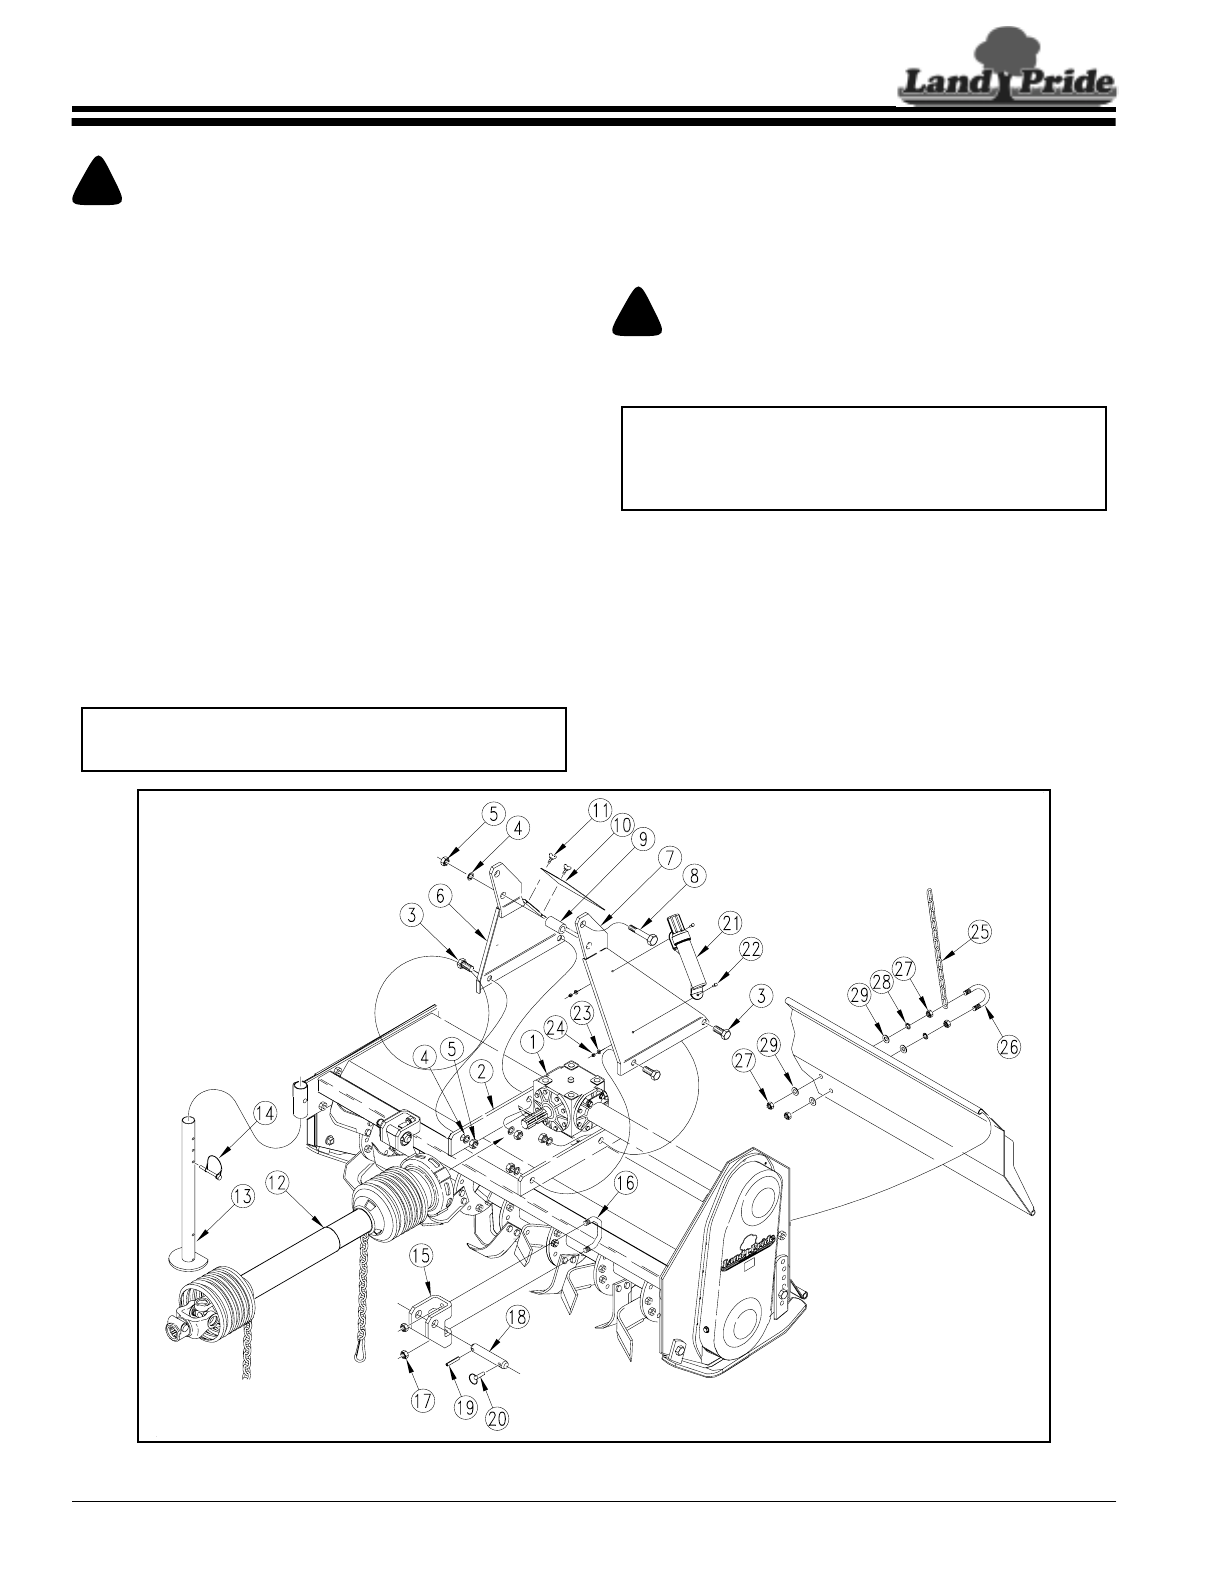
Refer to Figure 1-1:
1. Install top 3-point hitch plates (#6 & #7) outside of
gearbox mounting frame with 5/8” x 1 1/2” bolts (#3),
5/8” lockwashers (#4), and 5/8” nuts (#5). Do not
tighten hardware at this time.
2. Install spacer (#9) between upper 3-point hitch
plates (#6 & #7) with 5/8” x 3 1/2” long bolt (#8).
3. Securely tighten all bolts to the correct torque.
NOTE: For correct torque values, refer to “Torque
Values Chart” on page 27.
NOTE: In order to maintain steering control, ballast
may have to be added to your tractor. To determine
whether or not to add ballast, refer to your tractor
operator’s manual.
Assembly Illustration
Figure 1-1
14163