31
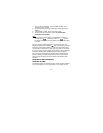
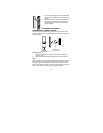
1. Fix a screw (not supplied) into the desired wall,
leaving the head extended out the by about 0.2”
(5mm).
2. Fold the stand of the intelligent weather station
by pushing inward and hang it onto the screw.
Remember to ensure that it locks into place
before releasing.
POSITIONING THE REMOTE
TEMPERATURE / HUMIDITY SENSOR:
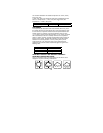
The remote temperature/humidity sensor can be placed onto any flat
surface or wall mounted using the bracket which doubles as a stand or
wall mount base.
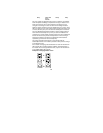
To wall mount:
1. Secure the bracket onto a desired wall using the screws and
plastic anchors.
2. Clip the remote temperature/humidity sensor onto the bracket.
Note:
Before permanently fixing the remote temperature/humidity sensor wall
base, place all units in the desired locations to check that the outdoor
temperature and humidity readings are receivable. In event that the
signal is not received, relocate the remote temperature/humidity sensor
or move them slightly as this may help the signal reception.
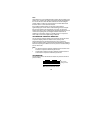
Table stand/wall
mount bracket


