ASSEMBLY
11
MTF-031071L
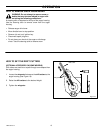
SNOW CHUTE ASSEMBLY
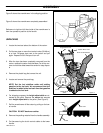
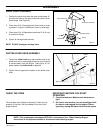
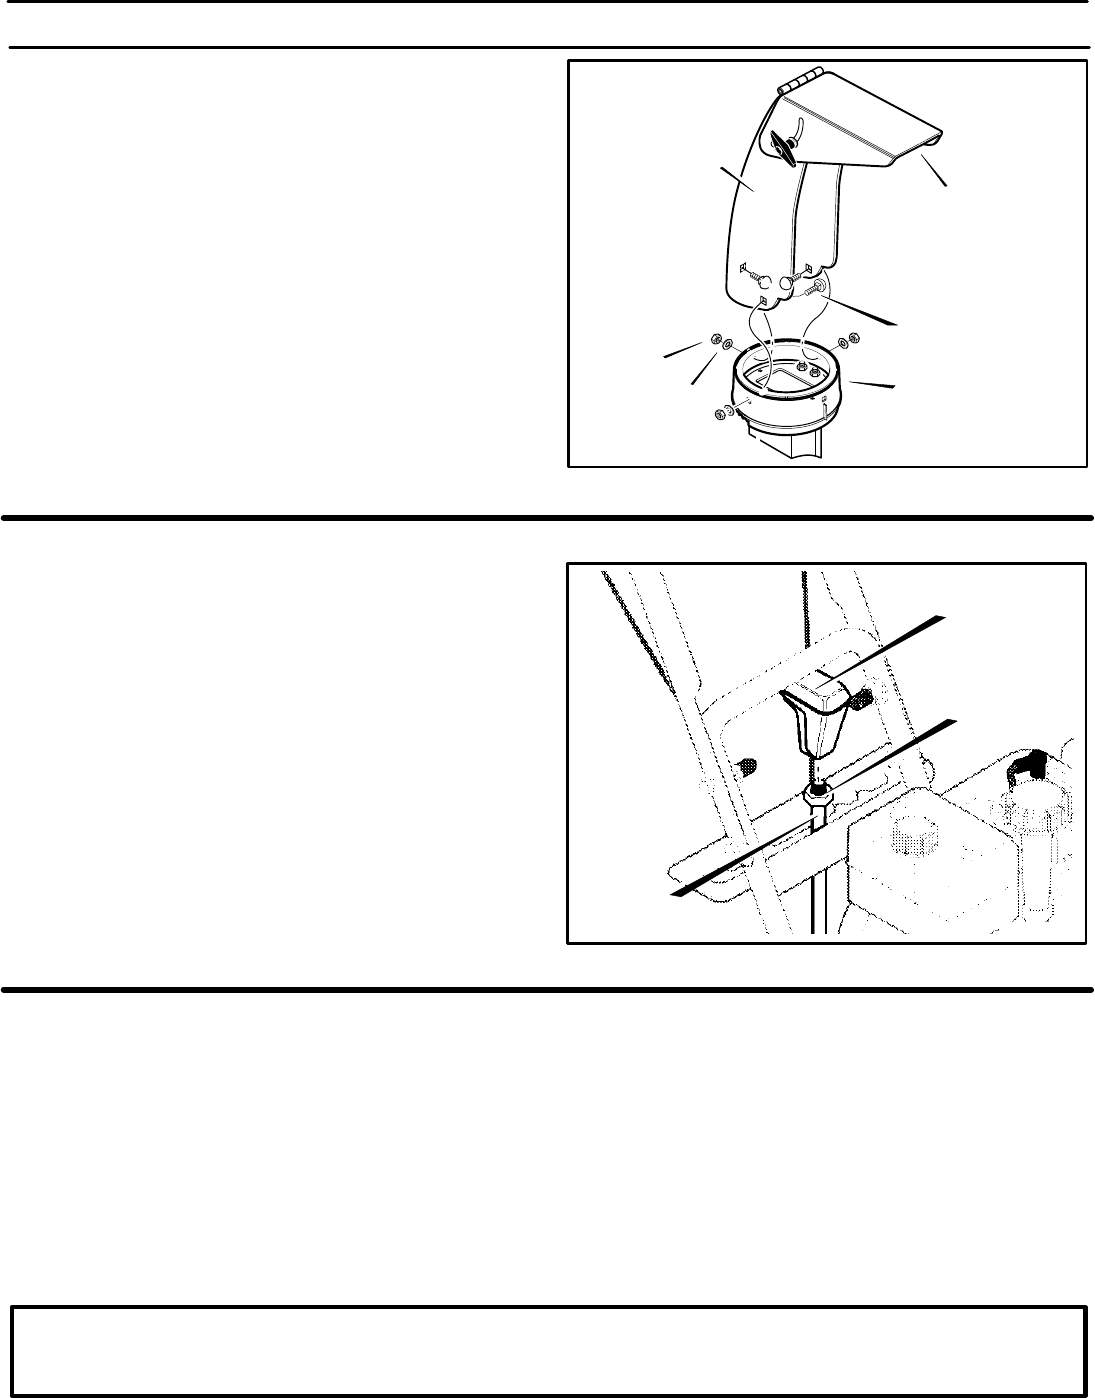
1. Position the snow chute onto the snow chute flange. Al-
ign the three holes in the snow chute with holes in snow
chute flange. (See Figure 8)
2. Place three 5/16-18 carriage bolts from inside of chute
as shown in Figure 8. (hardware is found in parts bag)
3. Place three 5/16-18 flatwashers and three 5/16-18 nuts
on outside of flange.
4. Tighten all carriage bolts securely.
NOTE: DO NOT overtigten carriage bolts.
Figure 8
Chute Extension
Snow Chute Deflector
Nut
Flatwasher
Flange
Carriage Bolts
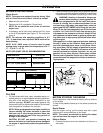
SHIFTER LEVER KNOB ASSEMBLY
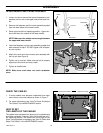
1. Thread the shifter knob onto the threaded end of the
shifter lever until it is snug against the hex nut and the lip
is pointed away from the engine (See Figure 9). On
some models, the shifter knob is attached.
2. Tighten hex nut against the bottom of the shifter lever
knob.
Figure 9
Shifter Lever
Hex Nut
Shifter
Knob
CHECK THE TIRES
The tires were over inflated for shipment. Check the tire
pressure in the tires. See the sidewall of the tire for the
proper inflation.
IMPORTANT! BEFORE YOU START
OPERATING
r Check the fasteners. Make sure all fasteners are
tight.
r On electric start models, the unit was shipped with
the starter cord plugged into the engine. Before
operating, unplug the starter cord from the engine.
NOTE: This snowthrower was shipped WITH OIL in the engine. See “Before Starting Engine”
instructions in the Operation section of this manual before starting engine.


