iOptron Corp. | 6F Gill Street | Woburn, MA 01801 USA | (781) 569-0200 | Toll Free (866) 399-4587 | www.iOptron.com
Step 7.
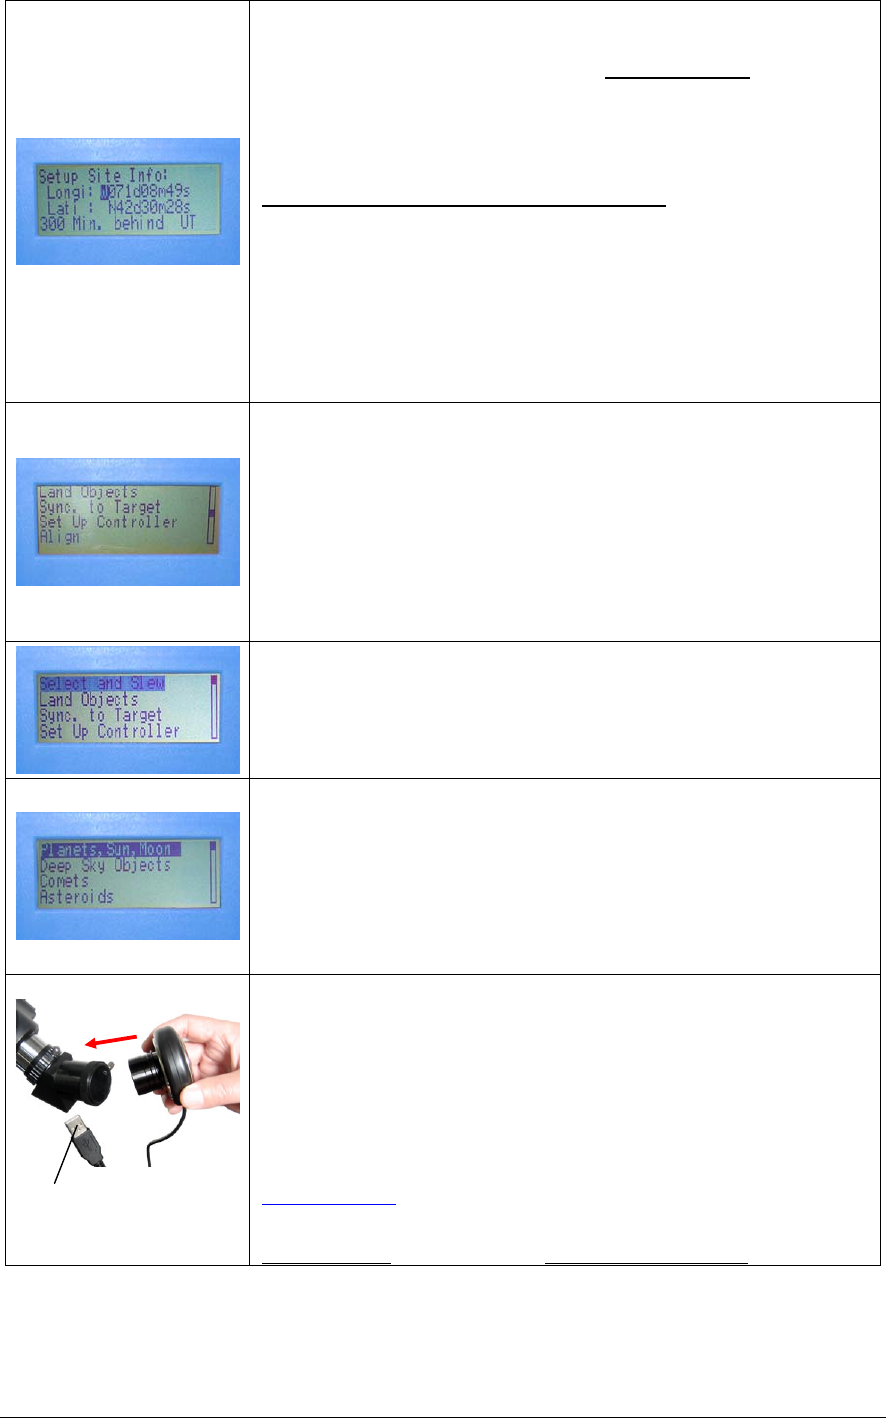
Now “Setup Site Info:” is displayed at the top. A blinking cursor is on the second
line. (“Longi” means longitude; “Lat” means latitude). You can search the
internet for your latitude and longitude or visit www.iOptron.com
and click
“support” for help finding this information. Use ▲/▼ keys to change the numbers
and letters. Use ◄/► keys to scroll through the fields.
The last line of this screen is for setting time zone information (add or subtract 60
minutes (Mins.) per time zone).
Examples: minutes “behind” UT or “ahead” of UT
New York: 300 Mins. “behind” UT
Los Angeles: 480 Mins. “behind” UT
Rome: 60 Mins. “ahead” of UT
Sydney: 600 Mins. “ahead” of UT
Press ENTER when finished.
The mount is now ready to observe
Use the 4 Arrow keys (▲▼◄►) to rotate the scope Up, Down, Left, and Right.
Use the SPEED key to change the slew rate from the slowest (2X) to the fastest
(MAX).
Step 8. Initial alignment
Press the Menu button. Scroll to “Align” and press ENTER. Select “Solarsys
Align” and press ENTER. Then select an alignment object, such as “Moon” and
press ENTER.
The telescope will automatically move and point to the correct altitude of the
Moon. Next, push the mount by hand or turn the mount left or right using the
arrow keys (◄►) to center the Moon in the eyepiece. Then press ENTER. The
mount is now aligned and ready to GoTo and track objects.
(If there is no Moon please use One Star Align to do the initial alignment)
Step 9. Find (GoTo) and track objects.
Press Menu button.
Scroll to “Select and Slew”
Press ENTER.
Step 10.
Select a category (ex. “Planets, Sun, Moon”) by scrolling with the arrow keys.
Press ENTER.
Then select an object (ex. “Moon”) by scrolling with the arrow keys. Press
ENTER.
The telescope will automatically slew to the object and lock on. It will
automatically begin to track once it locks on to the object.
Step 11. Insert Electronic Eyepiece. (Optional)
Remove cap from end of electronic eyepiece and insert electronic eyepiece into
the telescope tube opening (Remove original optical eyepiece first). Next, plug
each end of the USB cable into the electronic eyepiece and your computer.
Your computer will detect the electronic eyepiece as new hardware. Follow the
instructions on your computer for any driver installation and camera
configuration. Next, you can open a movie program such as Window Movie
Maker (or other webcam program) to begin viewing a live feed from the
telescope. Computer operating systems vary so you may want to visit
www.iOptron.com
and click on “support” for additional suggestions and help.
If your PC does not have a webcam application software installed, you may
download one of the following programs: ArcSoft’s Webcam Companion at
www.arcsoft.com
or Future Winjoe at www.ioptron.com/future.rar.
Plug USB connector
into your computer.


