9
ASSEMBLY
W
A
R
N
I
N
G
D
o
n
o
t
o
p
e
r
a
t
e
m
o
w
e
r
u
n
l
e
s
s
c
o
n
t
a
i
n
e
r
i
s
p
r
o
p
e
r
l
y
i
s
n
s
t
a
l
l
e
d
.
C
o
n
t
a
i
n
e
r
i
s
s
u
b
j
e
c
t
t
o
w
e
a
r
a
n
d
d
e
t
i
e
r
i
o
r
a
t
i
o
n
.
C
h
e
c
k
b
a
g
f
r
e
q
u
e
n
t
l
y
.
R
e
p
l
a
c
e
w
h
e
n
c
r
a
c
k
e
d
o
r
d
a
m
a
g
e
d
.
U
s
e
o
n
l
y
a
r
e
c
o
m
m
e
n
d
e
d
r
e
p
l
a
c
e
m
e
n
t
c
o
n
t
a
i
n
e
r
.
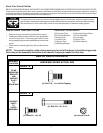
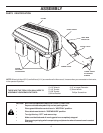
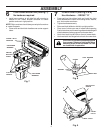
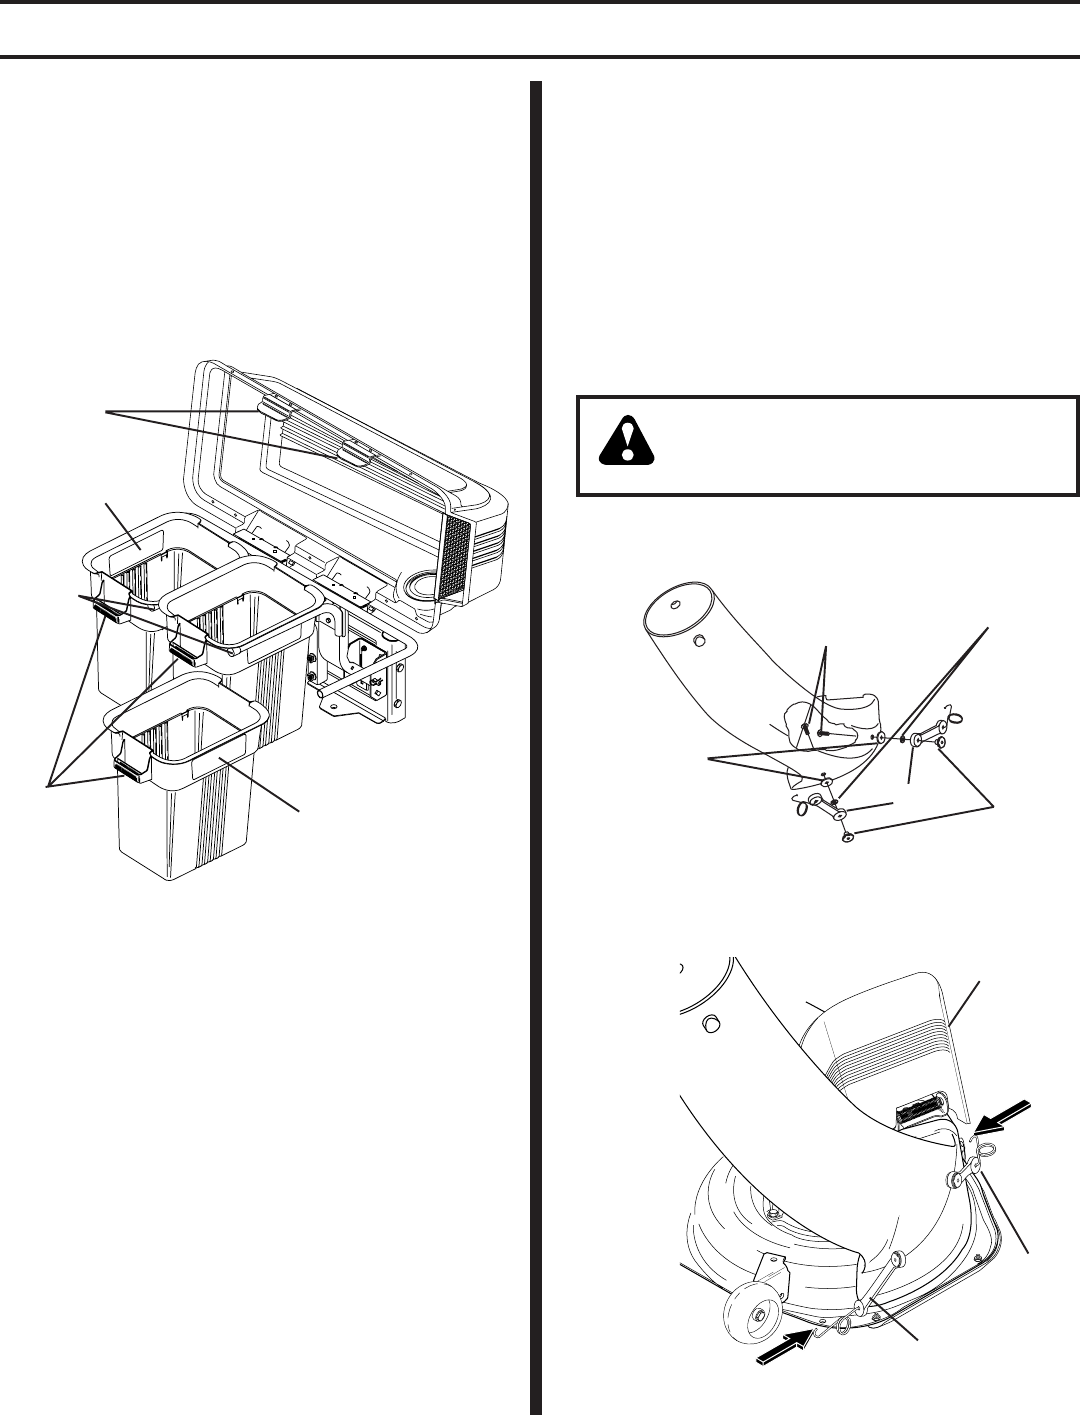
CONTAINER MOUNTING (See Fig. 7)
No hardware required
• Install one container to left side first with warning to
outside of unit. Install another container to center
position and one in right position.
NOTE: Right container should always overlap left container
at center supports.
• Close cover and lock latch handles over center support
tubes.
6
Fig. 7
COVER LATCH
HANDLES
CONTAINER
WARNING
CONTAINER
HANDLE
CONTAINER
WARNING
CENTER
SUPPORT
TUBES
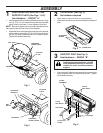
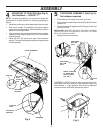
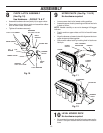
LOWER CHUTE (See Fig. 8 & 9)
Use Hardware - - GROUP "D"
• Press weld nut into rubber latch and install two latch
hook assemblies to lower chute using screw, washer,
and lock washer as shown.
• Tighten hardware securely.
• Raise and hold deflector shield in upright position.
• Place rear of chute over rear of mower deck opening.
Push chute down and forward to guide extended edge of
chute between discharge guard and mower deck.
• Hook front latch into tab hole on front of mower deck.
• Hook rear latch into flange hole on back of mower deck.
7
CAUTION: Do not remove discharge guard
from mower. Raise and hold guard when
attaching lower chute and allow it to rest
on chute while in operation.
Fig. 8
SCREW
WELD NUT
LATCH
WASHER
LOCK WASHER
REAR LATCH
FRONT
LATCH
DEFLECTOR
SHIELD
Fig. 9


