16
MAINTENANCE
V-BELTS
Check V-belts for deterioration and wear after 100 hours
of operation and replace if necessary. The belts are not
ad just able. Re place belts if they begin to slip from wear.
TRANSAXLE COOLING
The transmission fan and cooling fins should be kept clean
to assure proper cooling.
Do not attempt to clean fan or transmission while engine
is running or while the transmission is hot. To prevent pos-
si ble damage to seals, do not use high pressure water or
steam to clean transaxle.
• Inspect cooling fan to be sure fan blades are intact and
clean.
• Inspect cooling fins for dirt, grass clippings and other
materials. To prevent damage to seals, do not use
compressed air or high pressure sprayer to clean
cooling fins.
TRANSAXLE PUMP FLUID
The transaxle was sealed at the factory and fluid main te -
nance is not required for the life of the transaxle. Should
the transaxle ever leak or require servicing, contact your
near est au tho rized ser vice center/department.
ENGINE
LUBRICATION
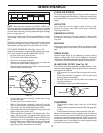
Only use high quality detergent oil rated with API service
classification SG-SL. Select the oil’s SAE viscosity grade
according to your expected operating temperature.
BATTERY
Your tractor has a battery charging system which is suf fi cient
for normal use. However, periodic charging of the battery
with an automotive charger will extend its life.
• Keep battery and terminals clean.
• Keep battery bolts tight.
• Keep small vent holes open.
• Recharge at 6-10 amperes for 1 hour.
NOTE: The original equipment battery on your tractor is
maintenance free. Do not attempt to open or remove caps
or covers. Adding or checking level of electrolyte is not
necessary.
TO CLEAN BATTERY AND TERMINALS
Corrosion and dirt on the battery and terminals can cause
the battery to “leak” power.
• Remove terminal guard.
• Disconnect BLACK battery cable first then RED bat-
tery cable and remove battery from tractor.
• Rinse the battery with plain water and dry.
• Clean terminals and battery cable ends with wire brush
until bright.
• Coat terminals with grease or petroleum jelly.
• Reinstall battery (See “REPLACING BATTERY" in
the SERVICE AND ADJUSTMENTS section of this
man u al).
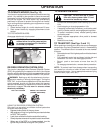
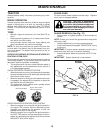
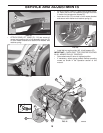
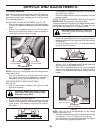
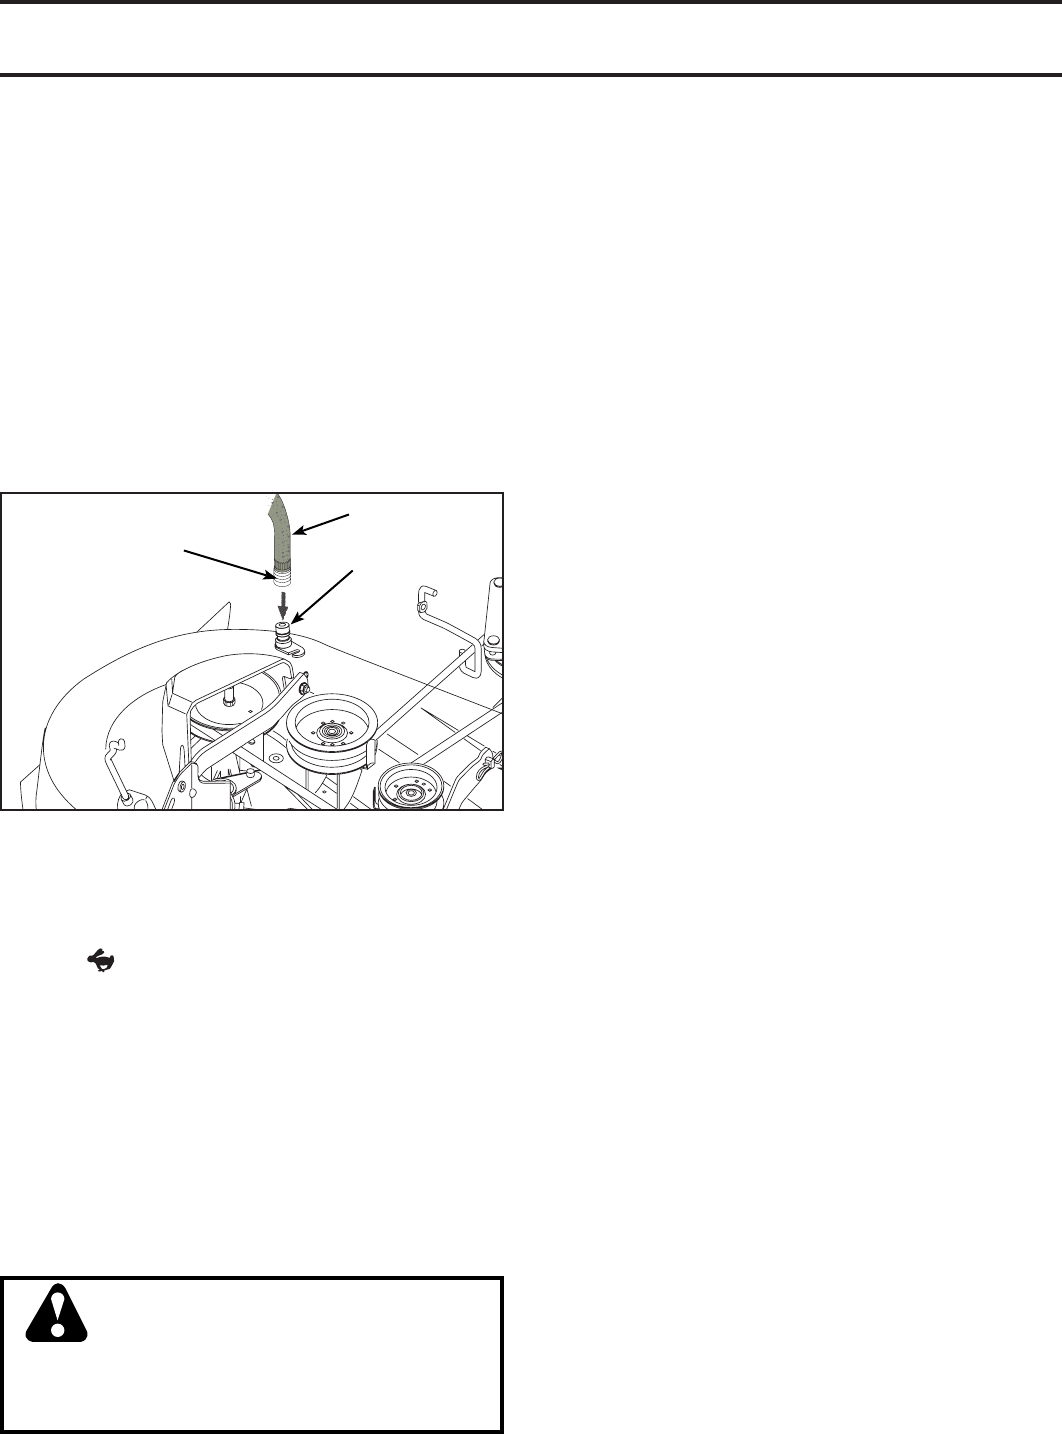
DECK WASHOUT PORT (See Fig. 14)
Your tractor’s deck is equipped with a washout port on
its surface as part of its deck wash system. It should be
utilized after each use.
1. Drive the tractor to a level, clear spot on your lawn, near
enough to a water spigot for your garden hose to reach.
IMPORTANT: Make certain the tractor’s discharge chute is
directed AWAY from your house, garage, parked cars, etc.
Remove bagger chute or mulch cover if attached.
2. Make sure the PTO (Blade Engage) is not engaged,
set the parking brake, and stop the engine.
3. Thread the nozzle adapter (packaged with your tractor’s
Operator’s Manual) onto the end of your garden hose.
4. Pull back the lock collar of the nozzle adapter and push
the adapter onto the deck washout port at the left end
of the mower deck. Release the lock collar to lock the
adapter on the nozzle.
Washout Port
Nozzle Adapter
Hose
IMPORTANT: Tug hose ensuring connection is secure.
5. Turn the water on.
6. While sitting in the operator’s position on the tractor,
re-start the engine and place the throttle lever in the
Fast "
" position.
IMPORTANT: Recheck the area making certain the area
is clear.
7. Move the tractor’s PTO (Blade Engage) to the ON
position. Remain in the operator’s position with the
cutting deck engaged until the deck is cleaned.
8. Move the tractor’s PTO (Blade Engage) to the OFF
position. Turn the ignition key to the STOP position to
turn the tractor’s engine off. Turn the water off.
9. Pull back the lock collar of the nozzle adapter to dis-
connect the adapter from the nozzle washout port.
10. Move the tractor to a dry area, preferably a concrete or
paved area. Engage the mower deck PTO to remove ex-
cess water and to help dry before putting the tractor away.
WARNING: A broken or missing washout
fitting could expose you or others to
thrown objects from contact with the blade.
• Replace broken or missing washout fitting
immediately, prior to using mower again.
• Plug any holes in mower with bolts and
locknuts.
Fig. 14


