


English – 17
START AND STOP
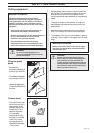
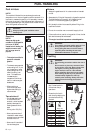
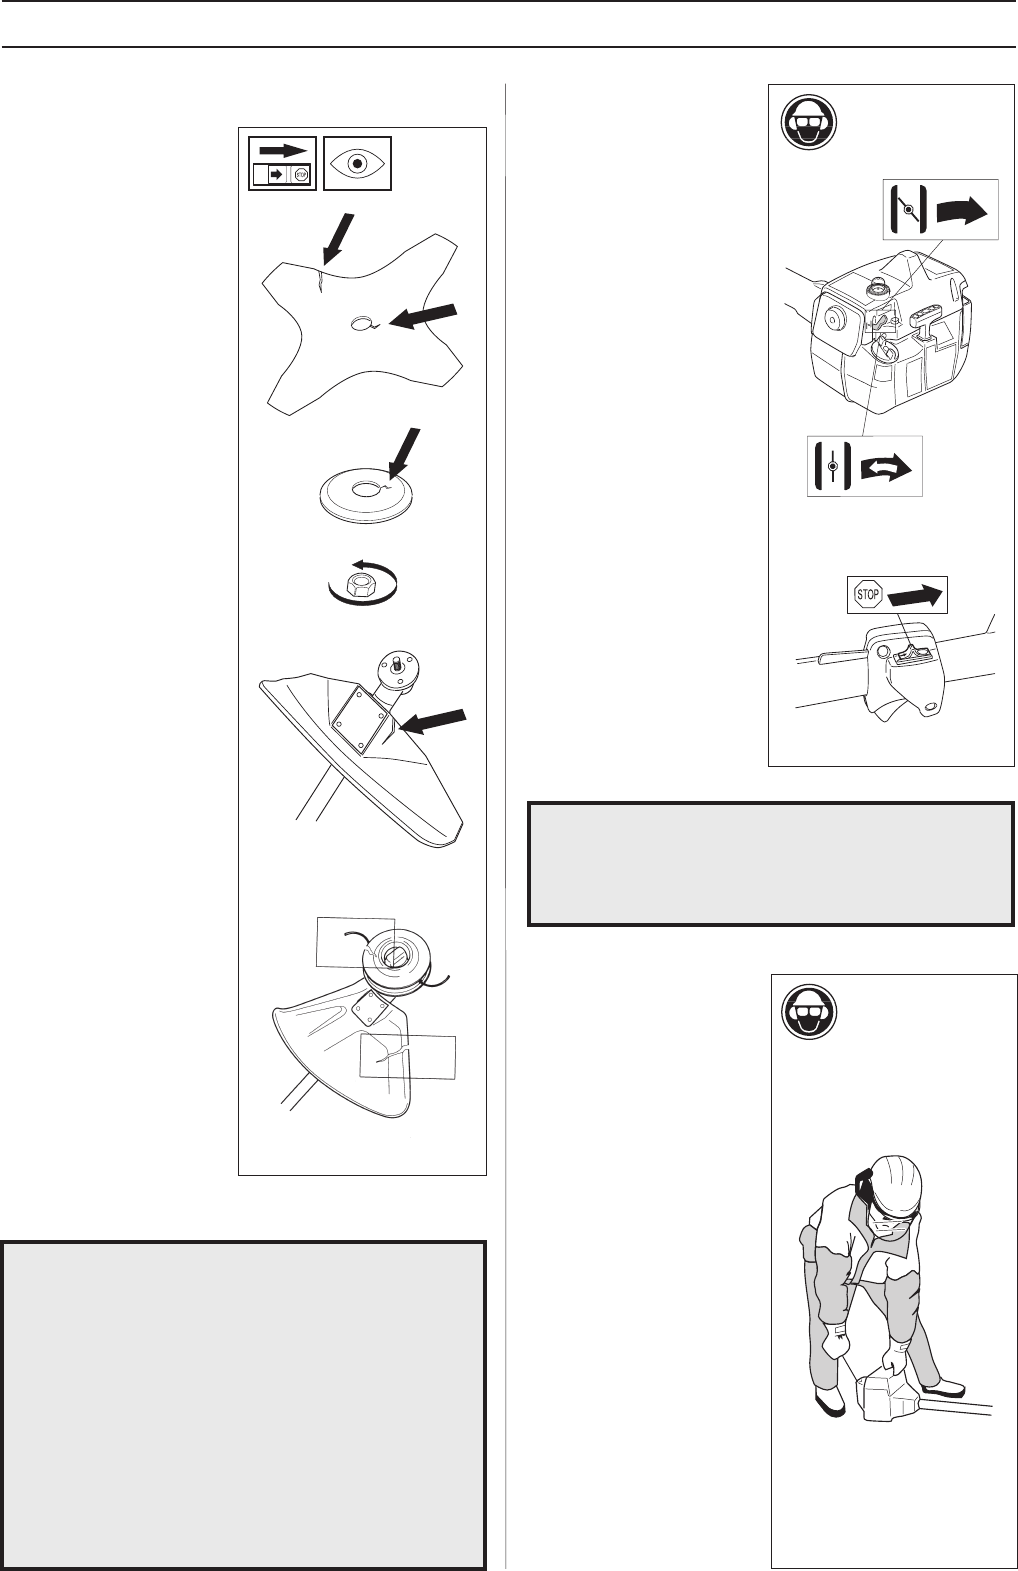
Cold engine
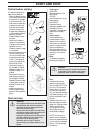
IGNITION:
Set the stop switch to the
start position.
CHOKE:
Set the choke control in the
choke position.
AIR PURGE:
Press the air purge
diaphragm repeatedly until
fuel begins to fill the
diaphragm. The diaphragm
need not be completely
filled.
Warm engine
Use the same starting
procedure as for the cold
engine, but do not set the
choke control in the choke
position. The start throttle
position is obtained by
setting the choke control in
the choke position and then
returning it to its original
position.
Stop
The engine is stopped by
switching off the ignition.
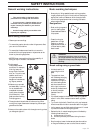
!
WARNING!
The complete clutch cover with shaft must
be fitted before the machine is started,
otherwise the clutch can become loose
and cause personal injury.
Always move the machine from the filling
area before starting. Place the machine on
a flat surface. Ensure the cutting
equipment cannot come into contact with
any object. Make sure no unauthorised
persons are in the working area,
otherwise there is a risk of serious
personal injury. The safety distance is 15
metres.
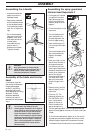
Start and stop
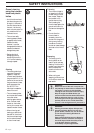
WARNING!
When the engine is started with the choke
in the choke or start position the cutting
equipment starts to rotate immediately.
!
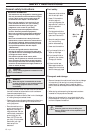
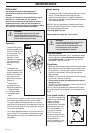
Start
Press the machine body
against the ground using
your left hand (NOTE! Not
your foot). Grip the starter
handle, slowly pull out the
cord with your right hand
until you feel some resistance
(the starter pawls grip), now
quickly and powerfully pull
the cord.
Reset the choke control as
soon as the engine fires and
repeat until the engine starts.
When the engine starts
quickly apply full throttle
and the start throttle will
automatically disengage.
NOTE! Do not pull the
starter cord out completely
and do not release the starter
cord from the fully extended
position. This can damage
the machine.
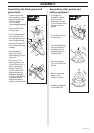
Control before starting
For reasons of safety follow
these recommendations!
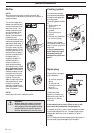
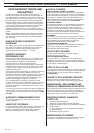
• Check the blade to ensure
that no cracks have formed
at the bottom of the teeth
or by the centre hole. The
most common reason why
cracks are formed is that
sharp corners have been
formed at the bottom of
the teeth while sharpening
or that the blade has been
used with dull teeth.
Discard a blade if cracks
are found.
• Check that the support
flange is not cracked due
to fatigue or due to being
tightened too much.
Discard the support flange
if it is cracked.
• Ensure the locking nut has
not lost its captive force.
The nut lock should have
a locking force of at least
1.5 Nm. The tightening
torque of the locking nut
should be 35-50 Nm.
• Check that the guard is
not damaged or cracked.
Replace the guard if it is
exposed to impact or is
cracked.
• Check that the trimmer
head and spray guard are
not damaged or cracked.
Replace the trimmer head
or spray guard if they are
exposed to impact or are
cracked.
• Never use the machine
without a guard or spray
guard nor with a defective
guard.