


English - 17
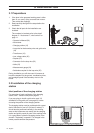
3. INSTALLATION
3. Installation
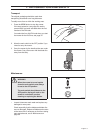
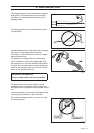
This chapter describes how you install Husqvarna
Automower™. Before starting the installation read the
previous chapter 2. Presentation.
Read the whole of this chapter too before starting the
installation. How the installation is made also affects
how well Automower will work. It is therefore important
to plan the installation carefully.
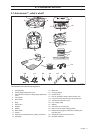
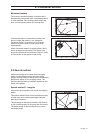
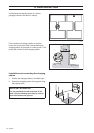
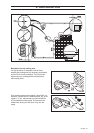
Planning is simplified if you make a sketch of the
working area, including all obstacles. This makes it
easier to see the ideal positions for the charging
station, boundary wire and guide wire, if used. Draw on
the sketch how the boundary wire and the guide wire, if
used, should be routed.
Carry out the installation in the following steps:
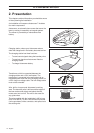
3.1 Preparations.
3.2 Installation of the charging station.
3.3 Charging the battery.
3.4 Installation of the boundary wire.
3.5 Connecting the boundary wire.
3.6 Checking the installation.
3.7 Linking Automower™ to the charging station.
3.8 Installation of the guide wire.
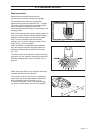
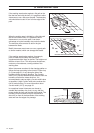
To carry out a complete start-up of Automower the
charging station must be in position and connected,
the boundary wire connected, and the mower
connected to the charging station. If you would like to
start the mower without having completed the full
boundary installation, you can connect a temporary
short loop around the mower.