


11
ASSEMBLY
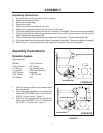
Blower/Drive Kit
1. Open the drive kit box and remove all of
the components.
2. Place the deck in the lowest cutting
height.
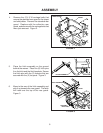
3. Remove the right side belt shield from the
deck.
4. Remove the deck belt from the right side
pulley.
5. Remove the deck pulley.
Note: When the deck pulley is removed, the
spindle can fall out of the cutter housing
assembly. Be sure to secure the bottom of the
spindle so that this does not happen.
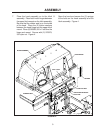
6. Place the double pulley on the cutter
housing assembly.
7. Place the heavy washer, and 7/16 lock
washer on the 108951, 7/16 x 2 1/2 bolt
and install in the spindle. Torque to 45 ft/
lbs.
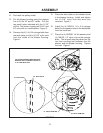
8. Place the blower assembly on it’s top.
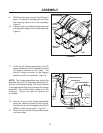
9. Using the 5/32" allen wrench, remove the
111229, 1/4 x 5/8 screw on the pulley
shield. Figure 1.
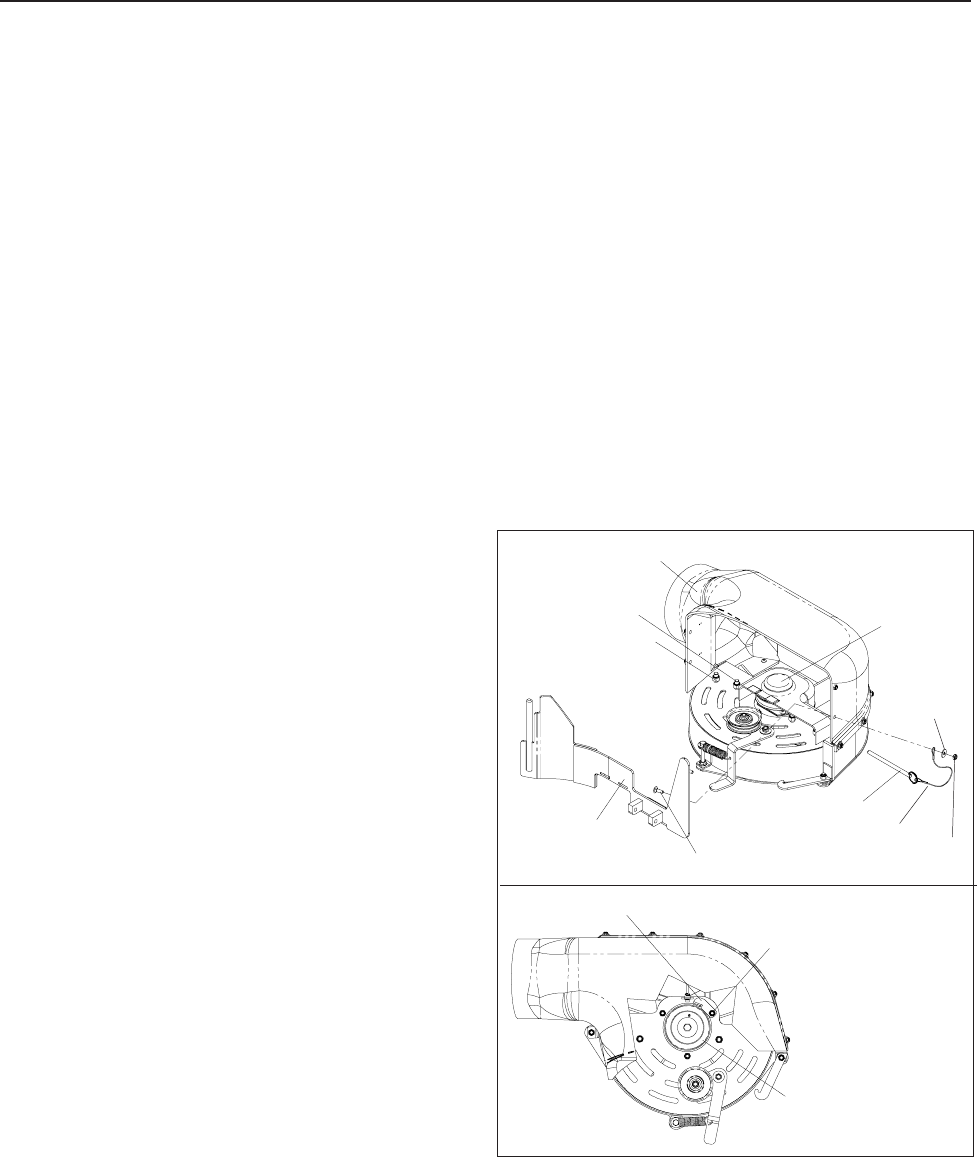
10. Loosen the nut on the belt guide, and
install the belt on the pulley. Figure 2.
11. Place the belt guide approximately 1/8"
away from the pulley and re-tighten the
nut. Figure 1.
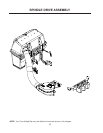
BLOWER ASSEMBLY
WELDED STUD
3/8” NYLOC NUT
PULLEY SHIELD
1/4” FLAT
WASHER
1/4” NYLOC
NUT
LANYARD
PIN
1/4 X 3/4 CARRIAGE BOLT
DECK PLATE
3/8” NYLOC NUT
BELT GUIDE
PULLEY
ADJUST BELT GUIDE
APPROXIMATELY 1/8”
AWAY FROM PULLEY
AFTER BELT
INSTALLATION
FIGURE 1