Page 14
MAINTENANCE
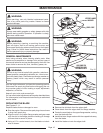
Using a 1/2 in. socket wrench, turn the blade nut coun-
terclockwise onto the edger shaft and tighten securely.
NOTE:
Always make sure the blade is correctly installed
and securely fastened before each use.
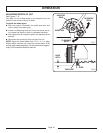
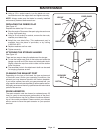
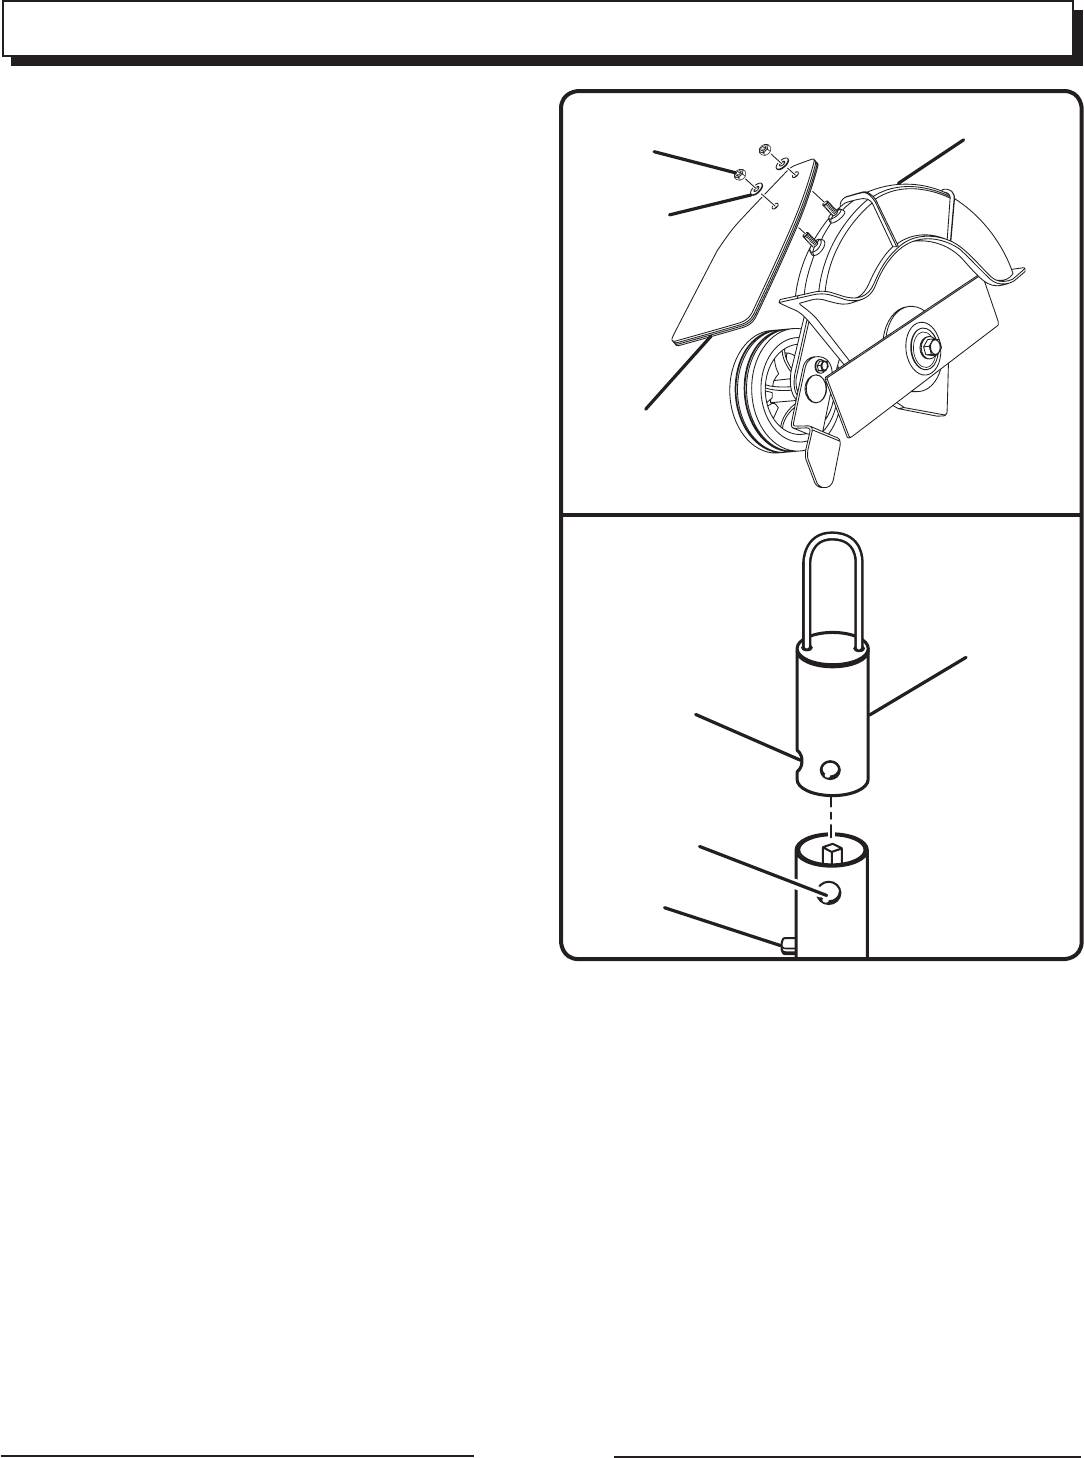
REPLACING THE DEBRIS FLAP
See Figure 12.
Replace the debris flap if it is worn.
Stop the engine. Disconnect the spark plug wire and move
it away from spark plug.
Using a 10 mm wrench or socket, remove the hex nuts,
washers, and debris flap.
Install the new debris flap. This replacement part is
available from the place of purchase, or by calling
1-800-242-4672.
Replace washers and hex nuts.
Tighten securely.
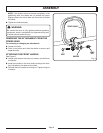
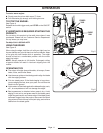
ATTACHING THE STORAGE HANGER
See Figure 13.
There are two ways to hang the attachment for storage.
To use the hanger cap, push in the button and place the
hanger cap over end of the lower end attachment shaft.
Slightly rotate the cap from side to side until the button
locks into place.
The secondary hole in the attachment shaft can be used
for hanging purposes as well.
CLEANING THE EXHAUST PORT
Depending on the type of fuel used, the type and amount
of lubricant used, and/or your operating conditions, the
exhaust port may become blocked with carbon deposits.
If you notice a power loss with your gas powered tool, you
may need to remove these deposits to restore performance.
We highly recommend that only qualified service technicians
perform this service.
SPARK ARRESTOR
The spark arrestor must be cleaned or replaced every 25
hours or yearly to ensure proper performance of the prod-
uct. Spark arrestors may be in different locations depend-
ing on the model purchased. Please contact your nearest
service center to have the spark arrestor on your product
serviced.
Fig. 13
BUTTON
HOLE
HANGER
cAP
SEcONDARY
HOLE
Fig. 12
HEx NUT
wASHER
DEBRIS FLAP
EDGER GUARD


