AE40L SERVICE INSTRUCTIONS
ROTOR SHAFT
I. Removal & Disassembly (Clean the machine thoroughly with a pressure washer)
A. Removal of Rotor Shaft Assembly from Main Frame.
(This may require an overhead lift. For safety reasons, only lift the Aera-vator approximately two
inches above the work surface).
1. Remove belt cover and drive belts.
2. Remove skid shoe.
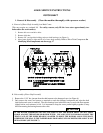
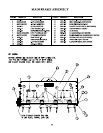
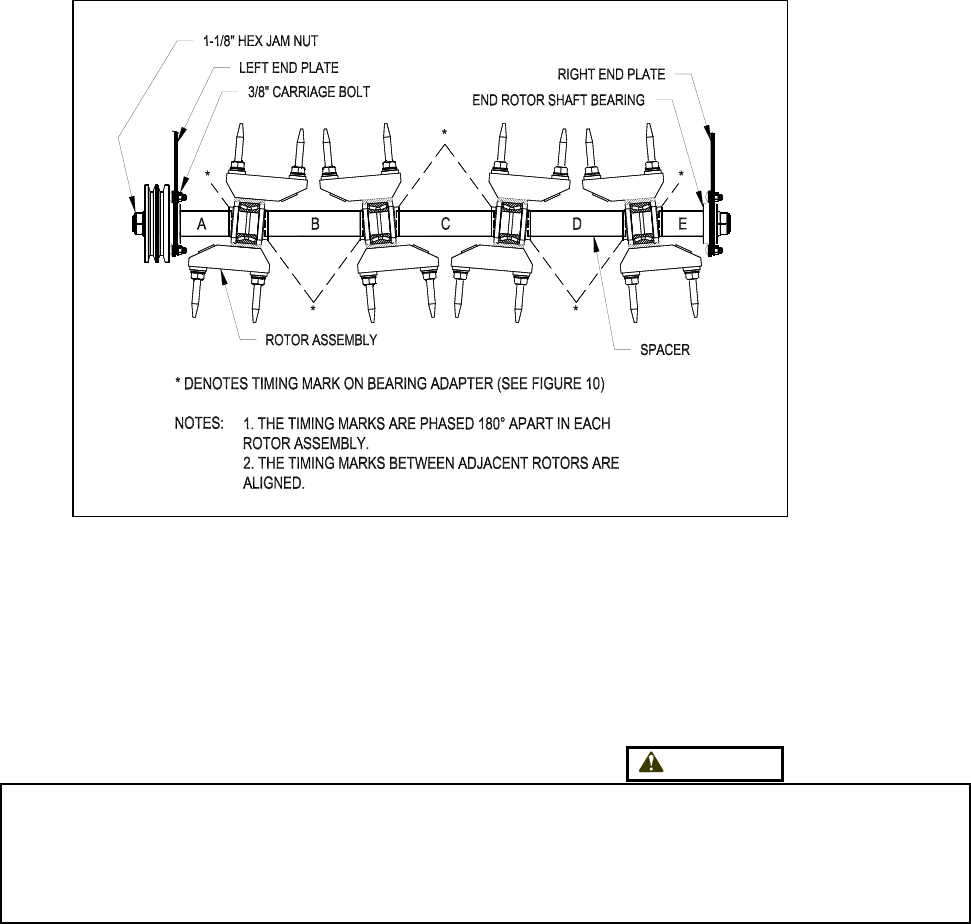
3. Remove 3/8" carriage bolts holding end rotor shaft bearings (see Figure 6).
4. Move frame slightly to right and lift off of rotor shaft assembly. Refer to Drive Train Components for
identifying listed components not shown, pg. 17
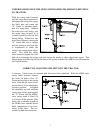
Figure 6. Rotor Shaft Assembly
B. Disassembly of Rotor Shaft Assembly
1. Remove the 1-1/8" hex jam nut from the shaft nearest to the damaged rotor (see Figure 6).
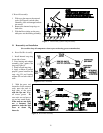
2. Only remove the rotors and spacers as required to reach the damaged component and wipe the shaft
clean before each rotor is removed. The rotor bearings have individual cones on each side that separate
slightly before seal resistance is felt. It is important to keep the cones pushed tightly together to keep
dirt from entering the bearing between the cones.
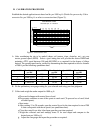
CAUTION
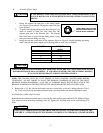
IF THE ROTOR ASSEMBLIES DO NOT SLIP FREELY OFF THE ROTOR SHAFT DO NOT APPL
Y
FORCE AGAINST THE ROTORS OR ROTOR TEETH. USE A BLUNT PUNCH OR BAR AGAINST THE
THICK FACE OF THE INSIDE BEARING ADAPTER TO DRIVE THE ROTORS ALONG THE SHAFT.
OTHERWISE THE SEAL IN THE TAPERED ROLLER BEARING WILL BE DESTROYED AND IT IS NOT
REPLACEABLE (SEE FIGURE 7).
11


