Page 8 6" & 8" Bear Cat Chipper Operators Manual
WARNING
Keep face and body away from the feed opening. Do not
overreach. Keep proper balance and footing at all times.
The Bear Cat chipper is designed to chip a variety of materials
into a more readily decomposing or handled condition. The
following guidelines can be used to help you get started.
1. Trim side branches that cannot be bent enough to feed
into the chipper chute. Hold small diameter branches
together in a bundle and feed in simultaneously.
4.3 CHIPPING
2. Place limb, butt end first, into the chipper chute until it
contacts the feed roller. The actual feed rate of the limb
into the chipper depends on the type of material fed and
sharpness of the cutting blades. Operate feed roller at a
rate that will not kill the engine.
3. Rotate the branch to improve cutting action.
4. The chipping blades dull with use and require periodic
sharpening. Refer to Service and Maintenance, "Sharp-
ening Chipper Blades" for instructions.
4.2 STOPPING THE ENGINE
1. Move throttle to SLOW position.
2. Depress foot clutch pedal.
NOTE
The heavy rotor will continue to turn for some time
after the engine has been shut off. You can tell that
the rotor has stopped when no noise or machine
vibration is present. Inserting a branch into the
chipper chute to contact the blades will slow the rotor
and shorten stopping time.
CAUTION
Obtain and wear safety glasses at all times when
operating the machine. Avoid wearing loose fitting
clothing. Always wear heavy boots, gloves, pants, and
shirt. Use common sense and practice safety to protect
yourself from branches, sharp objects, and other
harmful objects.
Operation
3. Refer to Honda owners manual for stopping procedures.
4. Allow machine to come to a complete stop. You may
release the foot clutch pedal to help slow the rotor once
the engine has stopped running.
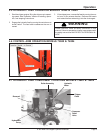
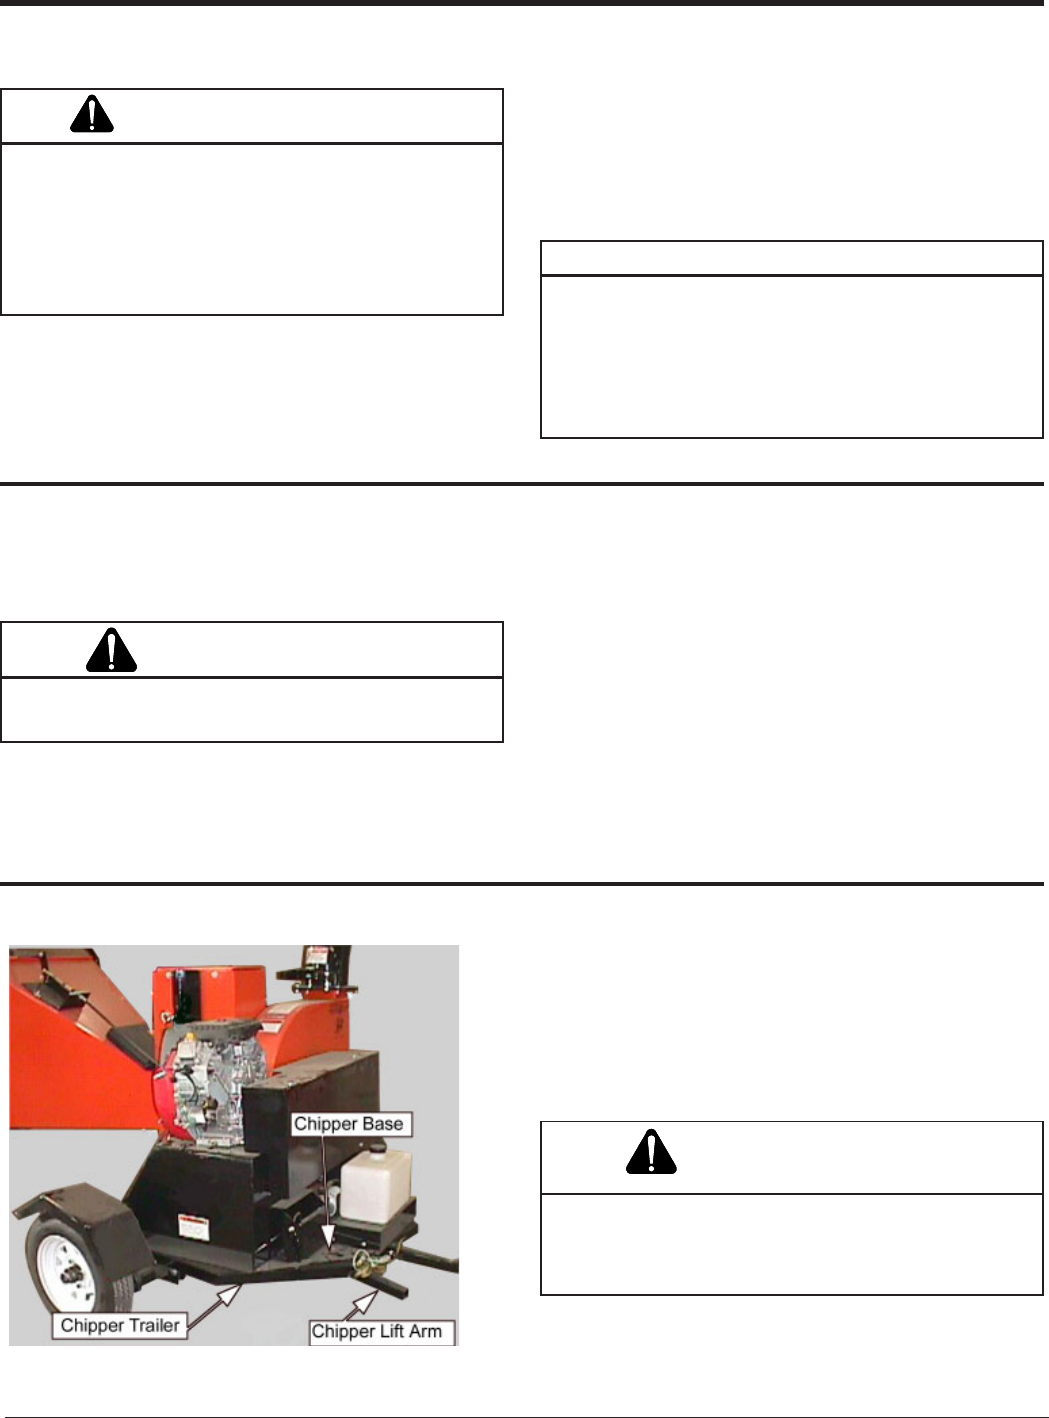
4.4 ROTATING THE CHIPPER BASE
1. Disengage the Chipper Lift Arm from the Chipper Base
and then realese it by pressing it down.
2. Rotate the Chipper Base to desired position.
3. Once the Chipper Base has been positioned, lift up the
Chipper Arm and lock it in place.
WARNING
The Chipper Base must always be locked in place.
Failure to do so my result in machine vibration, serious
bodily injury or death.
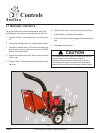
Fig. #3


