GB - 22
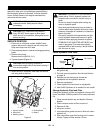
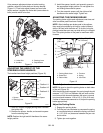
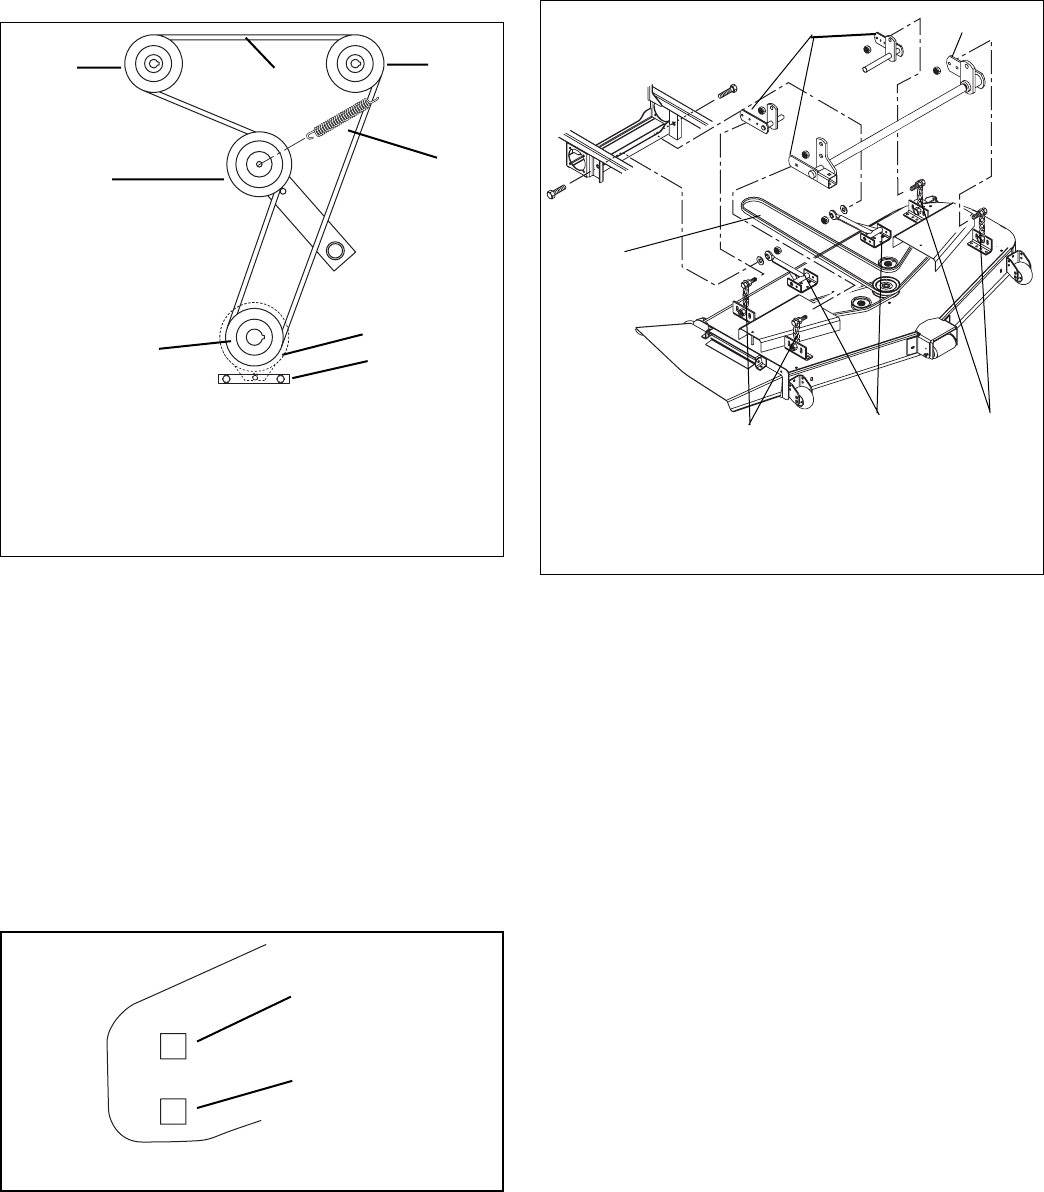
5. Remove old hydro pump belt from right hand
hydrostat sheave first (Figure 16).
6. Install new hydro pump belt by positioning belt on
sheaves. Put belt onto right hand hydrostat sheave
last.
7. Replace clutch anchor.
8. Replace long mower belt on mower clutch sheave.
See Replacing Mower Belts on page 21.
MOWER DECKS
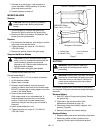
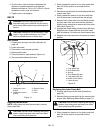
Adjusting Anti-Scalp Rollers
The anti-scalp rollers are set at the factory for typical
mowing height, but can be adjusted for high or low cutting
conditions (Figure 17).
Rollers are intended to prevent lawn scalping, not to
control cutting height.
For a very high cutting height, set the rollers in their
lowest position on the bracket.
For a very low cutting height, set the rollers in their
highest position on the bracket.
All rollers should be set at the same height.
Removing the Mower Deck
1. Remove PTO (long) mower belt (See Replacing
Mower Belts on page 21).
2. Remove link chains from mower lift arms. Note hole
location on mower lift arms for replacement.
3. Remove mower mounting arms from frame.
4. Slide mower deck out from under unit.
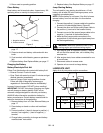
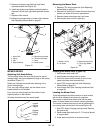
Installing the Mower Deck (Figure 18)
1. Slide mower deck under unit.
2. Install mower mounting arms on frame.
3. Install link chains on the mower lift arms in the
same holes they were removed from.
4. Install PTO (long) mower belt (See Replacing
Mower Belts on page 21).
5. Level mower deck (See Leveling the Mower Deck
on page 22)
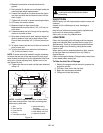
Leveling the Mower Deck
These adjustments should be made on a level surface
with the tires inflated to the correct air pressure.
The mower is leveled from side to side with the slots
where 4 chains fasten to the mower mounting brackets.
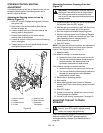
The mower is leveled from front to rear by adjusting the
rod running down each side of the frame (Figure 19).
1. Shut OFF engine. Engage parking brake. Remove
the ignition key.
2. Raise mower deck and insert 3" (7.6 cm) tall blocks
to support deck.
3. Lower deck onto blocks so chains are slack.
OF1631
1. Hydro Belt
2. Spring
3. Idler
4. Engine Sheave
5. Right Hand Hydrostat
6. Left Hand Hydrostat
7. Clutch
8. Clutch Anchor
Figure 16
5
1
6
2
7
8
4
3
Highest
Cutting
Height
Lowest
Cutting
Height
OF3161
Figure 17
Of0316
Figure 18
1
1. Mower Lift Arm
2. Link Chain
3. Mower Mounting Arm
4. PTO (Long) Mower
Belt
2
3
2
4
1


