GB - 13
NOTE: The engine will not start unless the steering con-
trol levers are in the neutral position, the PTO switch is in
the “Off” position and parking brake is set.
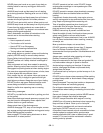
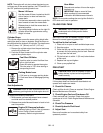
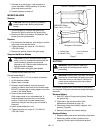
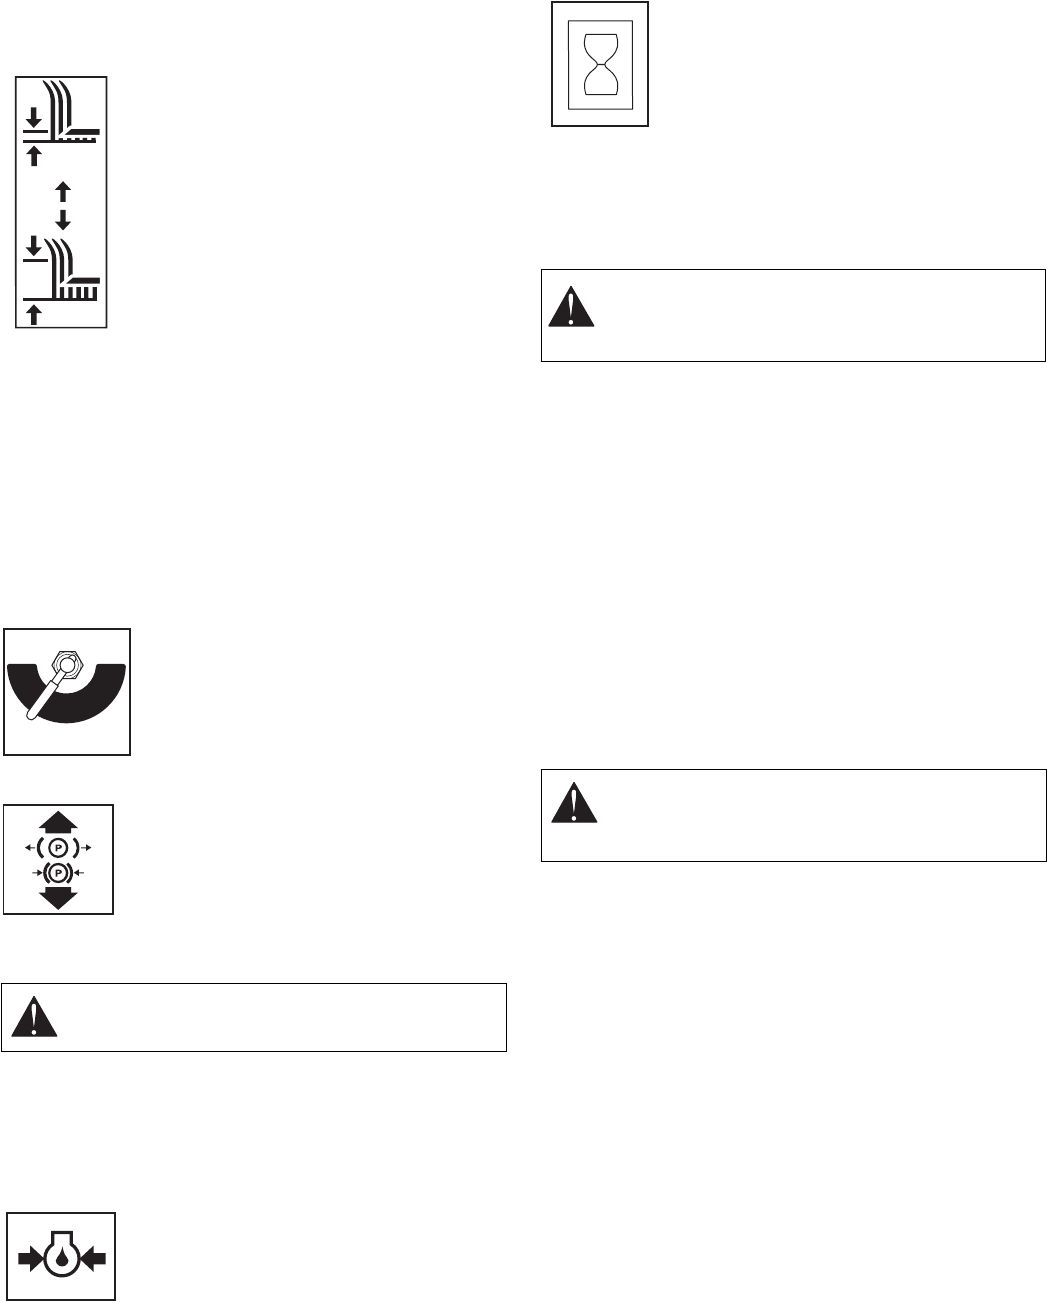
Mower Lift Lever
Use the mower lift lever, located on the left
side of tractor, to raise and lower the
mower deck.
Pull the lever rearward to raise or push the
lever forward to lower the mower deck.
Release lever to hold the mower deck in
selected position.
The cutting height indicator on the right lift
cylinder shows the approximate cutting
height in inches.
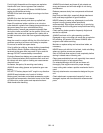
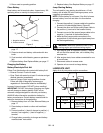
Cylinder Stops
The cylinder stops ensure the same cutting height after
raising the deck to clear an obstacle. Store the stops on
the post behind the hydraulic lift cylinder. The stops come
in two (2) sizes, 1/4" (.64 cm) and 1/2" (1.27 cm).
1. Remove the cylinder stops from the post and snap
onto the lift cylinder rod.
2. Push the lift lever forward until the cylinder rests
against the cylinder stops.
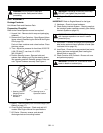
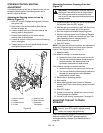
Fuel Shut-Off Valve
Use this valve to control fuel flow from
left or right fuel tank.
Open the valve to operate the engine.
Turn the valve to "Off" when storing or
transporting the unit.
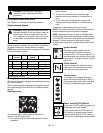
Parking Brake Lever
1. Pull lever up to engage parking brake.
2. Push lever down to disengage parking
brake.
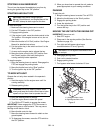
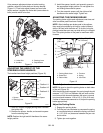
Seat Adjustments
To adjust seat forward or backward:
1. While seated, pull seat adjustment lever outward
and slide seat into desired position.
2. Release lever and slide seat forward or back to lock
seat into position.
Engine Oil Pressure Indicator
Indicator lights up “Red” if the oil pressure
is low. Check oil level and add if
necessary. Refer to engine manual.
Hour Meter
Records total number of hours the engine
has been run.
IMPORTANT: Keep a record of Hour
Meter readings for recommended
Lubrication and Maintenance intervals.
NOTE: For accurate readings be sure Ignition Switch is
OFF when unit is not in operation.
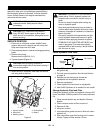
FILLING FUEL TANK
Add fuel to Fuel Tank as needed. See your Engine
Manual for correct type and grade of fuel.
To add fuel to the fuel tank:
1. Place unit in an open or well-ventilated open area.
2. Stop the engine.
3. Clean the fuel cap and the area around the fuel cap
to prevent dirt from entering the fuel tank. Remove
the cap from the fuel tank.
4. Fill the fuel tank to within 1" (25 mm) below bottom
of filler neck.
5. Replace fuel cap and tighten.
6. Clean up any spilled fuel.
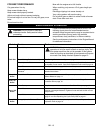
PRE-START
1. Check Safety Interlock System
If this system does not function as described do not
operate until repairs are made.
2. Check Air Cleaner
Check air filter for dirt. Clean as required. Follow Engine
Manual Maintenance Schedule.
3. Check Engine Fuel and Crankcase Oil
Check and add fuel if required. Check that engine
crankcase oil is full. Follow Engine Manual Maintenance
Schedule.
4. Check Tire Pressure
5. Check Hydraulic Fluid Level
6. Adjust Seat
Be sure all controls can be reached safely from
operator’s position.
WARNING: Make all seat adjustments with unit
stationary, parking brake on and engine shut off.
OF1700
RIGHT
TANK
LEFT
TANK
OFF
OF1881
OF1740
OG0601
WARNING: AVOID INJURY. Read and
understand entire Safety section before
proceeding.
CAUTION: Make sure all hardware is tight, all
safety devices in place and all adjustments
made correctly.


