


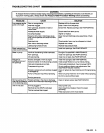
STARTUP
Always
use
this start up procedure
to
ensure that the unit
is started safely and properly.
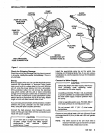
1.
Check the oil level.
Pump: Add SAE
XI
or
30
weight non-detergent oil
as necessary.
I
2.
Tum on
the
water supply.
CAUTION
Never
run
the
unit dry. Costly damage
to
the
pump will result. Always be sure the water
supply
is
completely tumed on before
operating.
3.
Trigger the gun until water sprays from the tip
indicating that
the
air is purged from the system.
4.
Plug the electrical cord into proper, grounded,
GFCI-protected
outlet.
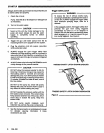
5.
ALWAYS
engage the gun’s trigger safety latch
whenever you stop spraying,
even
for a moment
to
reduce the risk of fluid injection or splashing in the
eyes or on the skin
if
the gun is bumped or triggered
accidentally.
6.
ALWAYS
observe
the following CAUTIONS to avoid
costly damage
to
the pressure washer.
CAUTION
DO
NOT
allow the pressure washer
to
idle for
more than
10
minutes. Doing
so
may cause
the
recircuiating water
lo
overheat and seriously
damage the pump. Tum
off
the pressure washer
if it will not
De
spraying or cleaning at least every
this time further.
10
minutes.
If
heated inlet water is used, reduce
DO
NOT
run the pump dry, which will quickly
fully tumed on before starting the pump.
damage the pump.
Be
sure the water supply is
DO
NOT
operate the pressure washer with the
inlet water screen removed. This screen helps
keep abrasive sediment
out
of the pump, which
could clog or scratch the pump, Keep this
screen clean.
DO
NOT
pump caustic materiais; such
materials may corrode the pump components.
7.
See
the chemical injector or sandblaster kit manual
for detailed cleaning information if these
accessories are used.
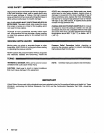
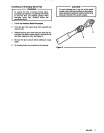
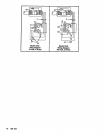
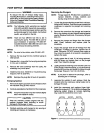
Trigger
Safety
Latch
WARNING
To reduce
the
risk of serious bodily injury,
including fluid injection, splashing in the eyes or
on the skin,
ALWAYS
engage the trigger safety
latch whenever spraying
stops,
even for a
moment.
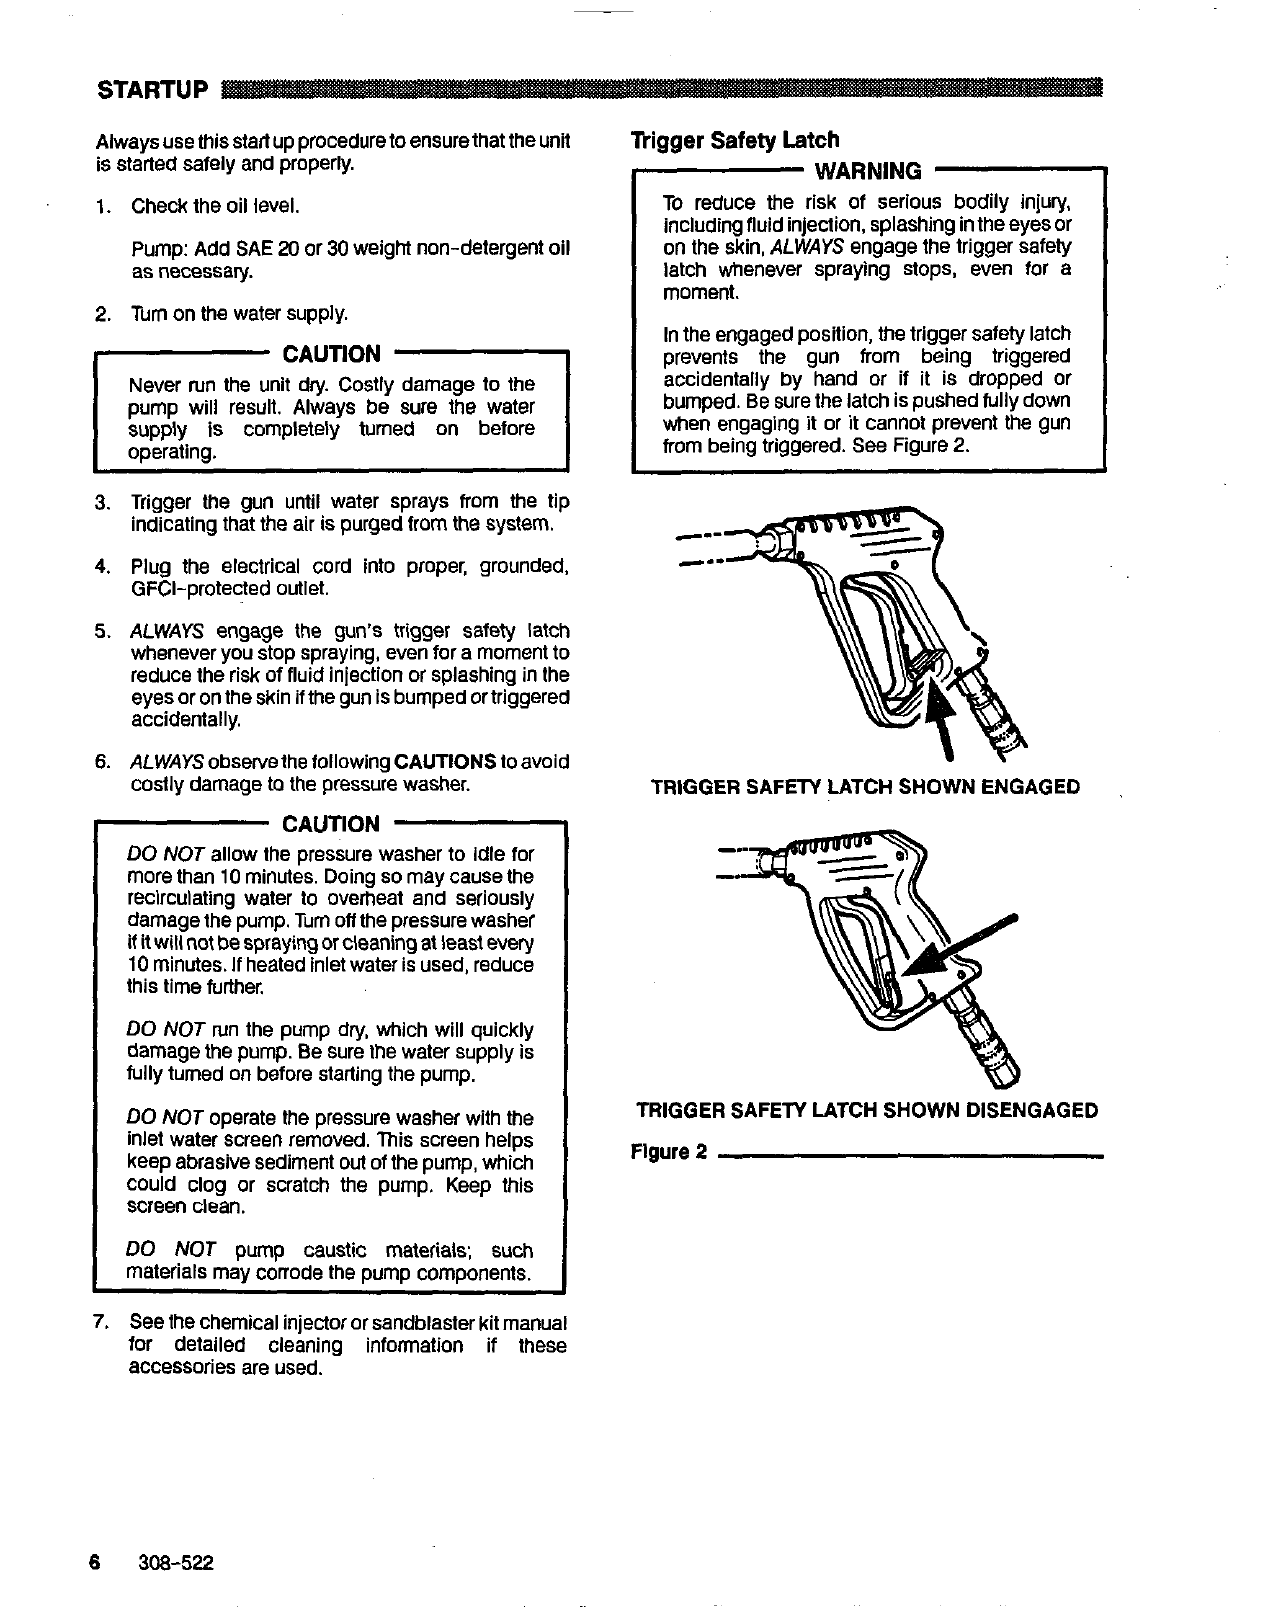
In
the
engaged position, the trigger safety latch
prevents the gun from being triggered
accidentally by hand or if it is dropped or
bumped.
Be
sure the latch is pushed fully down
when engaging it or it cannot prevent the gun
from being triggered.
See
Figure
2.
TRIGGER SAFETY LATCH SHOWN ENGAGED
TRIGGER SAFETY LATCH
SHOWN
DISENGAGED
Figure
2
6
308-522