9
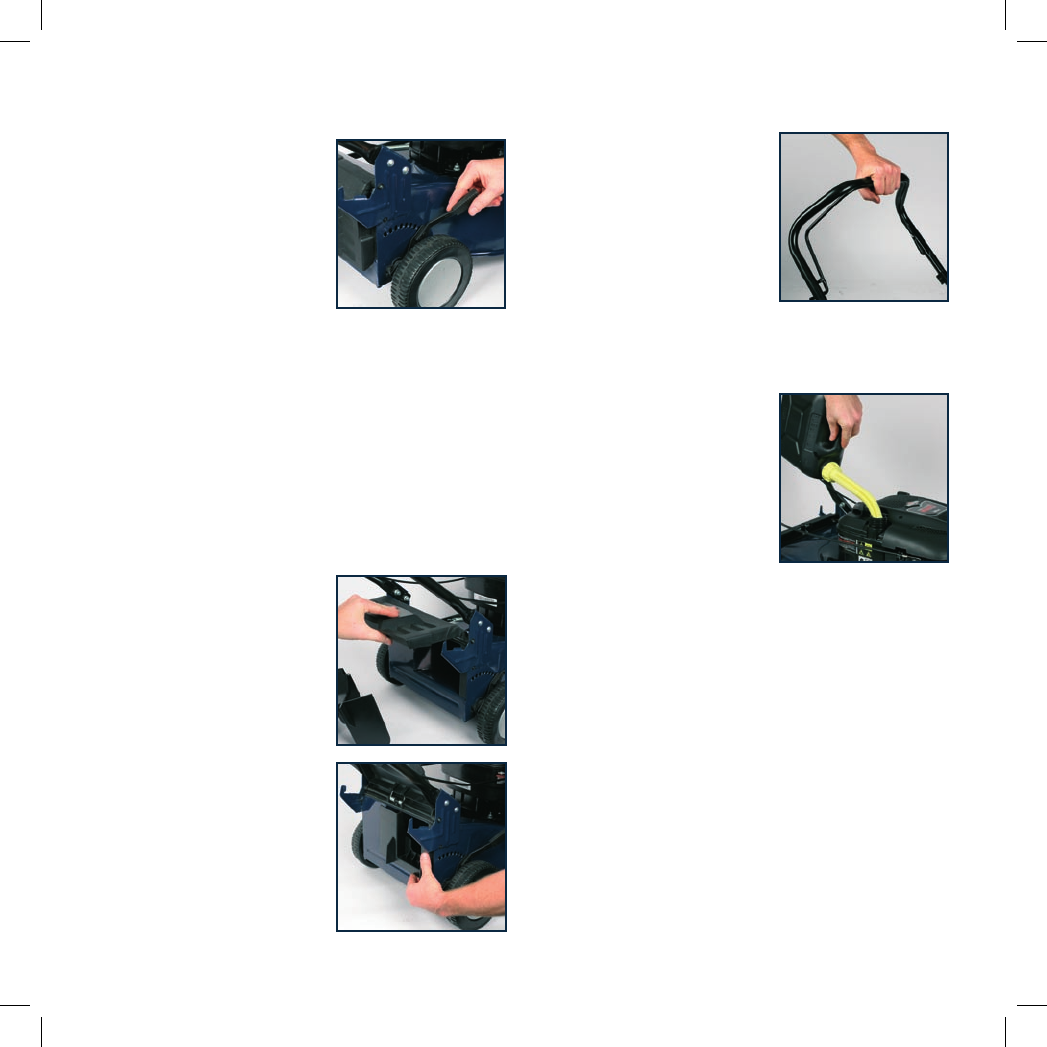
Cutting height adjustment
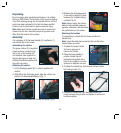
The GMC mower has one lever
to easily adjust the cutting height.
There are 10 height settings.
1. To decrease the cutting height
pull the height adjustment
lever (6) out and move it up a
notch, towards the handlebar.
2. To increase the cutting height
pull the lever out and move it
down a notch, towards the motor.
Note. If you are unsure of which cutting height to use,
begin with a high setting and trial a small section of lawn,
then check the appearance of the lawn. Then readjust if
necessary.
Inserting the mulcher plug
WARNING. When inserting the mulcher plug ensure that
the mower is turned off and the blades are at a stand still.
1. Make sure the mower is steady by placing one knee in
front of the back wheel.
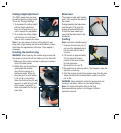
2. Whilst lifting up the discharge
guide place the mulcher
plug into the opening at a
downward angle. When the
plug has got to a point where
it can not go in any further
place the mulcher plug flat and
square it up with the right side
of the mower, ensuring it is
flush and locked into the right
hand side.
Brake lever
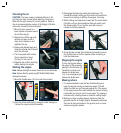
The mower is equip with a brake
lever (14) to improve the safety of
the mower.
During operation the brake lever
must be held, if it is let go the
engine will automatically stop.
To start the lawn mower you
must hold the brake lever to the
handle bar.
Fuelling
Note. Use fresh unleaded petrol.
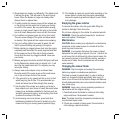
1. Unscrew the fuel tank cap (7)
and pour the unleaded petrol
into the tank with the aid of
a funnel.
2. Fill the tank to approximately
2.5 cm below the lowest
portion of the neck to allow
for fuel expansion.
Be careful not to over fill.
3. Be careful not to spill any petrol, if this happens, wipe the
spill with a clean rag.
4. Start the engine at least three meters away from the area
where the fuel tank has been filled in order to avoid the
risk of fire.
WARNING. Never attempt to refuel the engine while it is
running or still warm, allow it to cool before fuelling.
Note. For further information refer to the Fuel
Recommendations section in the Briggs & Stratton
instruction manual.


