


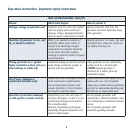
13
Periodic maintenance
Items Remarks Every 50hrs
or every
month
Every 150
hrs or every
month
Spark Plug Remove
Carbon
x
Air Filter Cleaning
x
Fuel Filter Clean
x
Decarbon-
isation
Clean
x
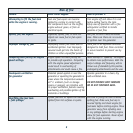
Generator maintenance
Your generator should be kept clean and dry at all
times. The generator should not be stored or operated in
environments that includes excessive moisture, dust or any
corrosive vapors. If these substances are on the generator,
clean with a cloth or soft bristle brush. Do not use a
garden hose or anything with water pressure to clean the
generator. Water may enter the cooling air slots and could
possibly damage the rotor, stator and the internal windings
of the generator head.
Storage
If you are going to store your generator for more than 30
days, use the following information as a guide to prepare
the generator for storage.
Never store generator with fuel in the tank indoors or in
enclosed, poorly ventilated areas, where fumes can reach
an open flame, spark or pilot light as on a furnace, water
heater, clothes dryer or other
gas appliances.
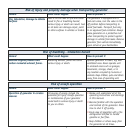
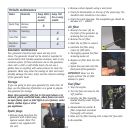
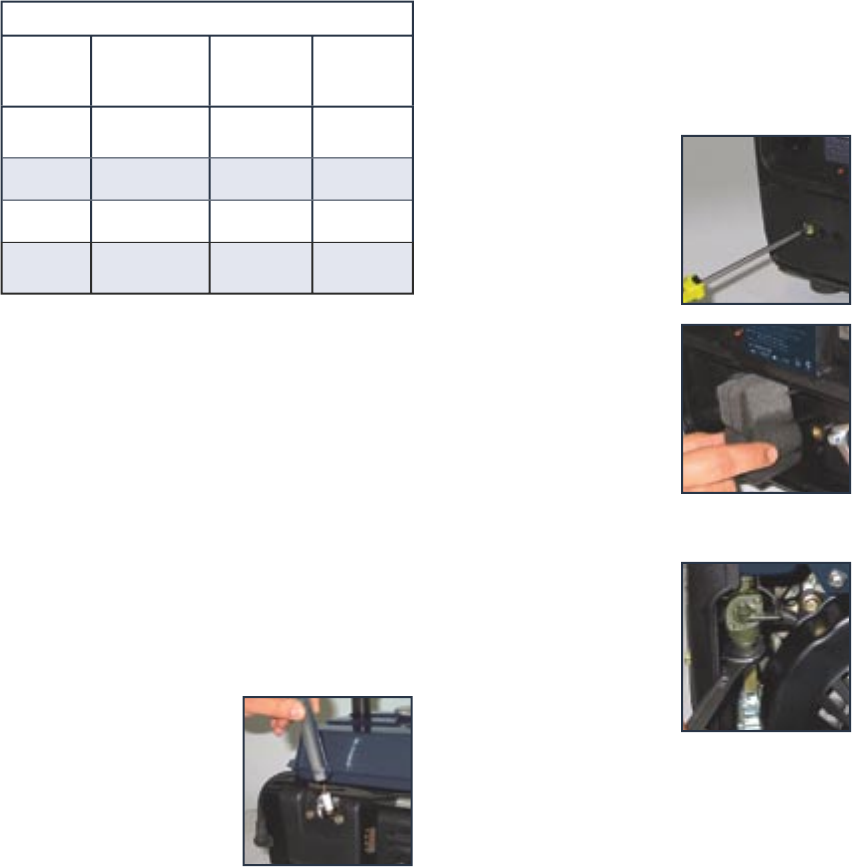
Spark plugs
1. Remove spark plug from the
generator with a spark plug
spanner socket. Note: This
socket is not supplied with
the unit.
2. Remove carbon deposits using a wire brush.
3. Check for discoloration on the top of the spark plug. The
standard color should be a tan colour.
4. Check the spark plug gap. The acceptable gap should be
between 0.7 – 0.8mm.
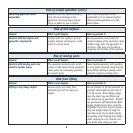
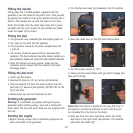
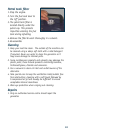
Air filter
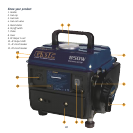
1. Remove the cover (8) on
the front of the generator by
removing the two screws.
2. Remove the air filter.
3. Wash the air filter in solvent.
4. Lubricate the filter using
motor oil (SEA #20).
5. Thoroughly squeeze the filter
removing excess oil.
6. Replace air filter back into the
engine.
7. Secure the cover back onto the
front panel of the generator.
IMPORTANT: Never run the
engine without the air filter
element in place.
Fuel filter
1. Stop the engine.
2. Turn the fuel cock lever to the
‘off’ position.
3. Unscrew the filter assembly
located directly under the fuel
cock lever.
4. Disassemble the washer &
filter component and clean
thoroughly with solvent.
5. Wipe out the filter housing with a clean lint free cloth.
6. Re-assemble.