


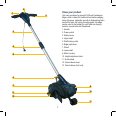

9
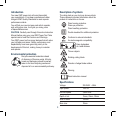
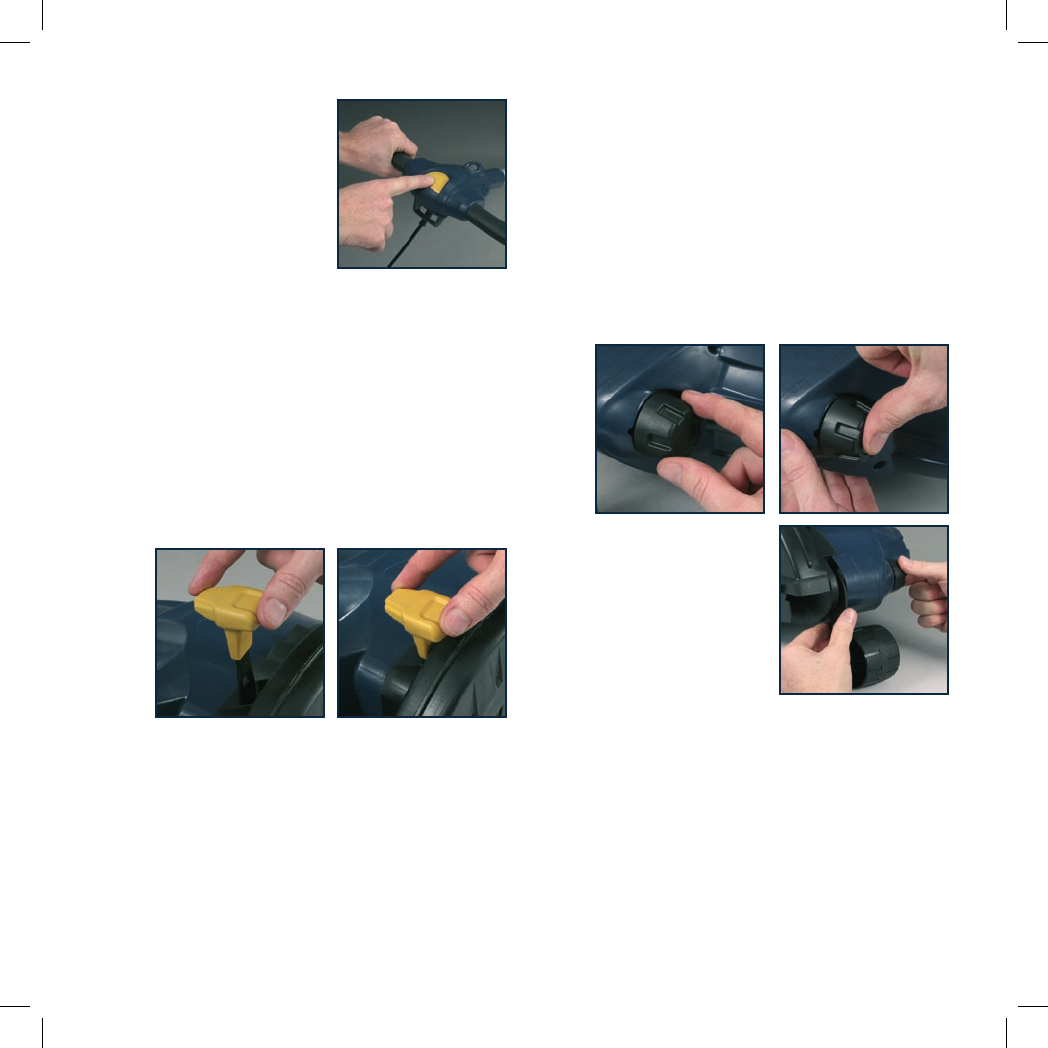
Switching on
Your GMC EDG3 is fitted with
two safety levers to prevent
accidental operation of the tool.
To turn on the edger pull in
one or both Safety levers (3)
and press the power switch (2)
fully down.
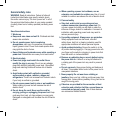
Hold one or both of the levers in to maintain power to the
unit. To stop the edger, release levers.
Take care when you turn the edger “On” that the cutter is in
a safe position to operate.
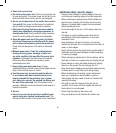
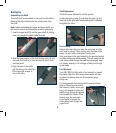
Edge Guide
The edge guide is used when edging is required against a
solid material like a paved surface. It is important to ensure
the edge guide is used in these conditions as the edge
guide will assist in preventing the blade from making direct
contact with the paved surface.
• To set the edge guide in the Down position, grasp
the Edge Guide Lever (6) and move the knob
sideways toward the centre of the edger and then
push downwards.
Note: The Edge Guide Lever should be returned to the
upright position to lock the Guide in the down position.
• To set the edge guide in the Up position, grasp the
Edge Guide Lever and move the knob sideways
toward the centre of the edger and then pull upwards
to lift the guide.
Note. The Edge Guide Lever should be returned to the
upright position to lock the Guide in the raised position.
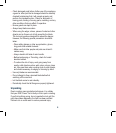
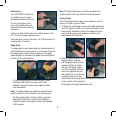
Cutting Depth
The Cutting Depth of the edger can be altered to one of 3
settings to a Max of approx 38mm.
1. To adjust the cutting depth, loosen the Height adjustment
knob (10) approx 5–6 full turns, but do not remove. Push
the knob fully towards the body of the edger and at the
same time move the guide wheel arm across to the
opposite side of the housing.
2. Raise or lower the arm to the
desired position, and then
pull the height adjusting knob
outwards. Tighten the knob
until all of the slack is taken
out of the assembly. Check to
ensure the guide wheel arm
has located into one of the pre
allocated positions and the
head of the bolt securing the front wheel arm is sitting flat
on the surface of the wheel arm.
Firmly tighten the height adjustment knob.