


8
Setting Up
Assembling the Shaft
The shaft must be assembled on removal from the carton.
Remove the bag containing the two small screws from
the shaft.
Note: Before assembling the upper and lower shafts, you
will need to remove and discard the protector packaging.
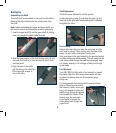
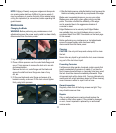
1. Insert the upper shaft (5) into the lower shaft (8), taking
care not to tangle the cable inside the shaft.
2. Slide the lower section of the shaft locking collar (5) onto
the lower shaft and turn it anti-clockwise to lock it on to
the lower shaft.
3. Align the holes in the collar
with the holes in the shaft then
fit the two small screws, to
lock in the collar.
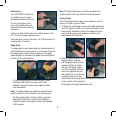
Shaft Adjustment
The shaft can be adjusted to suit the operator.
Loosen the locking collar (5) and slide the upper (4) and
lower (8) shafts apart until the desired length is achieved.
Re-tighten the collar.
Cord routing
Always make sure that you route the cord away from the
work area to prevent it from coming near the blade of the
edger. Lay your cable route before starting work.
Start your edger at the point nearest to the electrical socket,
and then move away whilst working. This will mean that the
cord will be pulled through the area that has already been
cut, thereby keeping it out of danger of being cut through
by the blade.
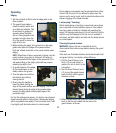
Cord Restraint
Your GMC EDG3 is fitted with a Cord restraint to prevent
the power cable from both being disconnected and also
to prevent excessive strain on the connecting plugs
during use.
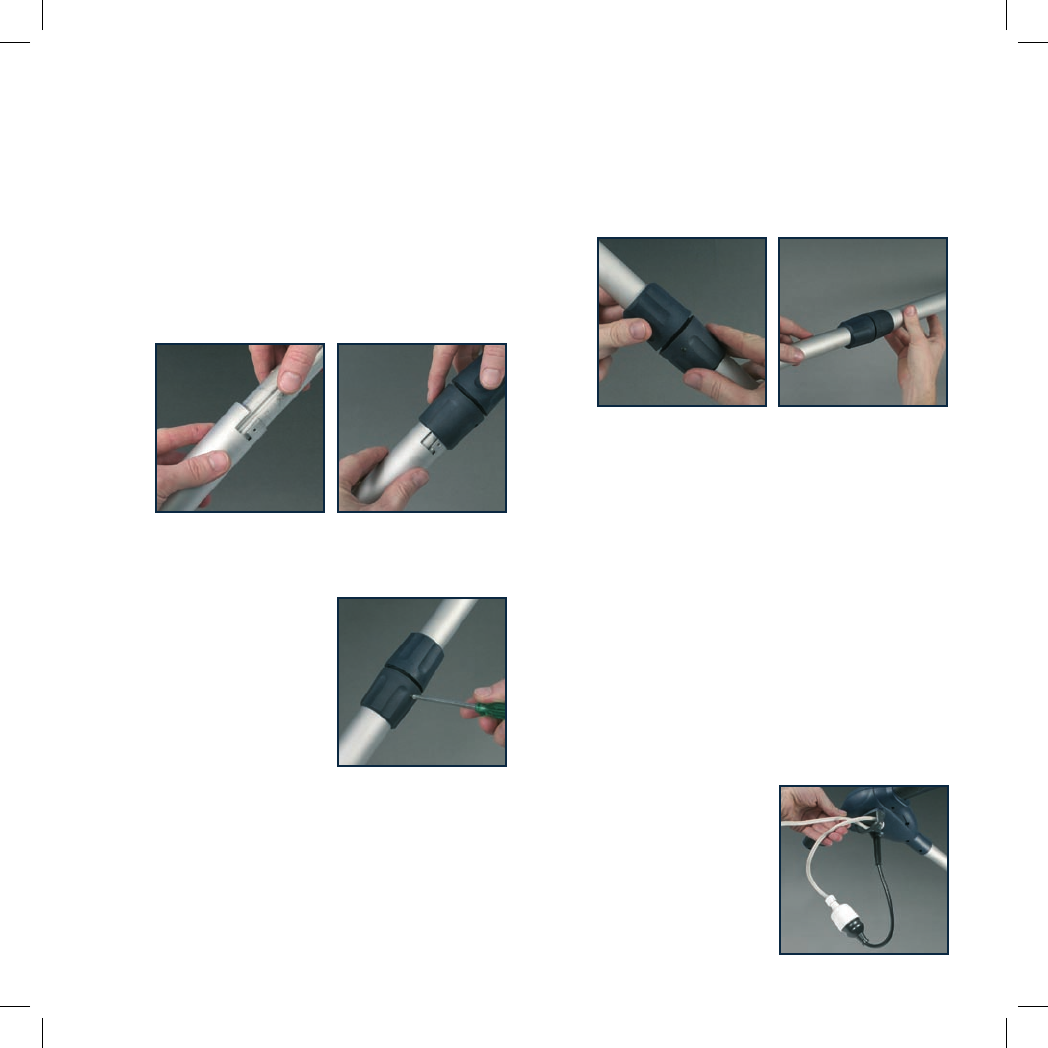
It is recommended the cord restraint is used as follows:
Approx 300mm from the end of
the extension Cable, form a tight
loop in the extension cable, and
feed the loop through the square
hole beneath the handle. Place
the loop over the inner hook
in the handle to prevent the
cable pulling back through the
square hole.