


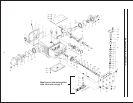

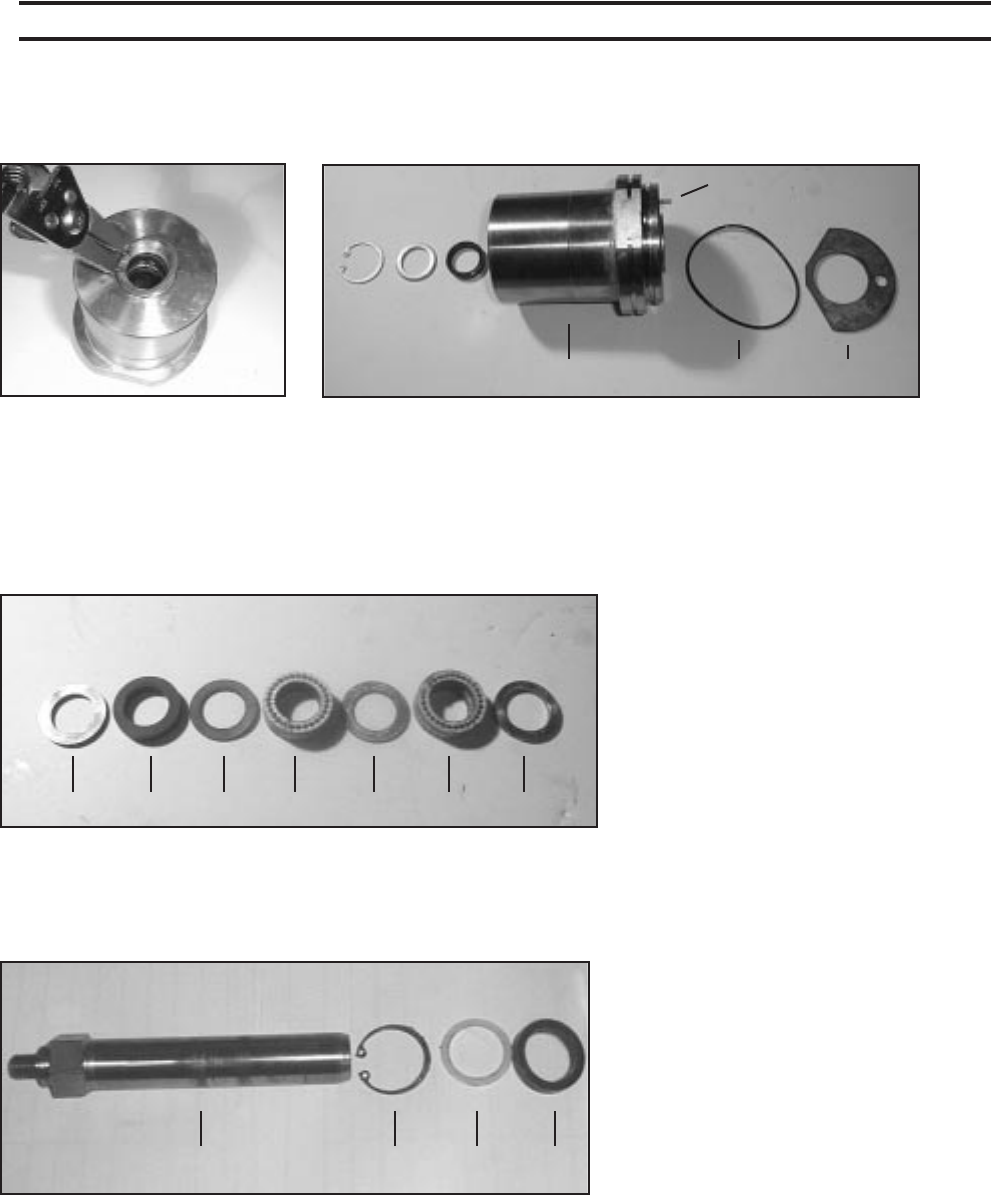
14) Remove circlip ring (48)
from seal sleeve (38). Re-
move spacer disc (47) and
seal ring (46) from seal
sleeve. Replace worn or
damaged parts.
CAUTION: Don't loosen the 3 plunger (36) before the valve casing has been removed otherwise the
plunger (36) could hit against the spacer pipe (51F) when the pump is being turned.
9
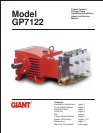
GP7122 REPAIR INSTRUCTIONS
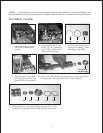
16) Remove support disc (41) seal unit (42, 43, 44) and pressure ring
(45) of seal sleeve (38). Examine seals for signs of wear or cavi-
tation, and if necessary, replace.
15) Remove leakage gasket (38B) from serrated pin (38A) on the
seal sleave (38). Check o-ring (38C) for damage and replace if
necessary. IMPORTANT! The 3.2 mm (diameter bore of the leak-
age gasket (38B) must be inserted directly on the serated pin (38A)
of the seal sleeve (38). The leakage gasket must fit snugly to the
seal so that the bevelled surface of the gasket faces outwords.
38 38C 38B
36 33B 34 44
38A
45 44 43 42 43 42 41
NOTE: Seal life can be increased if
the pretensioning allows for
a little leakage. This assists
lubrication and keeps the
seals cool. It is therefore
not necessary to replace
seals before the leakage
becomes too heavy and
causes output and operating
pressure to drop.
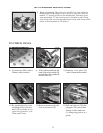
17) Examine plunger (36) for signs of wear or cavitation. If the
surface of the plunger is worn, screw out the plunger with a
27mm tool. Clean centering and front surface of crosshead
with plunger (25).Thread new plunger carefully through
oiled seals in seal sleave. Coat thread of new plunger lightly
with bonding agent (e.g., loctite).