


22
Regular Maintenance
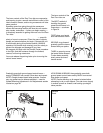
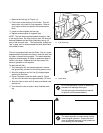
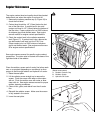
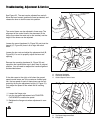
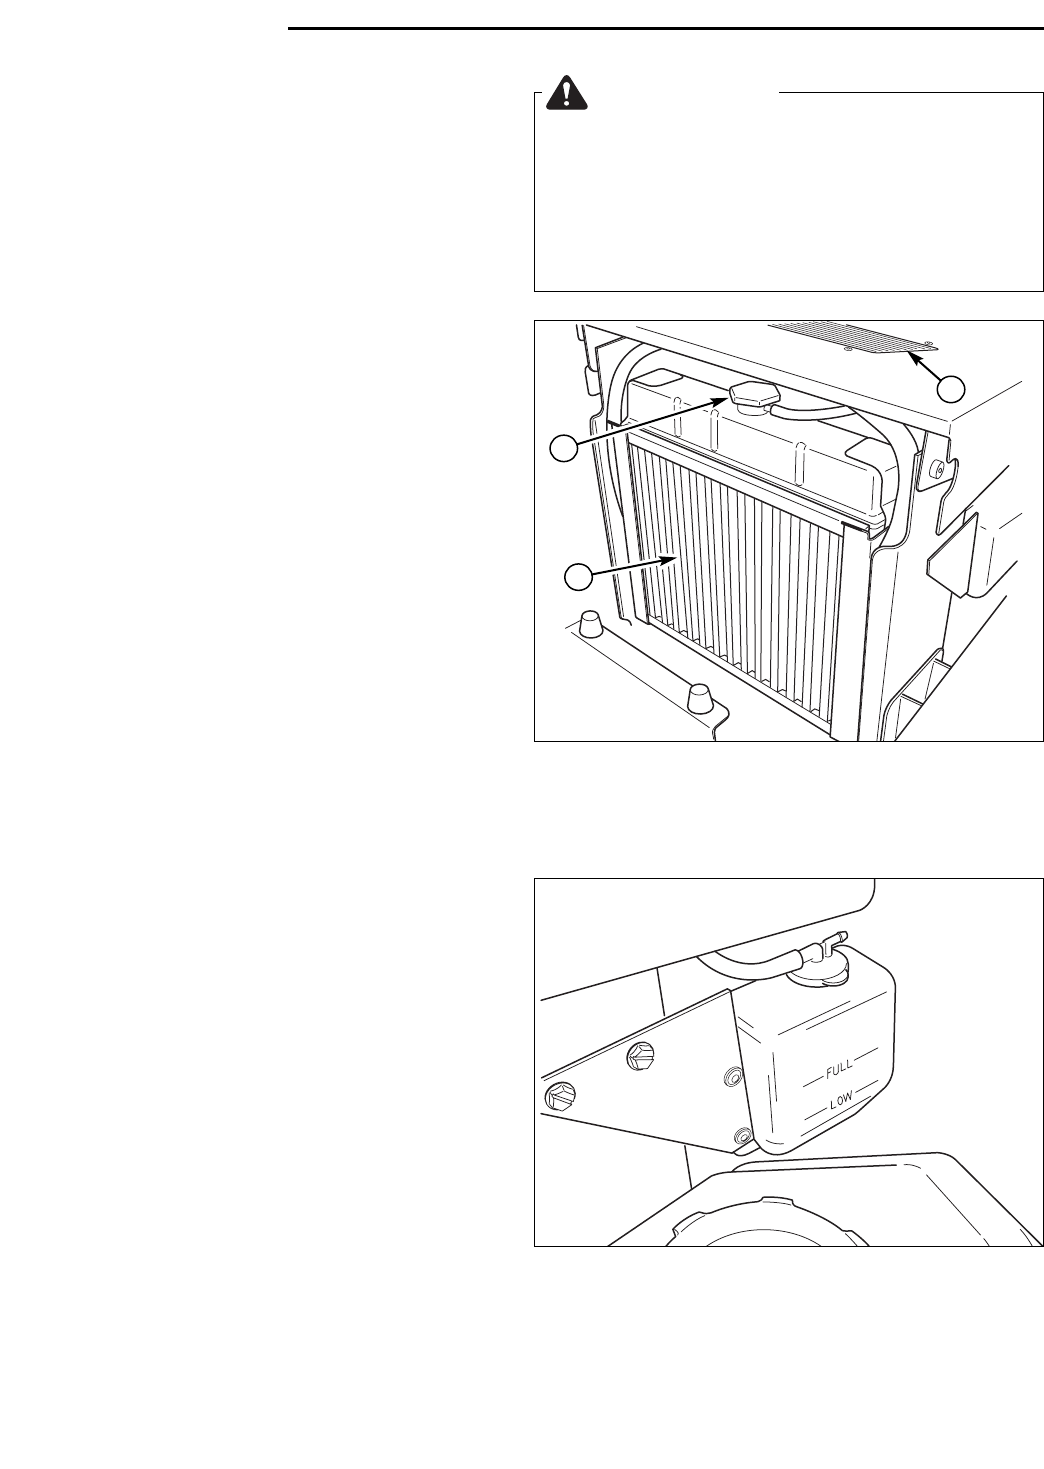
Figure 16. Radiator & Oil Cooler
(Diesel model shown)
A. Radiator Pressure Cap
B. Radiator Screen
C. Hydraulic Oil Cooler
CHECK ENGINE COOLANT LEVEL
The engine coolant level and quality should be checked
before each use, when the engine is cool and off.
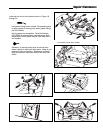
1. Remove the radiator pressure cap (A, Figure 16) to
check the fluid level.
2. Coolant level should be 1/2” (13mm) below the bot-
tom of the filler tube. If coolant level is low, add
coolant until level is 1/2” (13mm) below the bottom of
the filler tube. Proper coolant mix is a 50/50 mixture
of ethylene glycol and distilled water. See engine
owners manual for engine coolant specifications.
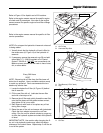
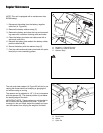
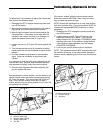
3. Check the coolant level in the radiator expansion
tank (Figure 17). If coolant level is low, remove the
cap add coolant until level is at the “FULL” line.
Proper coolant mix is a 50/50 mixture of ethylene
glycol and distilled water. See engine owners manu-
al for engine coolant specifications.
CHANGE ENGINE COOLANT
See engine owners manual for specific engine coolant
procedures. The drain valve is located at the base of the
right-hand side of the radiator.
CLEAN RADIATOR,SCREEN & OIL
COOLER
Clean the radiator, screen and oil cooler fins before each
use, or as required (depending on conditions) to allow
proper air-flow through radiator and hydraulic oil cooler.
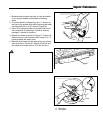
1. Raise the seat plate.
2. Lift the radiator screen straight up to remove the
screen. Flush the screen with water or blow clean
with air. Flush the radiator core with water or blow
clean with air. See engine owners manual for proper
radiator cleaning procedures.
3. Clean all dirt, grass, and debris from the oil cooler
fins.
4. Reinstall the radiator screen. Make sure the screen
is fully seated in the carrier.
5. Lower the seat plate.
WARNING
PRESSURIZED SYSTEM
Hot coolant can cause serious burns.To open the
cooling system filler cap, stop the engine and wait
until the cooling system components are cool.
Loosen the cooling system pressure cap slowly
in order the relieve the pressure.
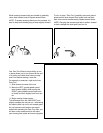
Figure 17. Radiator Expansion Tank
C
B
A