


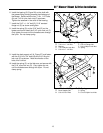
7
Blower Preparation
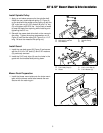
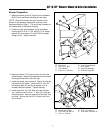
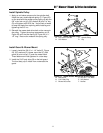
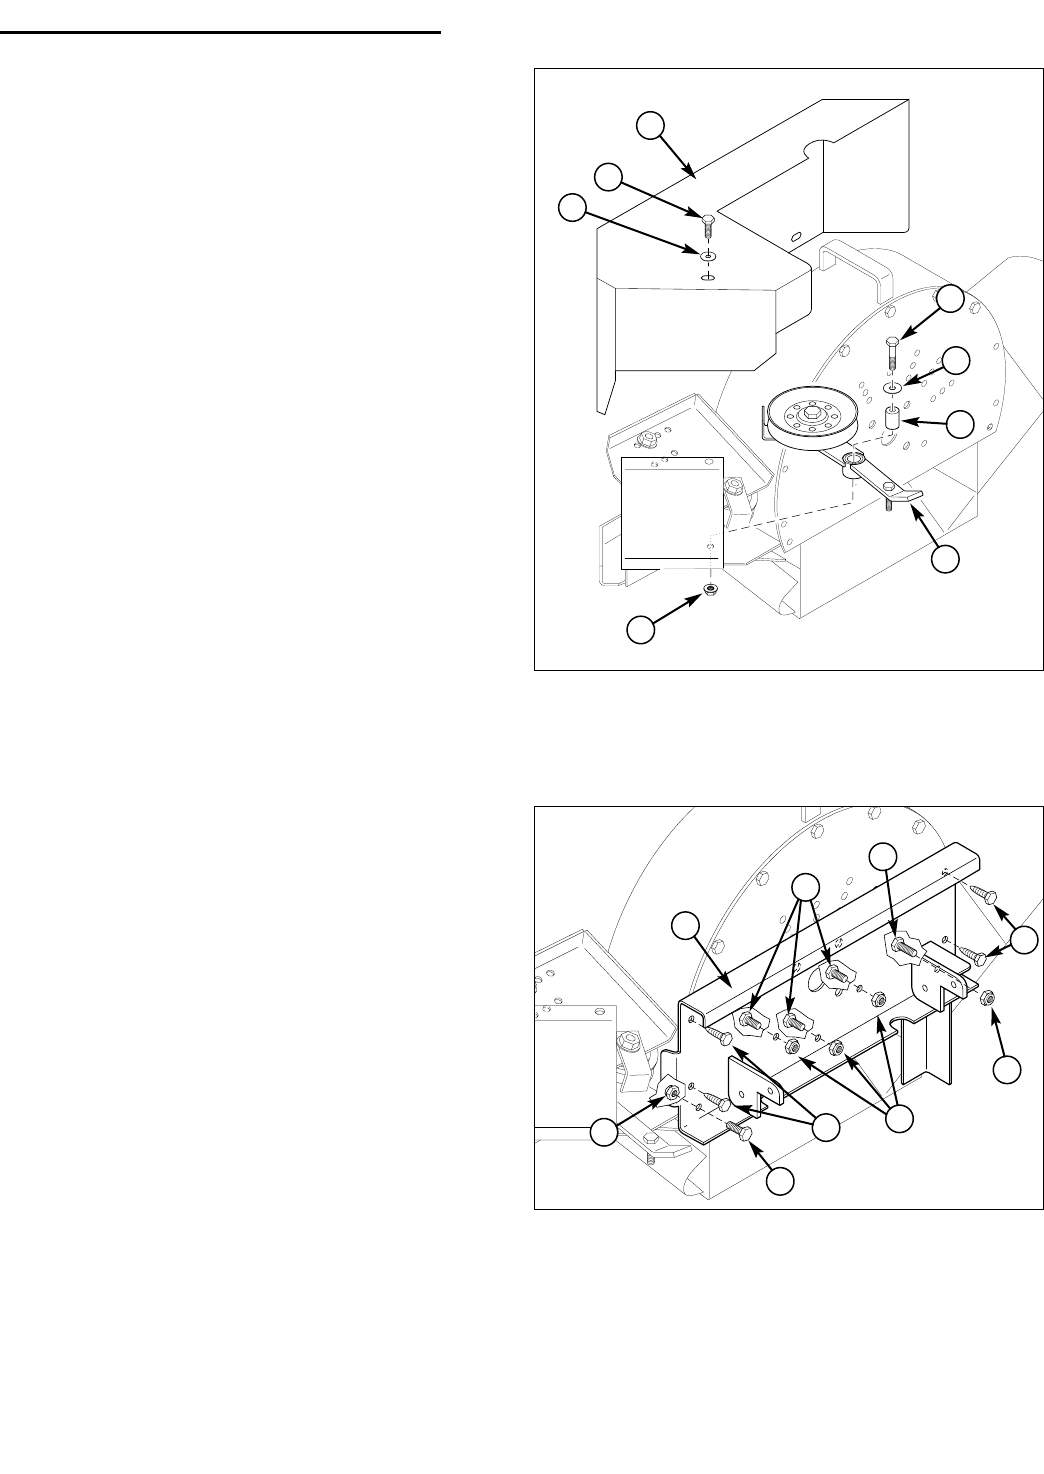
1. Remove the belt guard (A, Figure 9) and hardware
(B & C) from the blower housing and set aside.
NOTE: Record the model and serial number of the
blower on the warranty registration card and in the
space provided on Page 1. The serial tag is located on
the outside face of the blower housing.
2. Fasten the idler arm assembly (G) to the blower
housing with 5/16-18 x 1-3/4” bolt (D), 5/16” fender
washer (E), pivot spacer (F) and 5/16-18 serrated
flange nut (H). Tighten securely.
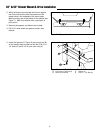
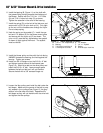
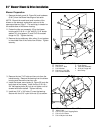
Figure 10. Install Blower Mount Plate
A. Blower Mount Plate D. 5/16” x 3/4” Bolt (3)
B. 5/16” Self-Tap. Bolt (4) E. 5/16” Nylon Lock Nut (5)
C. 5/16” x 1” Bolt (2)
Figure 9. Idler Arm Installation
A. Belt Guard E. 5/16” Fender Washer
B. 5/16-18 x 1” Bolt F. Pivot Spacer
C. 5/16” Washer G. Idler Arm Assembly
D. 5/16-18 x 1-3/4” Bolt H. 5/16-18 Flange Nut
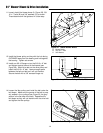
3. Remove the two 7/16” bolts and hex nuts from the
inside bearing. Remove the bearing from the blower
housing and discard the two hex nuts.
4. Install the blower mount plate (A, Figure 10) onto the
back plate of the blower. Install the 5/16-18 x 3/4”
self-tapping bolts (B), but do not tighten until all
screws have been started. Tighten securely.
5. Install three 5/16-18 x 3/4” bolts (D) near the bear-
ing. Install the two 5/16-18 x 1” bolts (C) in the two
remaining holes. Note the direction of the bolts, this
is critical. Secure with the 5/16-18 nylon lock nuts
(E) as shown.
A
B
C
D
E
F
G
H
A
C
C
E
E
B
E
B
D
48” & 52” Blower Mount & Drive Installation