Operation
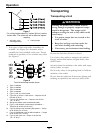
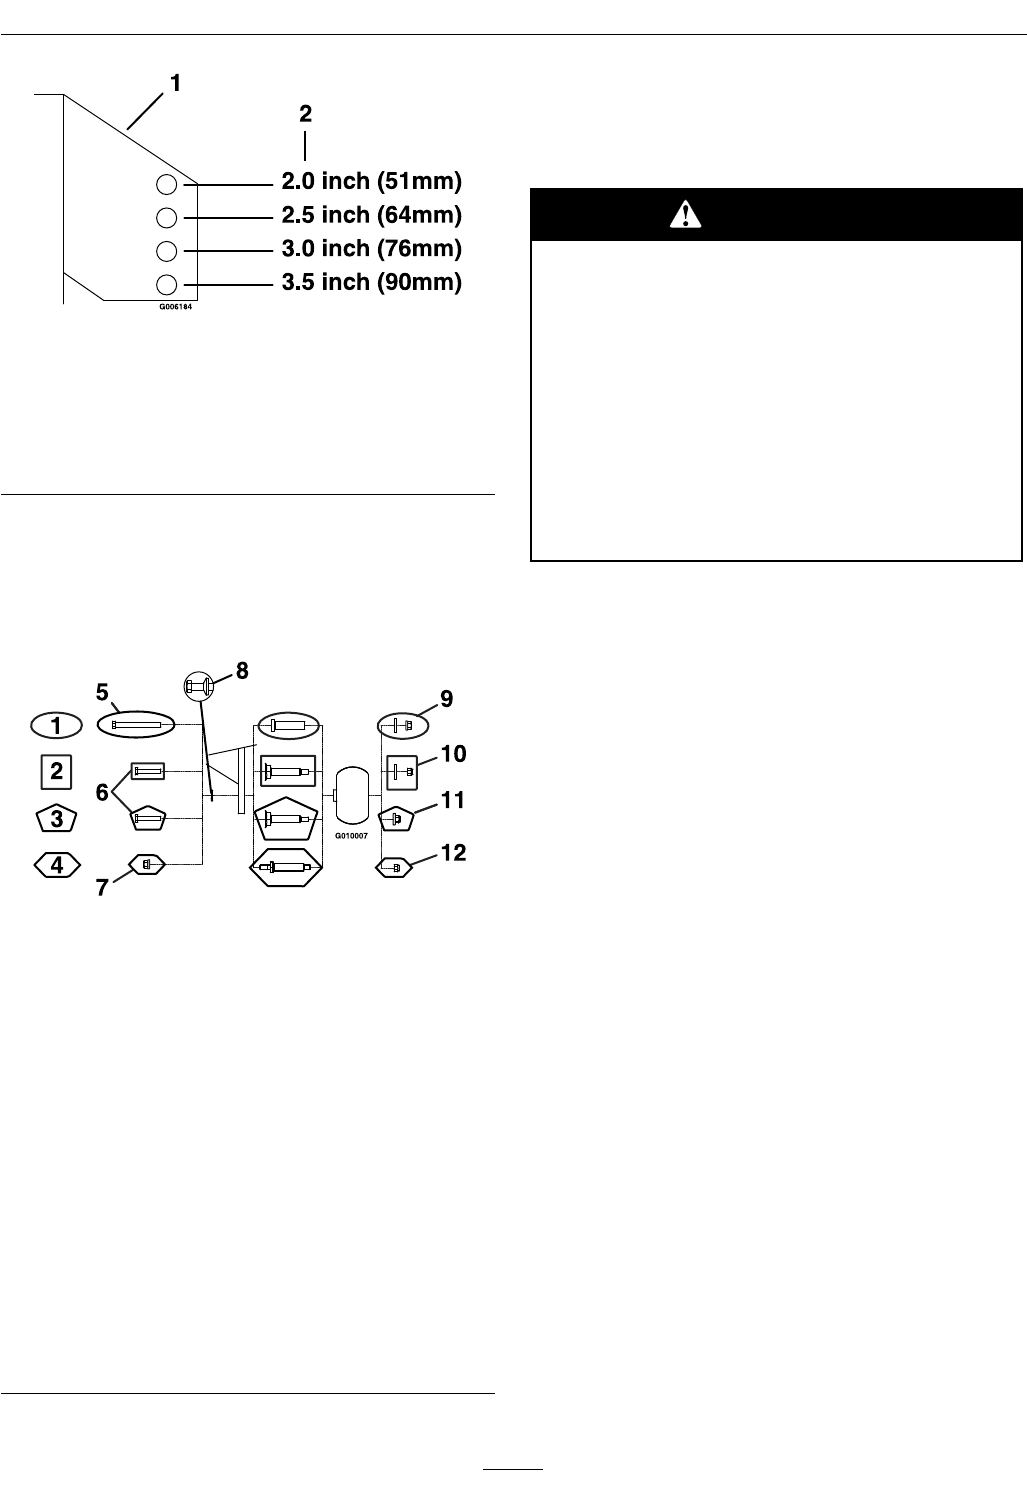
Figure 7
For cutting heights above 3.5 inches (38 mm) use the
bottom hole. The rollers will still be effective against
scalping.
1. Anti-scalp roller
mounting bracket
2. Cutting height
7. Four types of anti-scalp roller assemblies are
available. See Figure 8 to determine which
assembly has been installed on the unit. Torque
hardware as specied, or loss of roller may result.
See Figure 8.
Figure 8
Front left anti-scalp bracket shown
1. Type 1 hardware
2. Type 2 hardware
3. Type 3 hardware
4. Type 4 hardware
5. (Type 1) 3/8–16 x 4 hex screw
6. (Type 2 & 3) 3/8–24 x 2 hex screw — Torque to 50–55
ft-lb (68–75 N-m)
7. (Type 4) 3/8 whizlock nut — Torque to 30–35 ft-lb
(41– 47 N-m)
8. Spring disc washer (cone towards bolt head)
9. (Type 1) 3/8 whizlock nut and heavy at washer —
Torque to 40–45 ft-lb (54–61 N-m)
10. (Type 2) 3/8 nyloc nut and heavy at washer — Torque
to 30–35 ft-lb (41–47 N-m)
11. (Type 3) 3/8 anged nyloc nut without washer — Torque
to 30–35 ft-lb (41– 47 N-m)
12. (Type 4) 3/8 nyloc nut —Torque to 30–35 ft-lb
(41– 47 N-m).
Transporting
Transporting a Unit
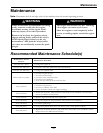
WARNING
Loading the mower onto a trailer without
strong enough or properly supported ramps
could be dangerous. The ramps could
collapse causing the unit to fall, which could
cause injury.
• Use proper ramps that are secured to the
truck or trailer.
• Keep feet and legs out from under the
unit when loading and unloading.
• If necessary, use assistance when loading.
Be sure the fuel shut-off valve is closed.
Use a heavy duty trailer to transport the machine.
Engage neutral lock latches and park brake, then
block wheels.
Securely fasten the machine to the trailer with straps,
chains, cables, or ropes.
Do Not rely solely on the parking brake to hold the
machine on the trailer.
Be sure that the trailer has all necessary lighting and
marking as required by law and use a safety chain.
20


