POWER PRUNER HEDGER ATTACHMENT
OPERATOR'S MANUAL
7
HEDGER BLADE REPLACEMENT
Tools Required: 19mm (3/4”) Spanner, 14mm (9/16”) Spanner
Parts Required: Blade, P/N 69601522060
WARNING DANGER
Failure to follow blade mounting instructions can cause blade to be
thrown from Hedger Attachment and result in serious injury to the
operator or anyone standing nearby.
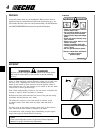
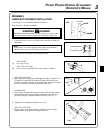
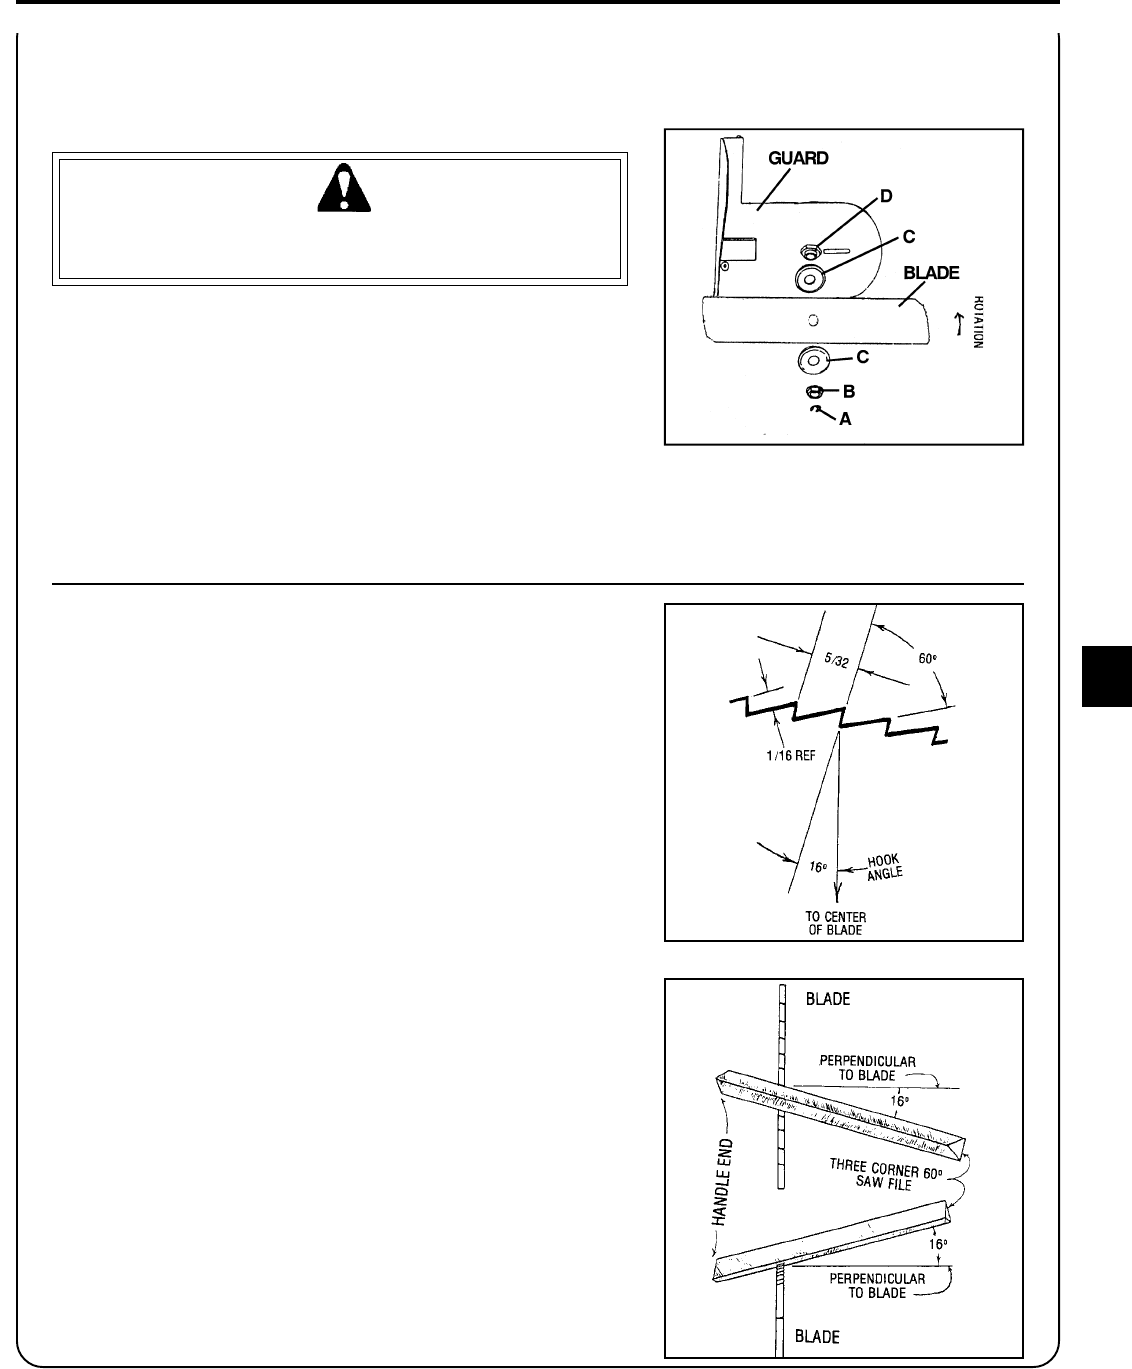
1. Remove saw shaft end ring (A).
2. Hold saw spacer (D), located between guard and blade, with 19mm
(3/4”) spanner. Remove flange nut (B) turning counter clockwise.
3. Lift off outer saw collar (C) and blade.
4. Install new blade on inner saw collar (C) and saw spacer (D). Blade
teeth should be angled toward direction of blade rotation.
5. Install outer saw collar (C) and flange nut (B).
6. Hold blade adaptor (D) from turning with spanner, and tighten nut
(B) securely with 14mm (9/16”) spanner turning clockwise.
7. Install shaft end ring (A).
BLADE SHARPENING
Tools Required: Medium 60 degree Triangular Saw File, Vise
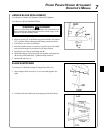
1. Secure hedger blade vertically in a vise with teeth angled to the
right.
2. Uniformly file each blade tooth to the angle specification shown.


