


20
G H
4
13
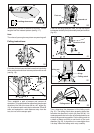
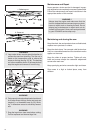
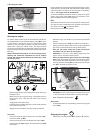
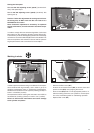
- Turn the chain tightener (C/6) to the right (clockwise)
until the chain engages the guide groove of the bottom side
of the bar (see circle). Press the guide bar against the
housing with your left hand.
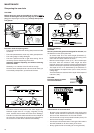
NOTE:
If the chain brake on the dismounted sprocket guard is actu-
ated by accident, it must be released again prior to reassembly:
- Hold the sprocket guard (H/4) as shown (note direction of
arrow) firmly with both hands and press the stop lever
(H/13) against a hard surface (such as a board) until you
hear it catch.
I
J
4
3
3
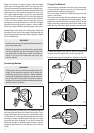
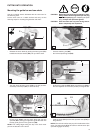
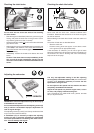
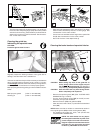
- Replace the sprocket guard (I/4), making sure that the pin
on the stop lever fits into the space on the hand guard
(circled).
- Manually tighten the retaining nut (I/3).
NOTE:
The arrow (I/14) on the sprocket guard shows the direction of
chain travel.
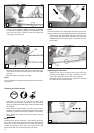
Tightening the saw chain
- Slightly lift the end of the guide bar and turn the chain
adjusting screw (C/6) to the right (clockwise) until the
chain rests against the bottom side of the guide bar.
- While still holding up the guide bar, tighten the retaining
nut (J/3) with the universal wrench.
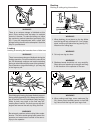
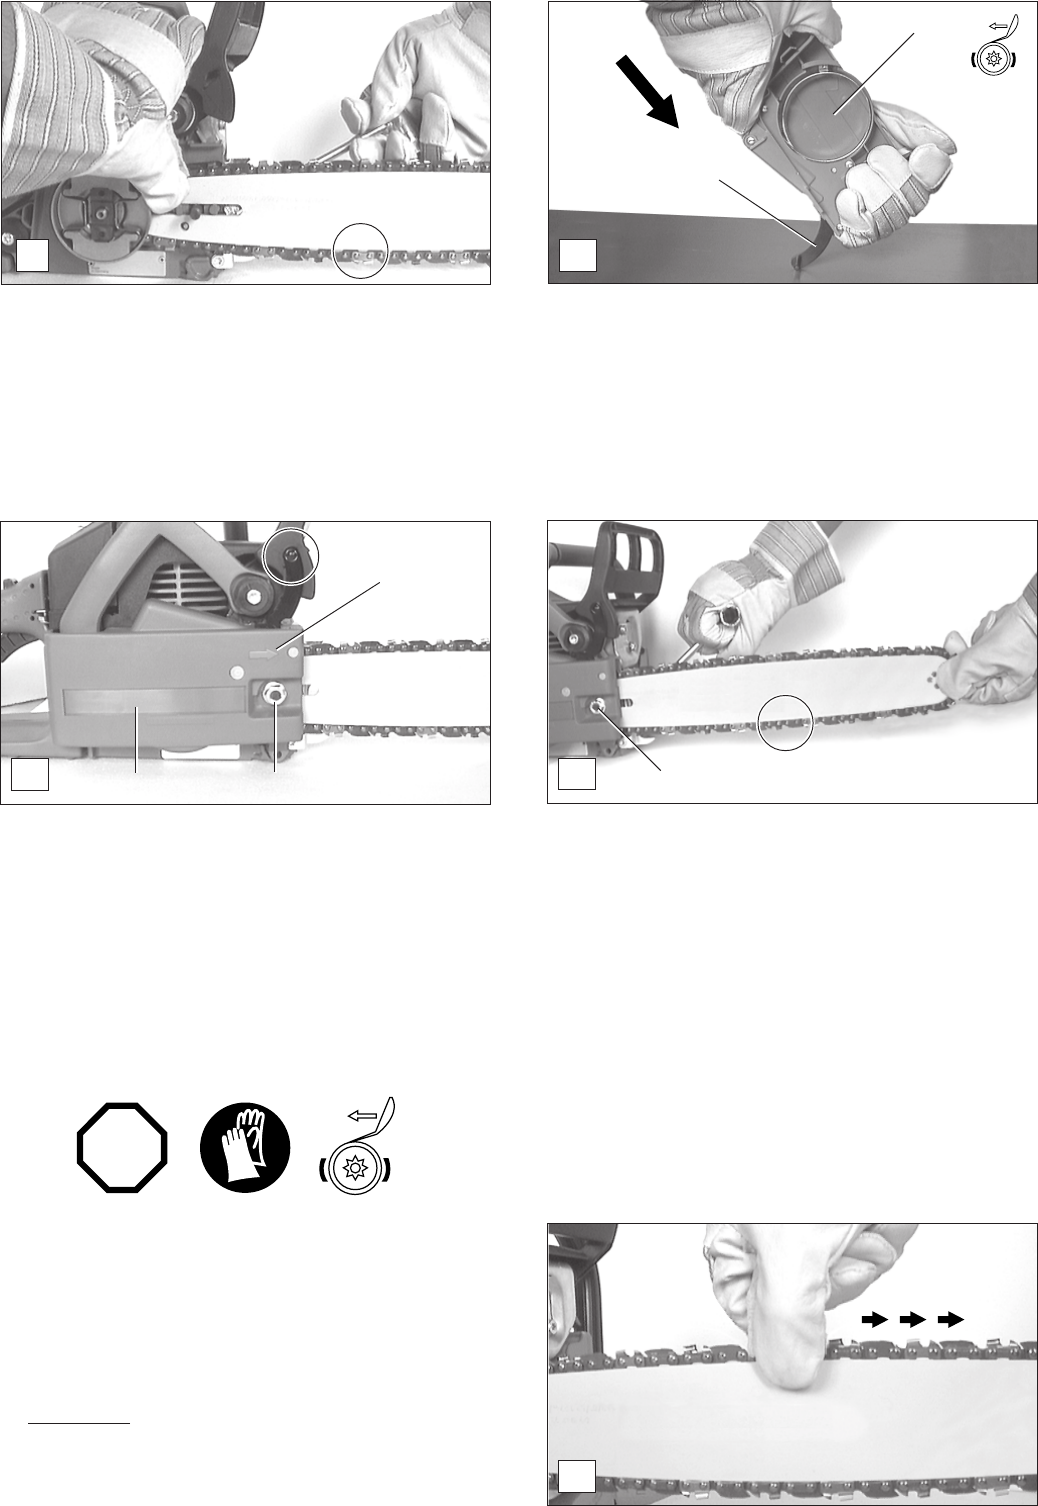
Checking the chain tension
- The tension of the chain is correct if the chain rests
against the bottom side of the guide bar and can still be
easily turned by hand. While doing so the chain brake must
be released.
- Every new chain must be broken in for about 2 to 3 minutes.
Ample chain lubrication is essential during this period. After
breaking in, check chain tension and adjust, if necessary.
- When checking the chain tension the engine must be
switched off.
NOTE:
Check the chain tension frequently - chains tend to get longer
during use! If this is not done, there is a risk of the chain jumping
off the bar. It is recommended to use 2-3 chains alternatively.
In order to guarantee uniform wear of the guide bar the bar
should be turned over whenever replacing the chain.
K
14
STOP