


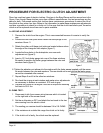
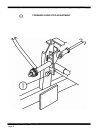
PROCEDURE FOR ELECTRIC CLUTCH ADJUSTMENT
Dixon has used two types of electric clutches. One type is the Borg Warner and the second one is the
Ogura. Even though these clutches come from different manufacturers, the test procedures are the
same for both. Few people realize that clutches have maintenance procedures to extend the life of
the clutch as they wear over time. Below is the information to make these maintenance adjustments
and also a procedure to check for a faulty coil. In the case that the clutch has failed a part, the entire
clutch must be replaced since there are no parts available.
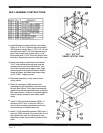
A. AIR GAP ADJUSTMENT
1. Remove the clutch from the engine. This is recommended because it is easier to verify the
gap.
figure 1
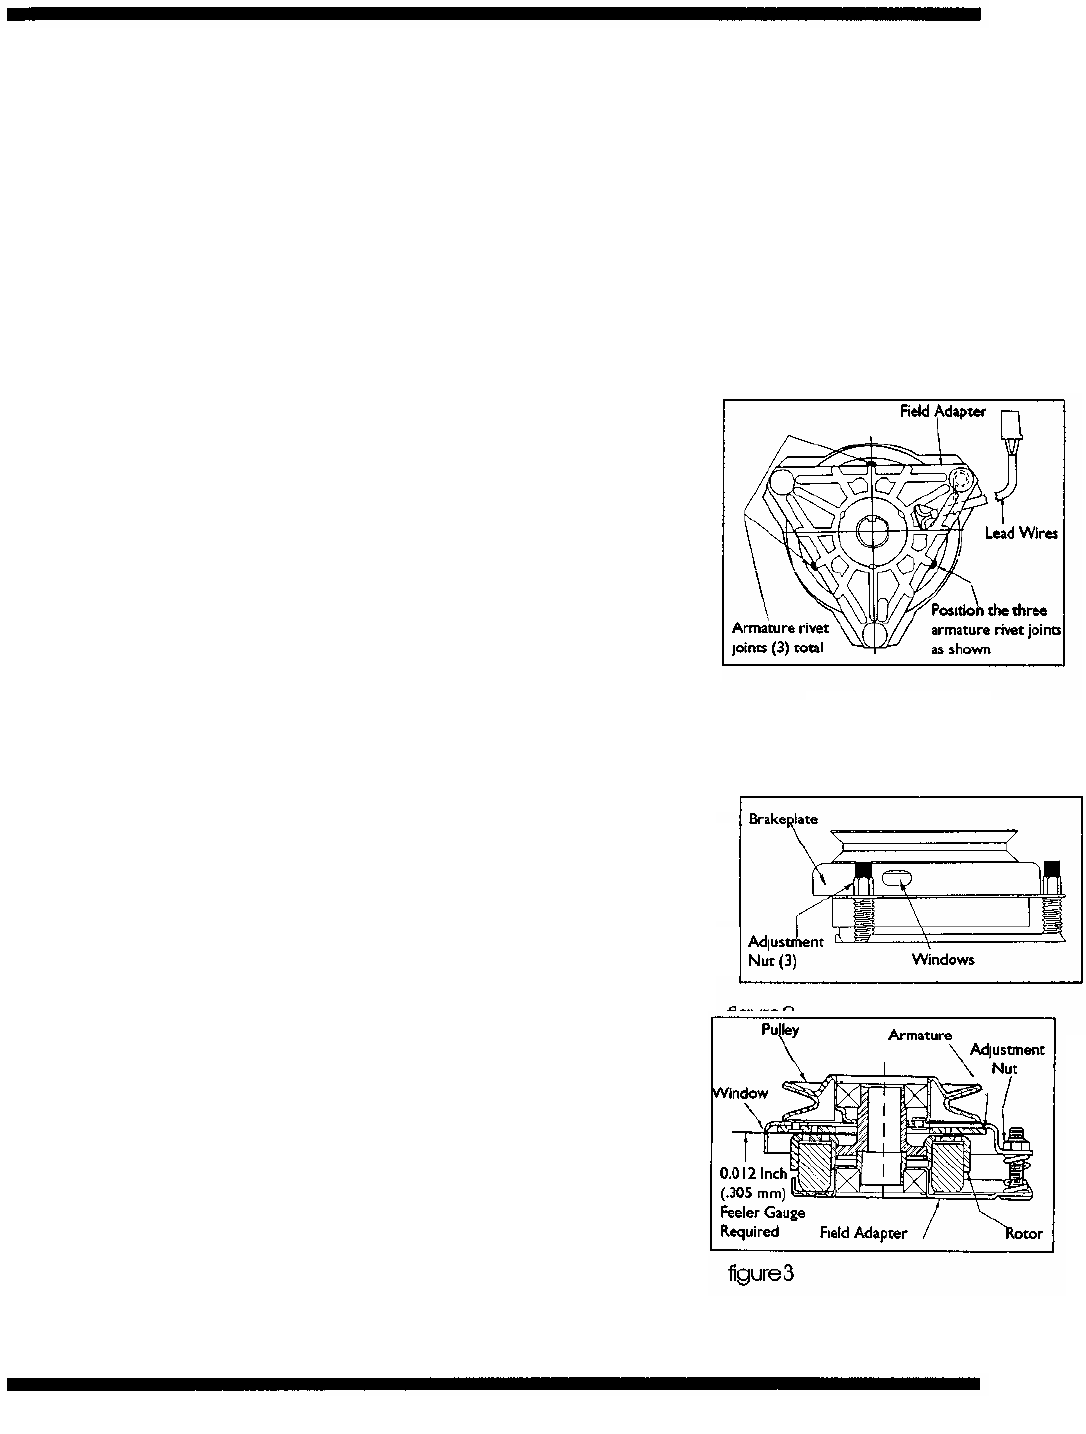
6. Tighten the adjusting nut adjacent to the window with the feeler gauge inserted until the gauge
fits snugly between the rotor and armature. The gap should not be so tight that the feeler gauge
cannot be reinserted after removal.
9. Reinstall the clutch to the engine. Be sure to torque the mounting
bolt back to 50 ft. Ibs.
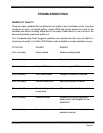
B. OHMS TEST:
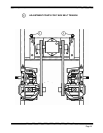
1. Disconnect clutch from mower wiring harness which is located
on the right side of the mower frame.
2. Set the multi-meter on RX1 and attach the two leads to the two
wires coming from the electric clutch.
3. The reading you receive should be between 2.4 to 2.9 OHMS.
4. If the resistance is outside this range the clutch coil is faulty.
5. If the clutch coil is faulty, the clutch must be replaced.
Page 16
2.
Locate the three rivet joints which fasten the leaf springs to the
armature (figure 1).
3. Rotate the pulley until these rivet joints are located midway along
the edge of the triangular field adapter (figure 1).
4. Locate the three holes in the brakeplate, one near each
adjustment nut (figure 2).
5. Insert a .012 inch feeler gauge into one of the three windows.
Be careful to position the feeler gauge between the rotor and
armature faces (figure 3).
7. Repeat Steps 5 and 6 at the other two windows.
8. Re-check the air gap at each window and make minor adjustments
as necessary to achieve a consistent .012 inch air gap.