Se rvice
7
24
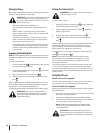
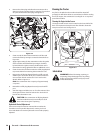
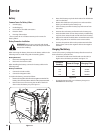
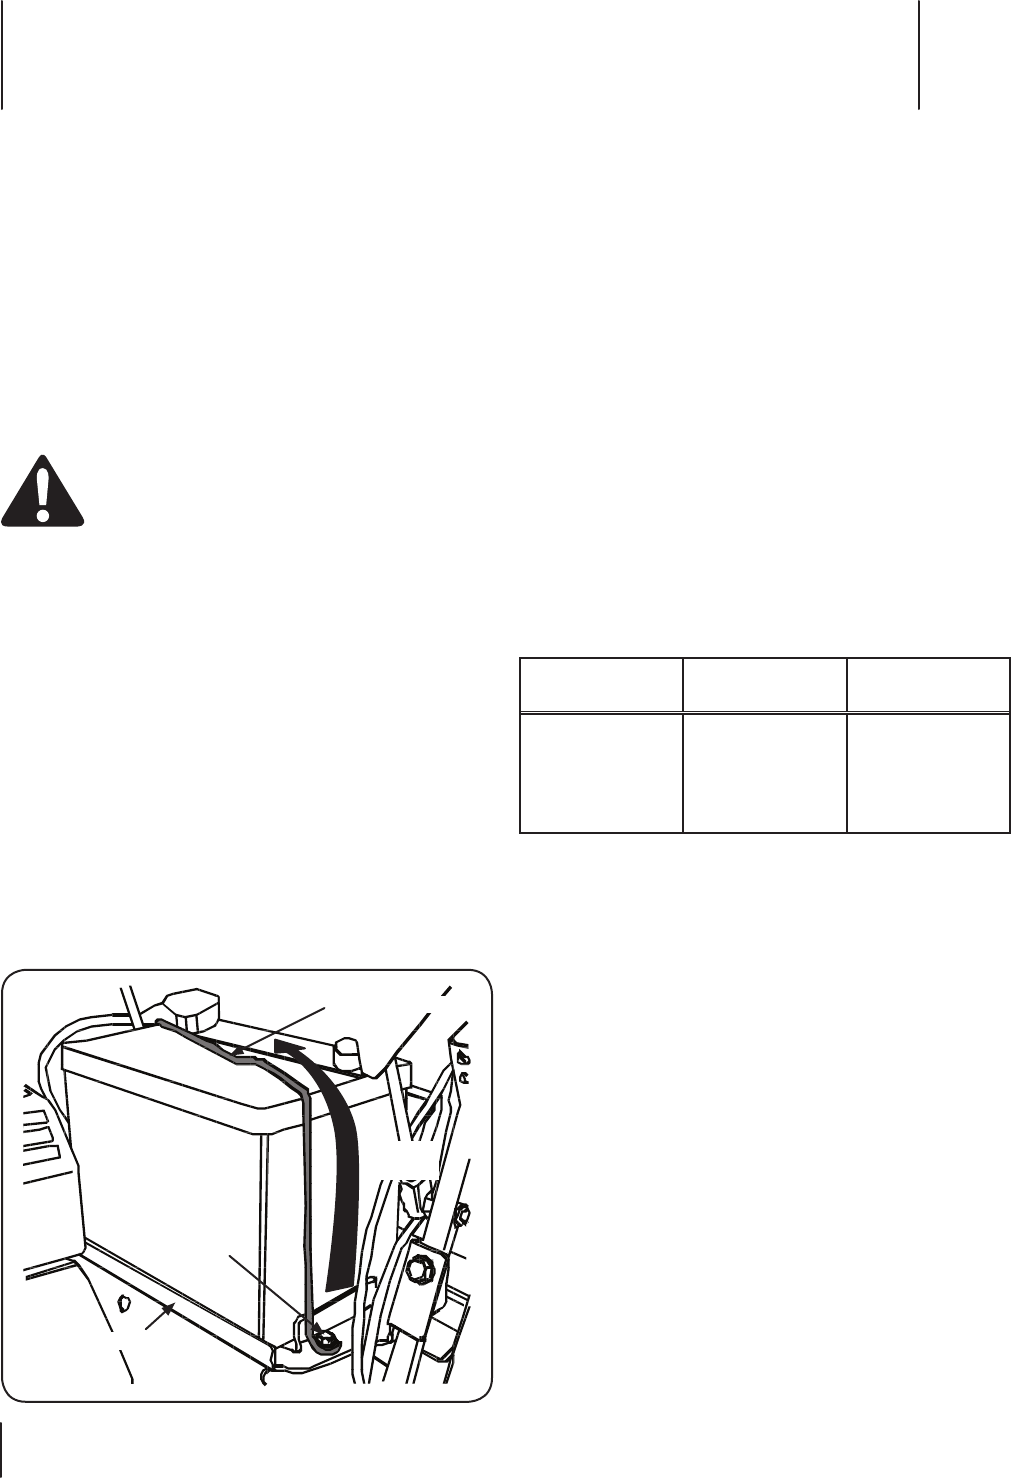
Note which battery tray hole the RH side of the hold-down
rod is hooked into.
4. Rotate the hold-down rod upward, over and around the
battery to unhook from the battery tray.
5. Lift the battery out off the battery tray and remove from
the tractor.
6. Position the new battery and lower into the battery tray.
7. Hook the hold-down rod into the previously noted battery
tray hole, then rotate the rod around and over the battery.
8. Align the LH side of the hold-down rod with the hole in the
battery tray and secure with hex screw remove earlier.
9. Connect the positive cable to the positive terminal of the
battery, then connect the negative cable to the negative
terminal.
Charging The Battery
Test and, if necessary, recharge the battery after the tractor has
been stored for a period of time.
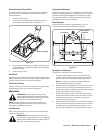
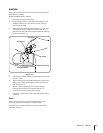
higher across the battery terminals. See Figure 7-2.
Voltmeter
Reading
State of Charge Charging Time
Full Charge
90 Min.
280 Min.
Figure 7-2
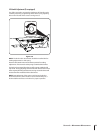
Battery
Common Causes For Battery Failure
2. Undercharging
Loose and/or corroded connections
4. Excessive loads
5. Freezing of electrolyte
* These causes do not constitute warranty in the event of a
battery failure.
Battery Removal or Installation
WARNING! Battery posts, terminals and related
accessories contain lead and lead compounds. Wash
Hands after handling.
When removing the battery, disconnect the battery cables in the
following order to avoid arcing and the resulting sparks:
Battery Removal
Disconnect the Negative cable.
2. Disconnect the Positive cable.
When installing the battery, connect the battery cables in the
following order:
Battery Installation
Connect the Positive cable.
2. Connect the Negative cable.
To replace the battery, proceed as follows:
Remove the negative cable from the negative terminal of the
battery, then remove positive cable from the positive terminal.
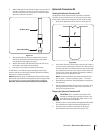
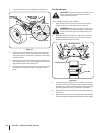
2. Remove the hex screw securing the LH side of the hold
Battery Tray
Hex
Screw
Hold Down Rod
Rotate
Upward
Figure 7-1


