30
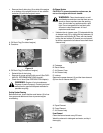
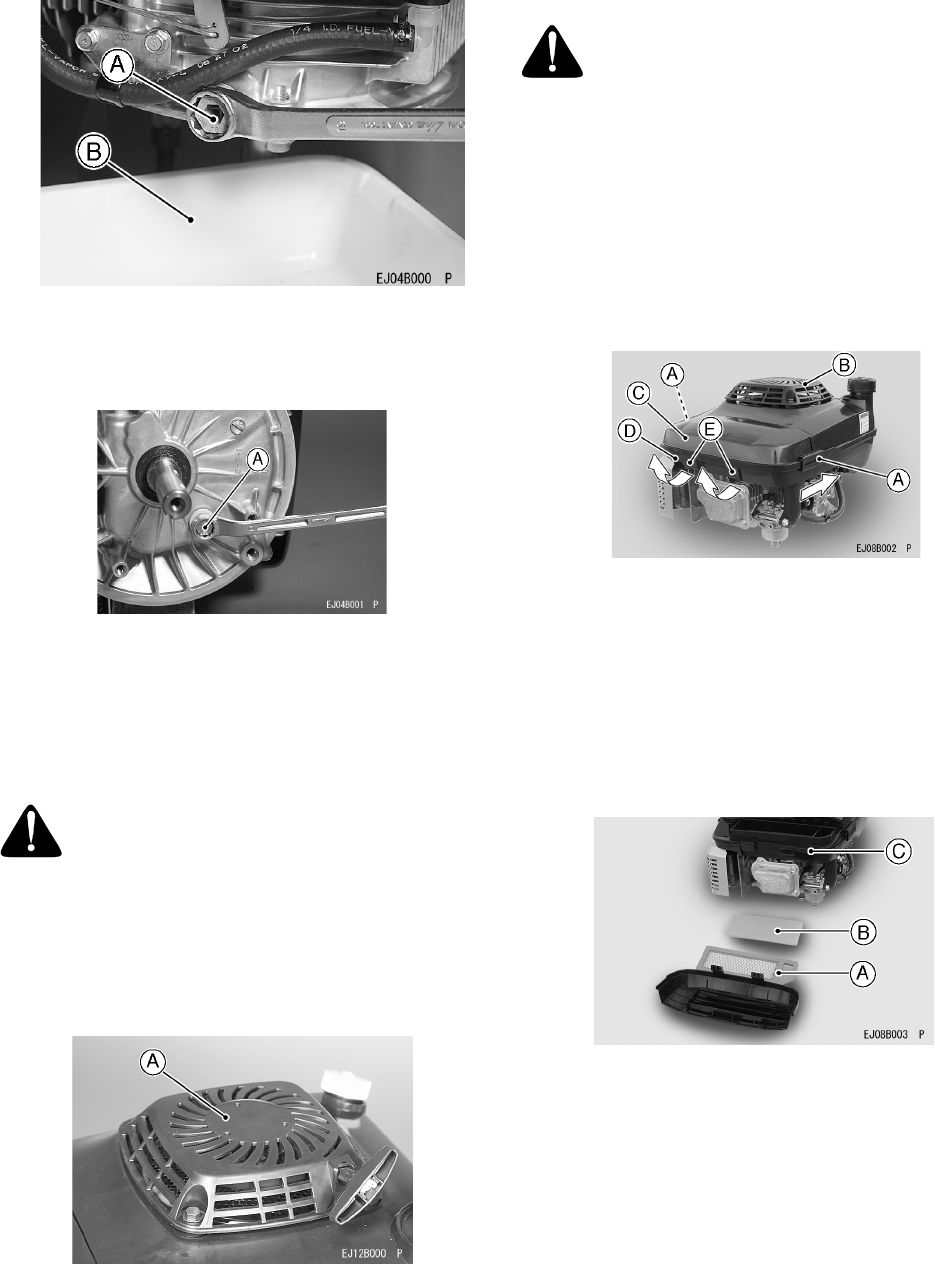
• Remove the oil drain plug (A) on side of the engine
or on bottom of the engine to drain oil into suitable
container (B) while the engine is warm.
Figure 11
A. Oil Drain Plug (On side of engine)
B. Container
Figure 12
A. Oil Drain Plug (On bottom of engine)
• Reinstall the oil drain plug.
• Remove oil gauge and refill with new oil (See FUEL
AND OIL RECOMMENDATIONS chapter).
• Check the oil level (See PREPARATION chapter).
Cooling System Cleaning
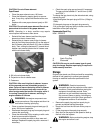
Before each use, check that the recoil starter (A) is free
from grass and debris and clean to prevent engine
overheating.
Figure 13
Air Cleaner Service
CAUTION: To prevent excessive engine wear, do
not run the engine with the air cleaner
• Unfasten the air cleaner case (C) fastened with the
air cleaner body (D) by sliding the two fasteners (A)
toward the recoil starter (B).Then, with two hands,
pulling the two latches (E) toward you and upward
as shown, separate the air cleaner case from the air
cleaner body.
Figure 14
A. Fasteners
B. Recoil Starter
C. Air Cleaner Case
D. Air Cleaner body
E. Latches
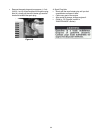
Remove the paper element (A) and the foam element
(B) from the air cleaner body (C).
Figure 15
A. Paper Element
B. Foam Element
C. Air Cleaner body
Foam Element
Clean the foam element every 25 hours.
Wash the element in detergent and water, and dry it
thoroughly.
WARNING:
Engine oil is toxic substance.
Dispose of used oil properly. Contact your local
authorities for approved disposal methods for
possible recycling.
WARNING:
Clean the elements in a well-
ventilated area and take care that there are no
sparks or flame anywhere near the working
area, this includes any appliance with a pilot
light. Do not use gasoline or low flash-point
solvents to clean the element. A fire or
explosion could result.


